
Quick and Dirty
Cost: $
Time: 10 minutes
Difficulty (1-10): 1
What You Need
Fabric – Tyvek or Window Film (rip stop, silnylon, cuben fiber is OK too)
Duct tape and/or double sided 3M VHB tape
Paracord, small bungee cord, or guy lines
Ruler
Scissors
Optional
Sewing Machine
Brass Eyelets
Nylon webbing (I prefer not to use nylon webbing)

Matching foot prints and ground cloths for tents or shelters are typically over priced. Some of the foot prints we have purchased range anywhere from $50 to $70. Spending that much on a foot print seems a little ridiculous, considering ground cloths and foot prints are just sheets of fabric.
When we first started backpacking, we went without foot prints for our tents. Eventually we noticed that the tubs would wear through much faster. We started making our own foot prints with cheap blue tarp. The material was inexpensive and durable, but heavy.
There are alternative materials that are lighter and provide similar protection. Two unconventional materials include Dupont Tyvek 1443R and Window Film (we will be using window film for our tutorial)
Tyvek is ultralight and extremely durable. Two popular tyvek materials include the Home Wrap and 1443R. Tyvek Home Wrap is stronger, heavier, and more water proof than 1443R
Duck Brand Window Film (made by 3M or Duck Brand) is a light heat wrap film that is prone to stretching and deforming in extreme heat. The window film will last a few seasons (and maybe a few years). The material will stretch rather than tear. This is the same stuff as the Polycro Ground Cloth for a fraction of the price.
For the tutorial, we are only using window film, duct tape, eyelets, and LiteTrail G-line to make a foot print for our Tarptent Squall 2. Keep in mind, you do not need to make a pretty foot print. The instructions below add usable features, but most people simply cut to the correct size and use it as a cloth.

Step 1
Measure your tent(s) tub.

Step 2
Cut the material to the size, making sure that the foot print fits completely under the tent body. You can stop here, or continue to Step 3 to create a foot print. Window film will be difficult to cut, so stretch it and slide your scissors through it.
Step 3 (optional)
Fold and tape the edges with double sided tape for a clean line/seal.
Step 4
Reinforce each corner with either duct tape or by adding additional material. If you are using nylon webbing for your stake points, this would be the time to attach them.
Step 5
Punch a hole in the reinforced section or nylon webbing or in the reinforced section of the material.
Step 6 (Optional)
Press the eyelets in place.

Step 7
Run the rope guy line through the holes.
The final product should look similar to the image above. You can clean it up by cutting it further or just leave as is. Final weigh comes in at 2.35 ozs. Most rip stop nylon foot prints are about 7 – 8 ozs.

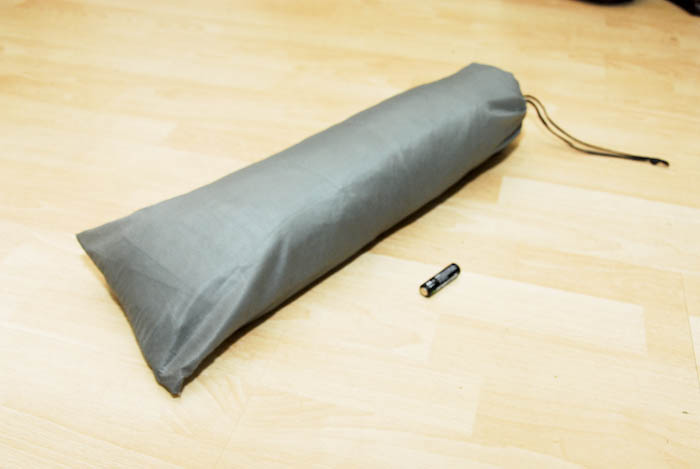
The foot print packs away to the size of a small cell phone and easily fits inside the Tarptent stuff sack.
You are now set. A pack of window film will make a few ground clothes and foot prints. Each foot print should come out to be $2 depending on the material used. As with all foot prints and gear, make sure you take care of it. Clearing any sticks, rocks, and sharp objects off the ground before you set your tent is important.
(Note, this post includes Amazon affiliate links, which only covers our annual server costs).
