
We picked up on beer brewing about a year ago. It was one of those rare weekends where we had nothing planned and wanted to do something different. Since then, we’ve brewed several batches of beer and have moved from extract to all grain brewing. With the supply of our summer cream ale dwindling, we started planning for another all grain batch. We had an extra vial of White Labs California Ale yeast left in the fridge from our last brew batch and decided to make a Sierra Nevada Pale Ale clone and use the yeast. Since the Sierra Nevada Pale Ale is known for its crisp taste, we figured this would be a crowd pleaser around Thanksgiving.
We used an all grain recipe found on brewersfriend, along with some additional notes found on a northernbrewer forum.
Since our yeast has been stored in the refrigerator for a couple months, we prepared a yeast starter Tuesday night for the yeast to multiply. Our typical yeast starter recipe consist of:
4 cups of water
1/2 cup of dry malt extract (DME)
1 vial of liquid yeast

Using an old growler from Black Market Brewing Company as the yeast starter
We combined the yeast inside a sanitized growler once the water and DME combination came back to room temperature. It’s important to let the yeast acclimate to room temperature before pitching it in the water mix to avoid temperature shock for the yeast.
I picked up the rest of the brewing materials 2 days before brewing. In all, the recipe called for 10lbs of malt, 4 oz of hops and 1 vial of liquid yeast.
The brewing process for this batch of beer was fairly simple. Our makeshift mash tun is a 35L cooler with a ball valve at the bottom of the cooler to extract the wort.
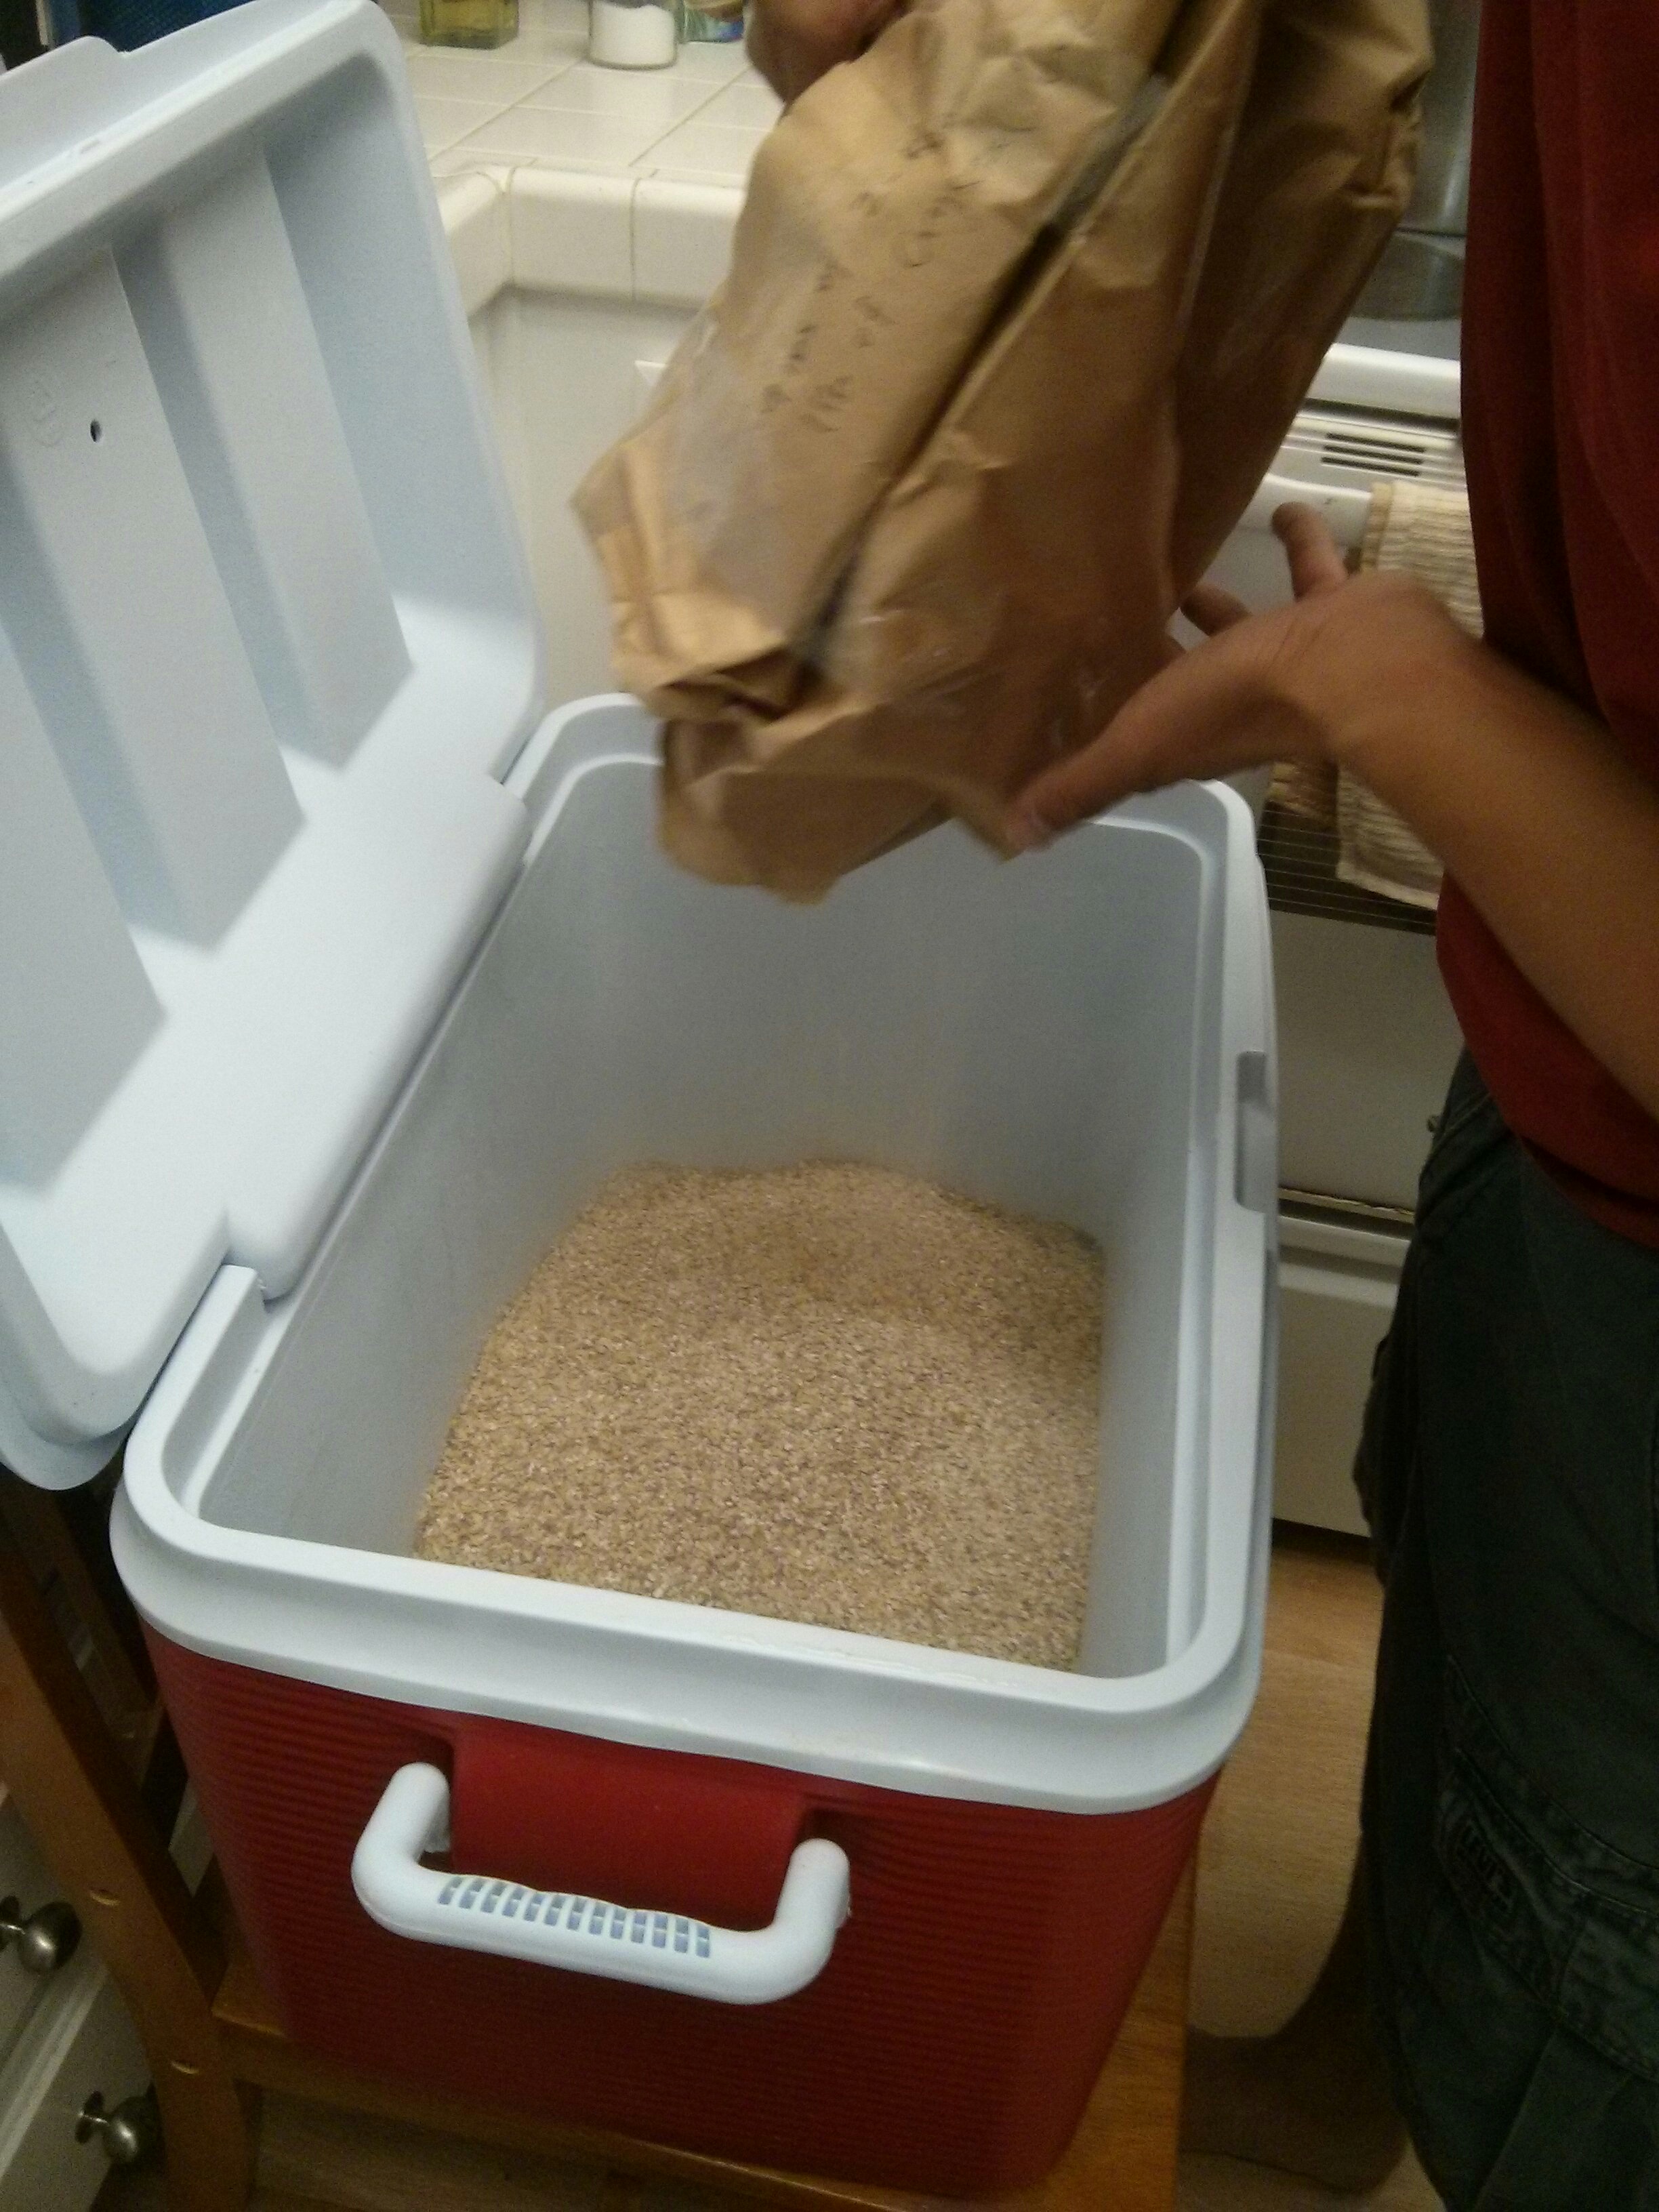
stirring in hot water and 10 lbs of malt into the mash tun
After about 60 minutes of soaking in the mash tun, we started the batch sparging process by slowly adding more water to the mashtun and transferring the wart to our boiling pot. We calculated our transfer efficiency to be about 70% for this batch, our target transfer efficiency was about 76%.Getting the perfect temperature and volume of sparge water to reach the target transfer efficiency has always been a struggle for us. Each time we brew, we try to do something new, hoping it will improve the efficiency.
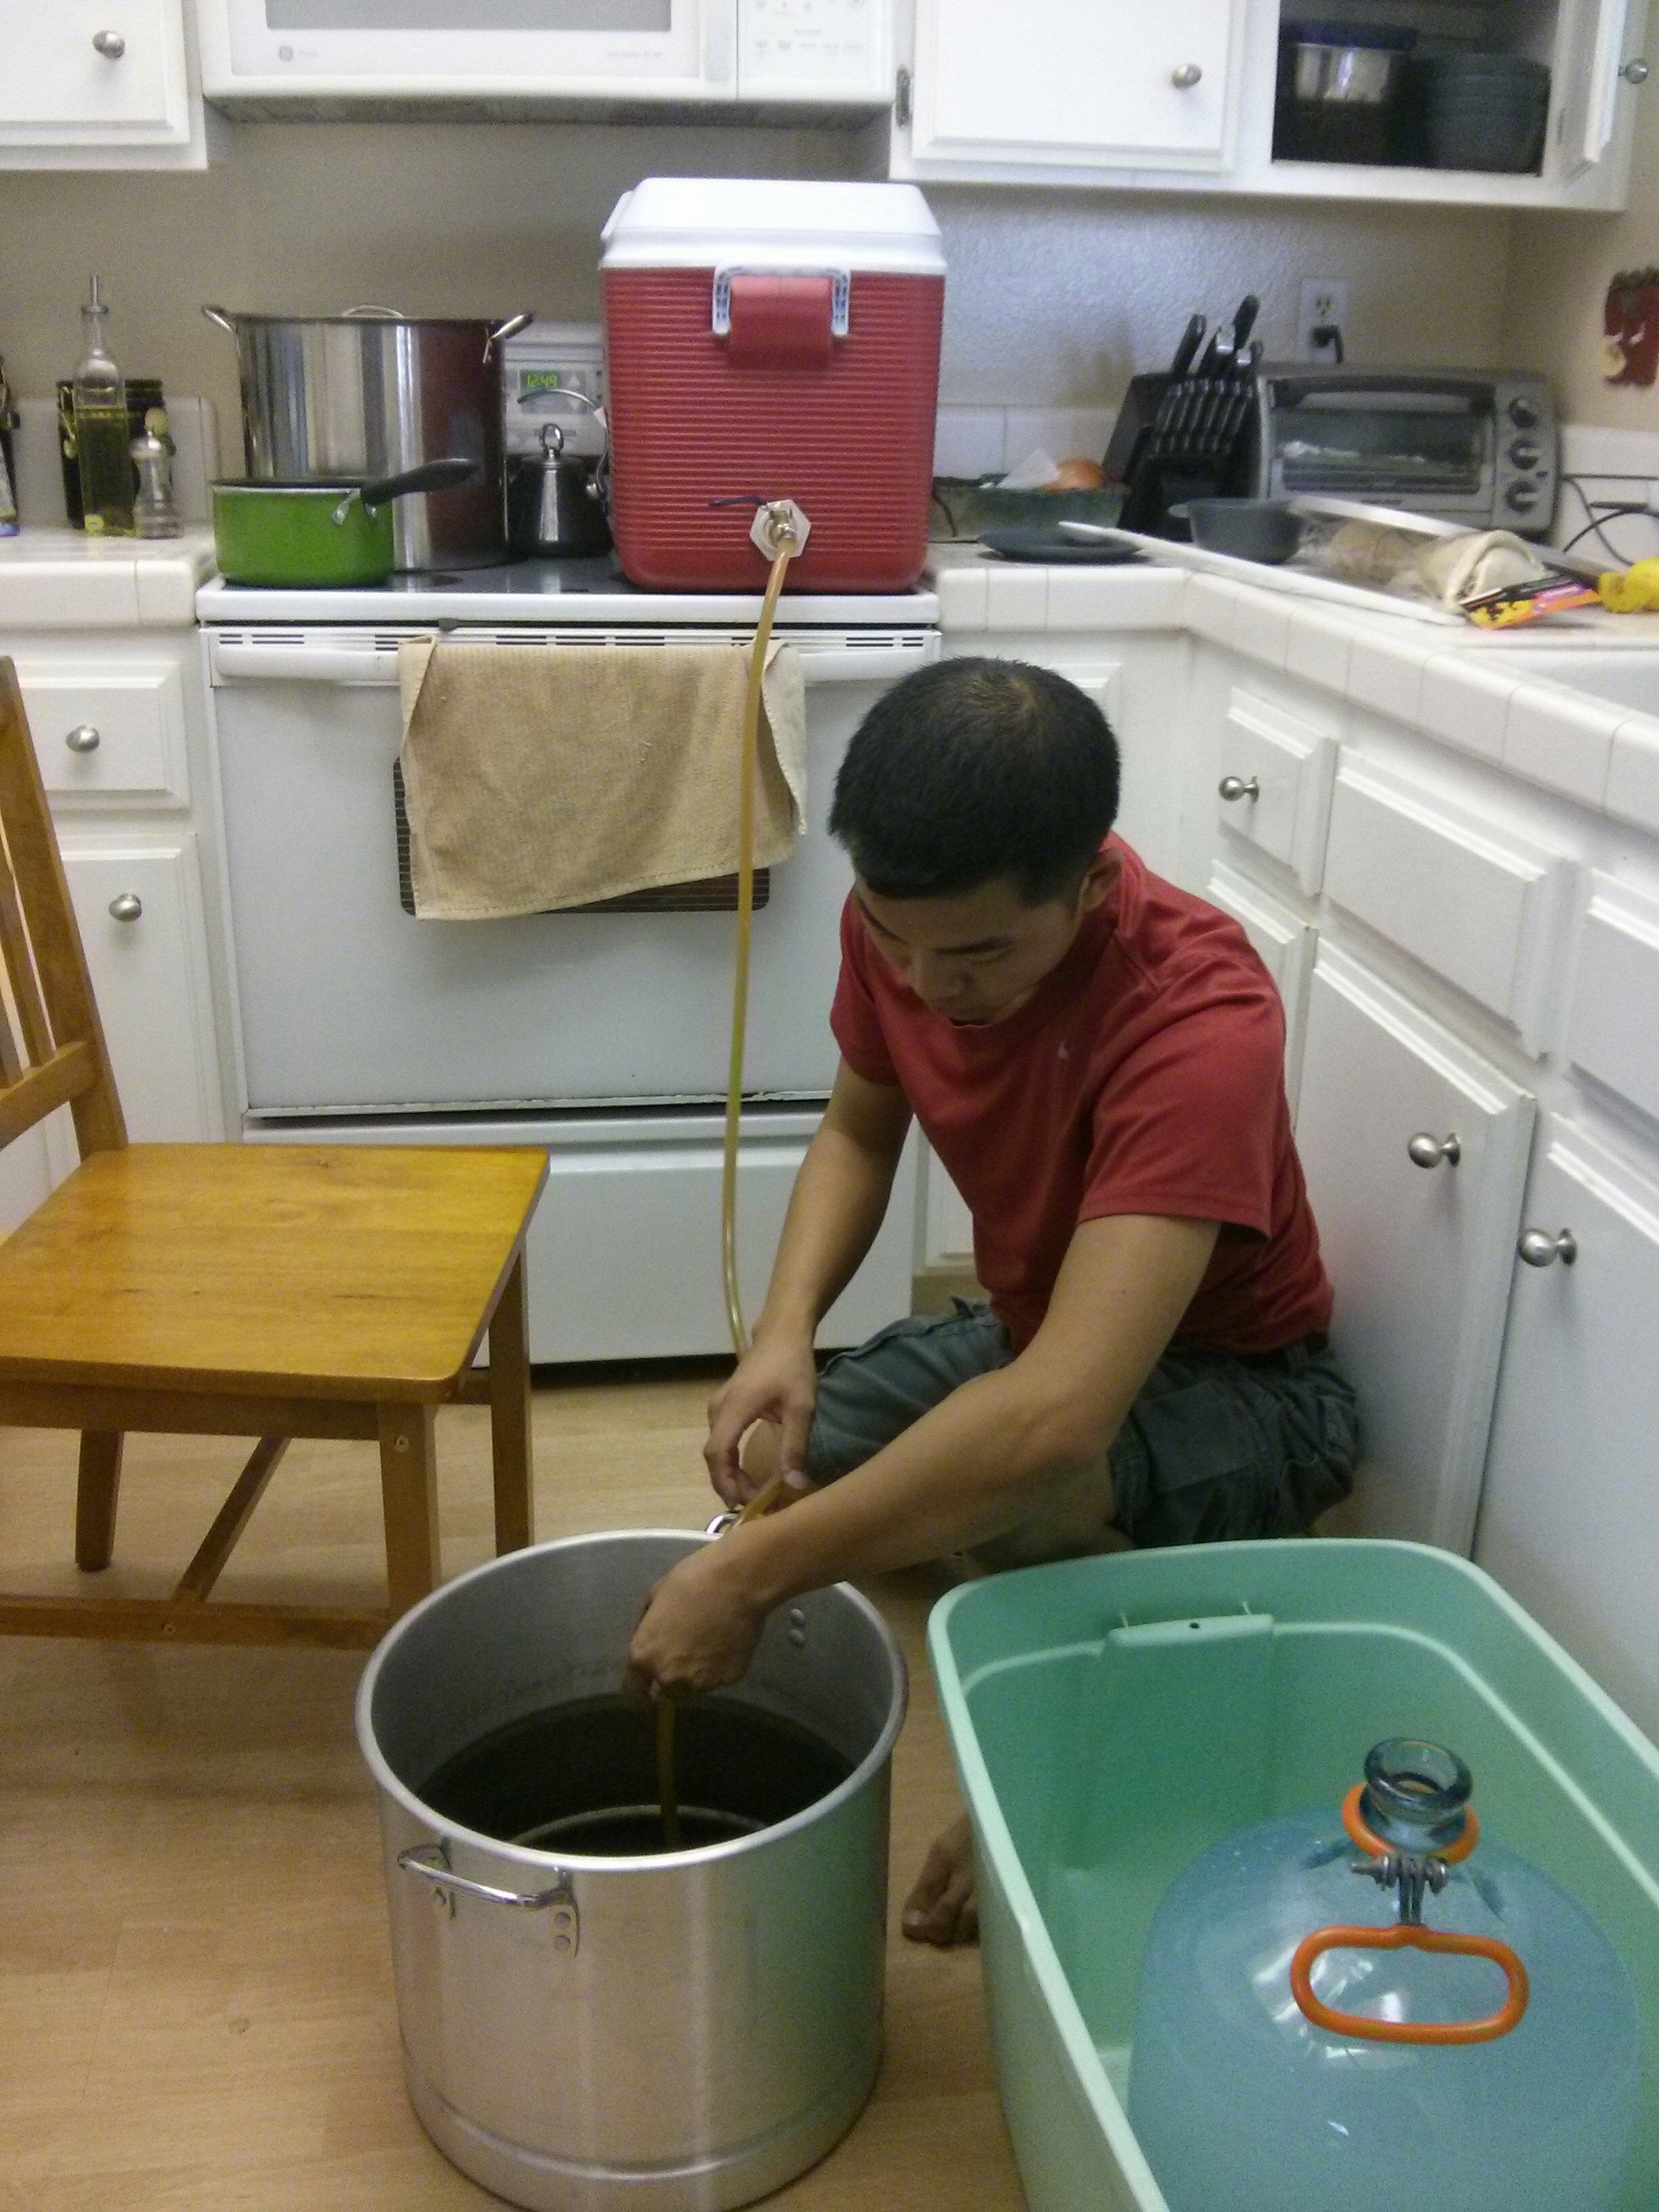
Mash out process- Louis slowly draining out the wort from the mash tun.

Using the hydrometer to measure the specific gravity of the wort before boiling
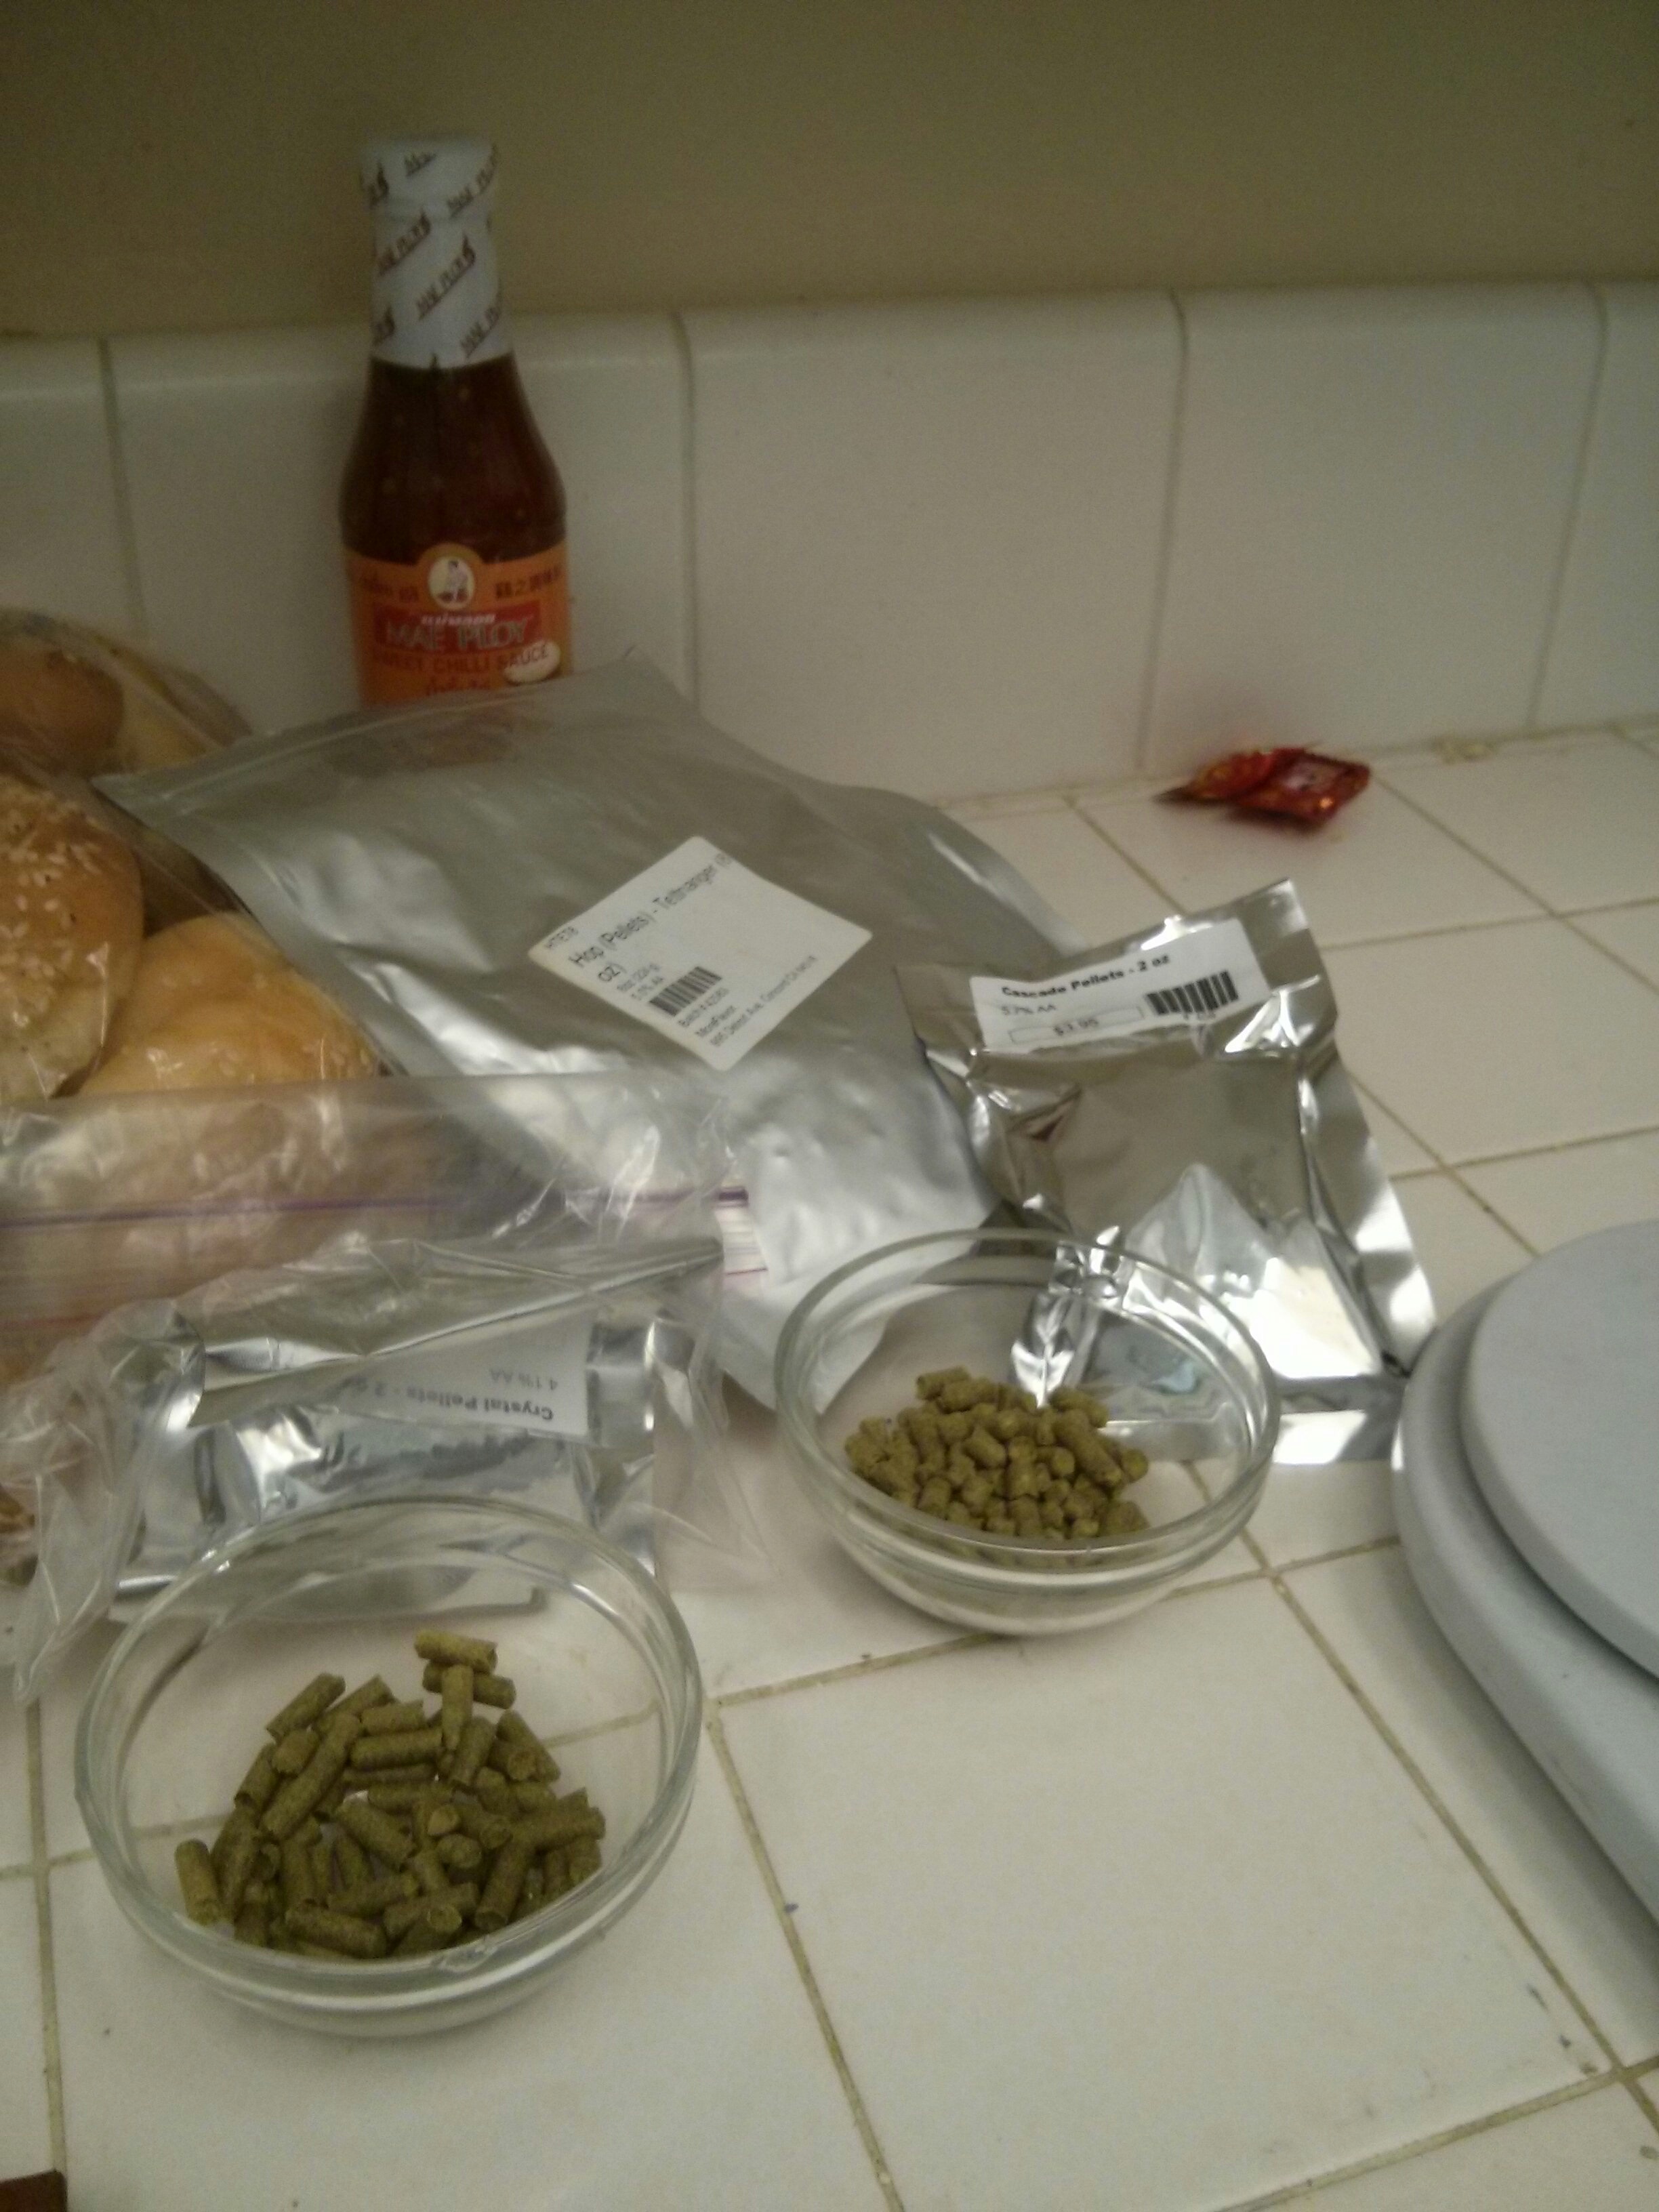
Time to add the boiling hops! Note the chili sauce in the background was not used for brewing 🙂
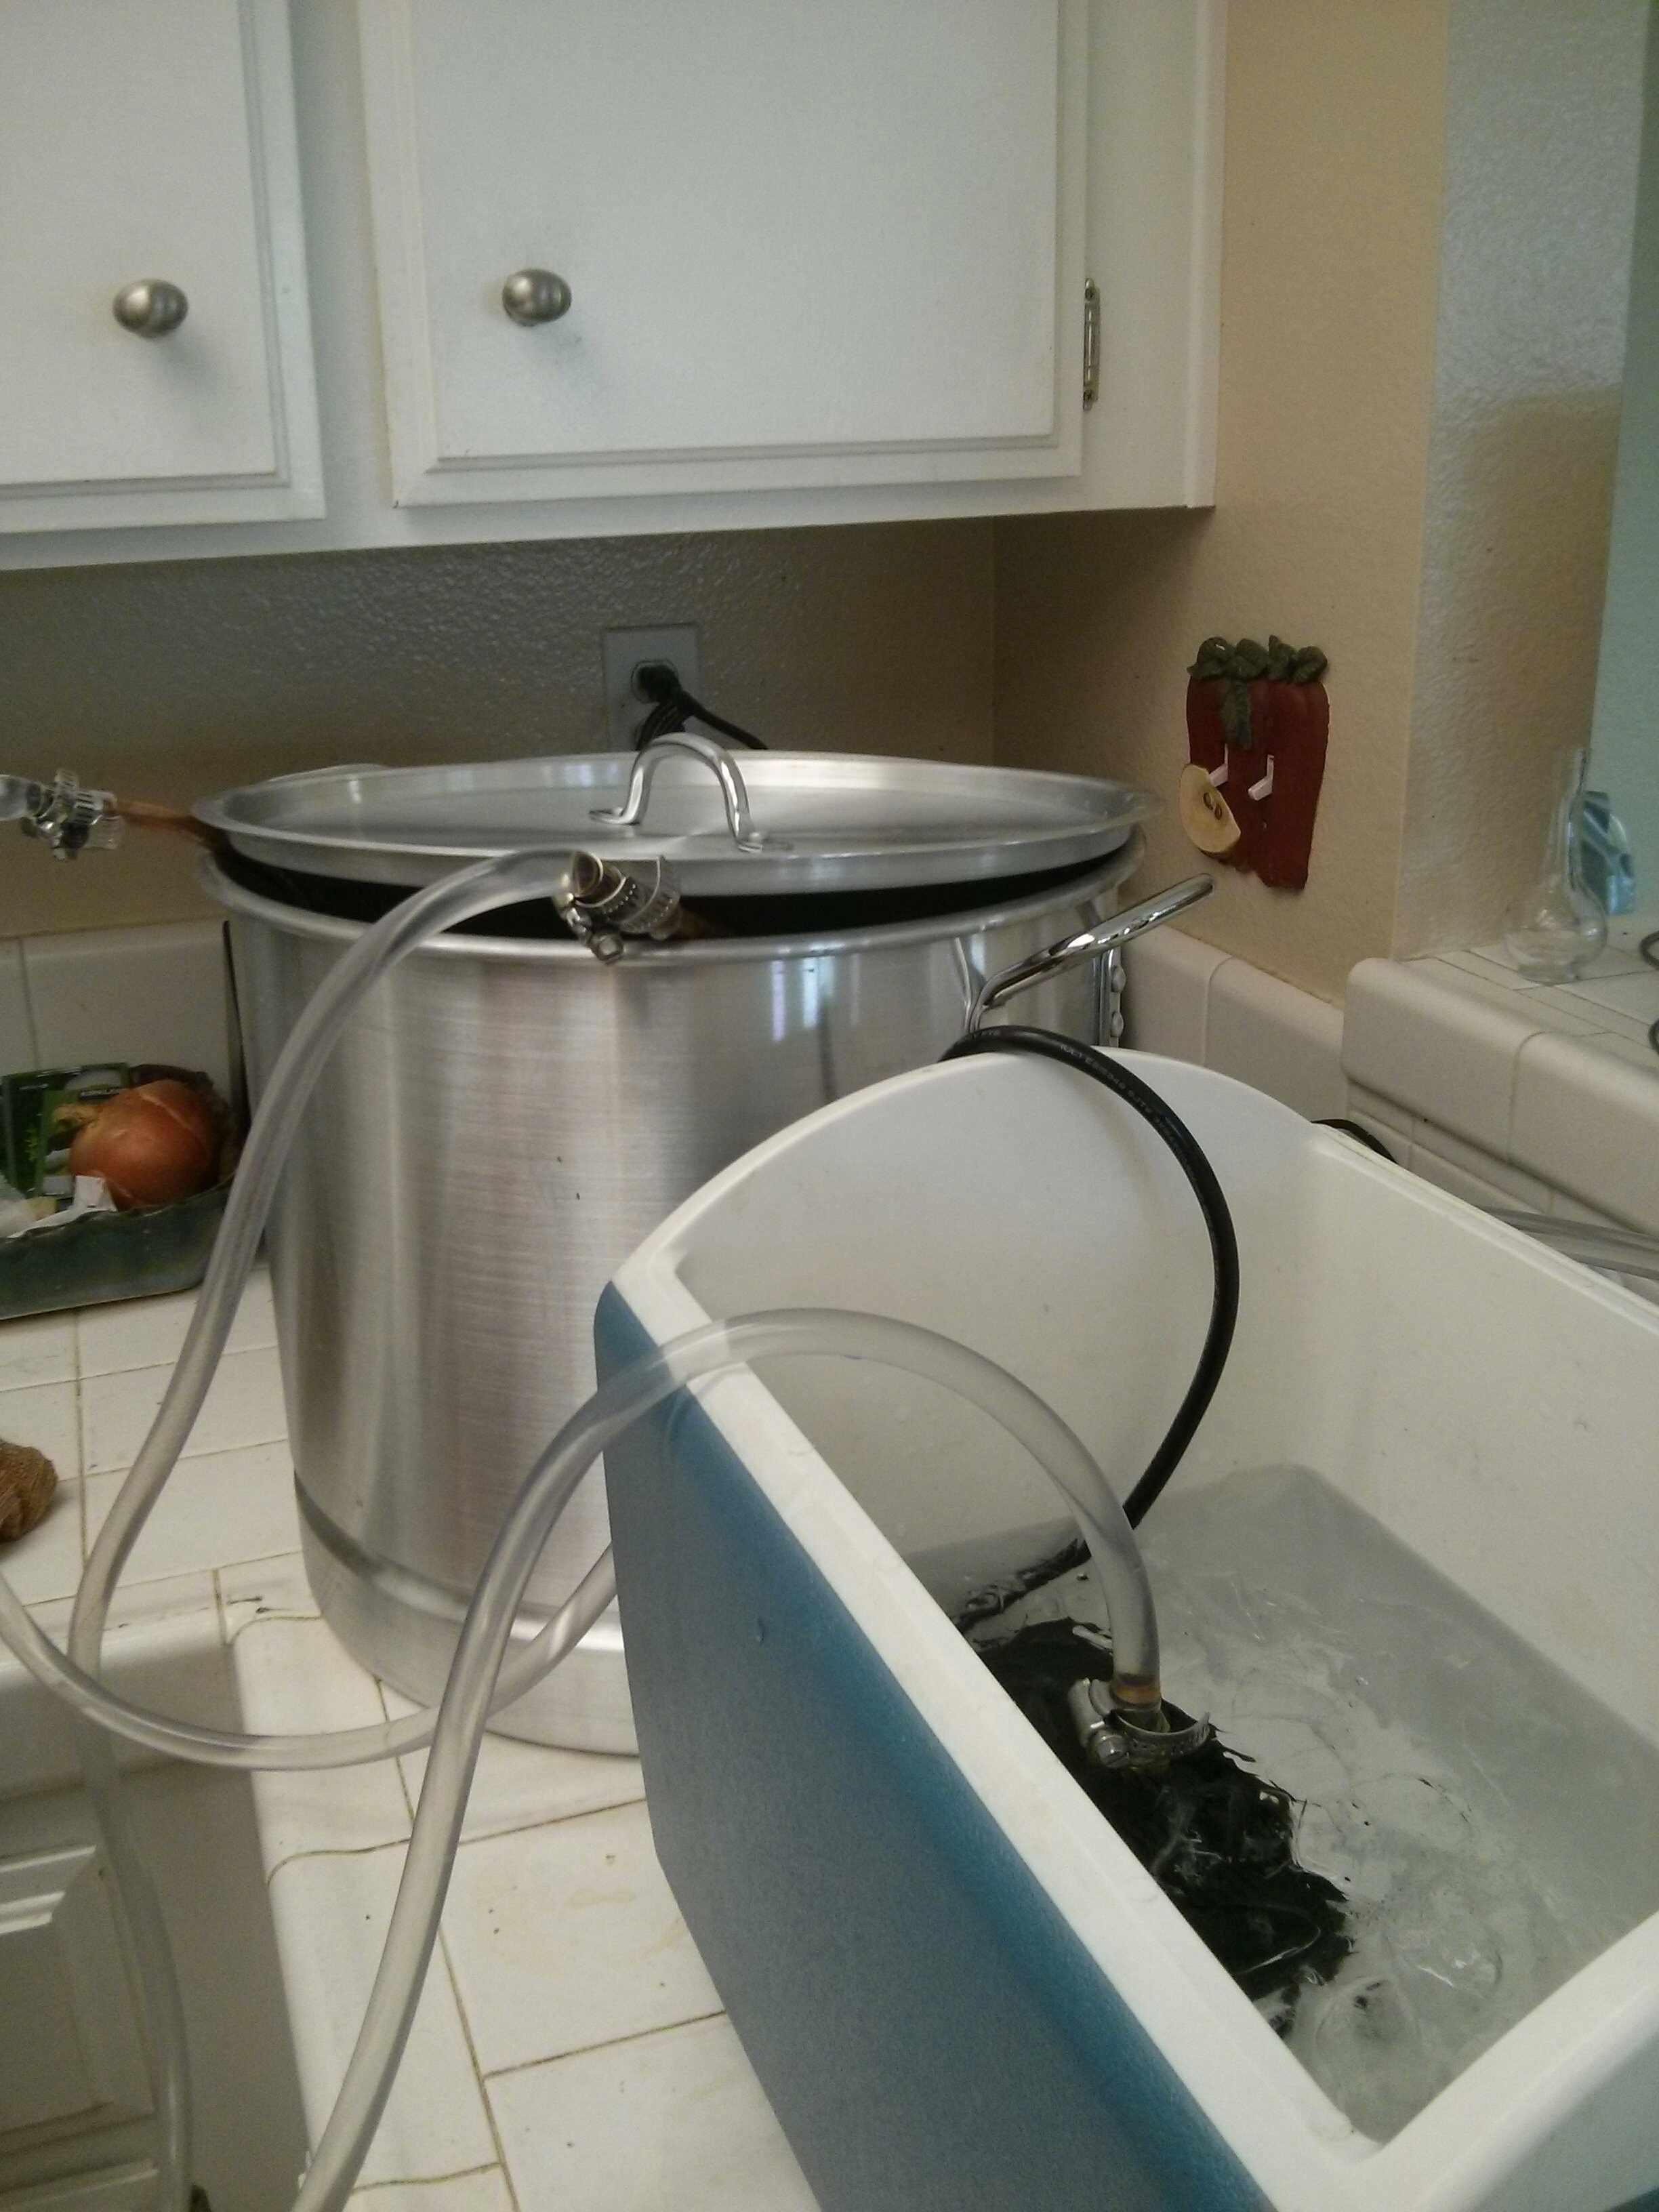
Once the wort has been boiled with the hops, is needs to be cooled quickly, usually from 180F to about 75F before we can pitch the yeast inside. We were able to reduce the wort temperature down to 80F within 30 minutes by using a homemade close system wort chiller and a 10 lb bag of ice. The beauty of this wort chiller is that it recirculates the cooling water, helping us save some water during the brewing process.
The white lab yeast is the happiest around 60-70F temperature which is pretty hard to achieve in Southern California without a wine cellar or basement. Therefore, we bought a 100L cooler and stuck a few frozen water bottles inside as a makeshift refrigerator. The milk cartoon on top is also a homemade pressure relief. The one that came with our brewing kit was way too small and couldn’t handle the more violent fermentation process.
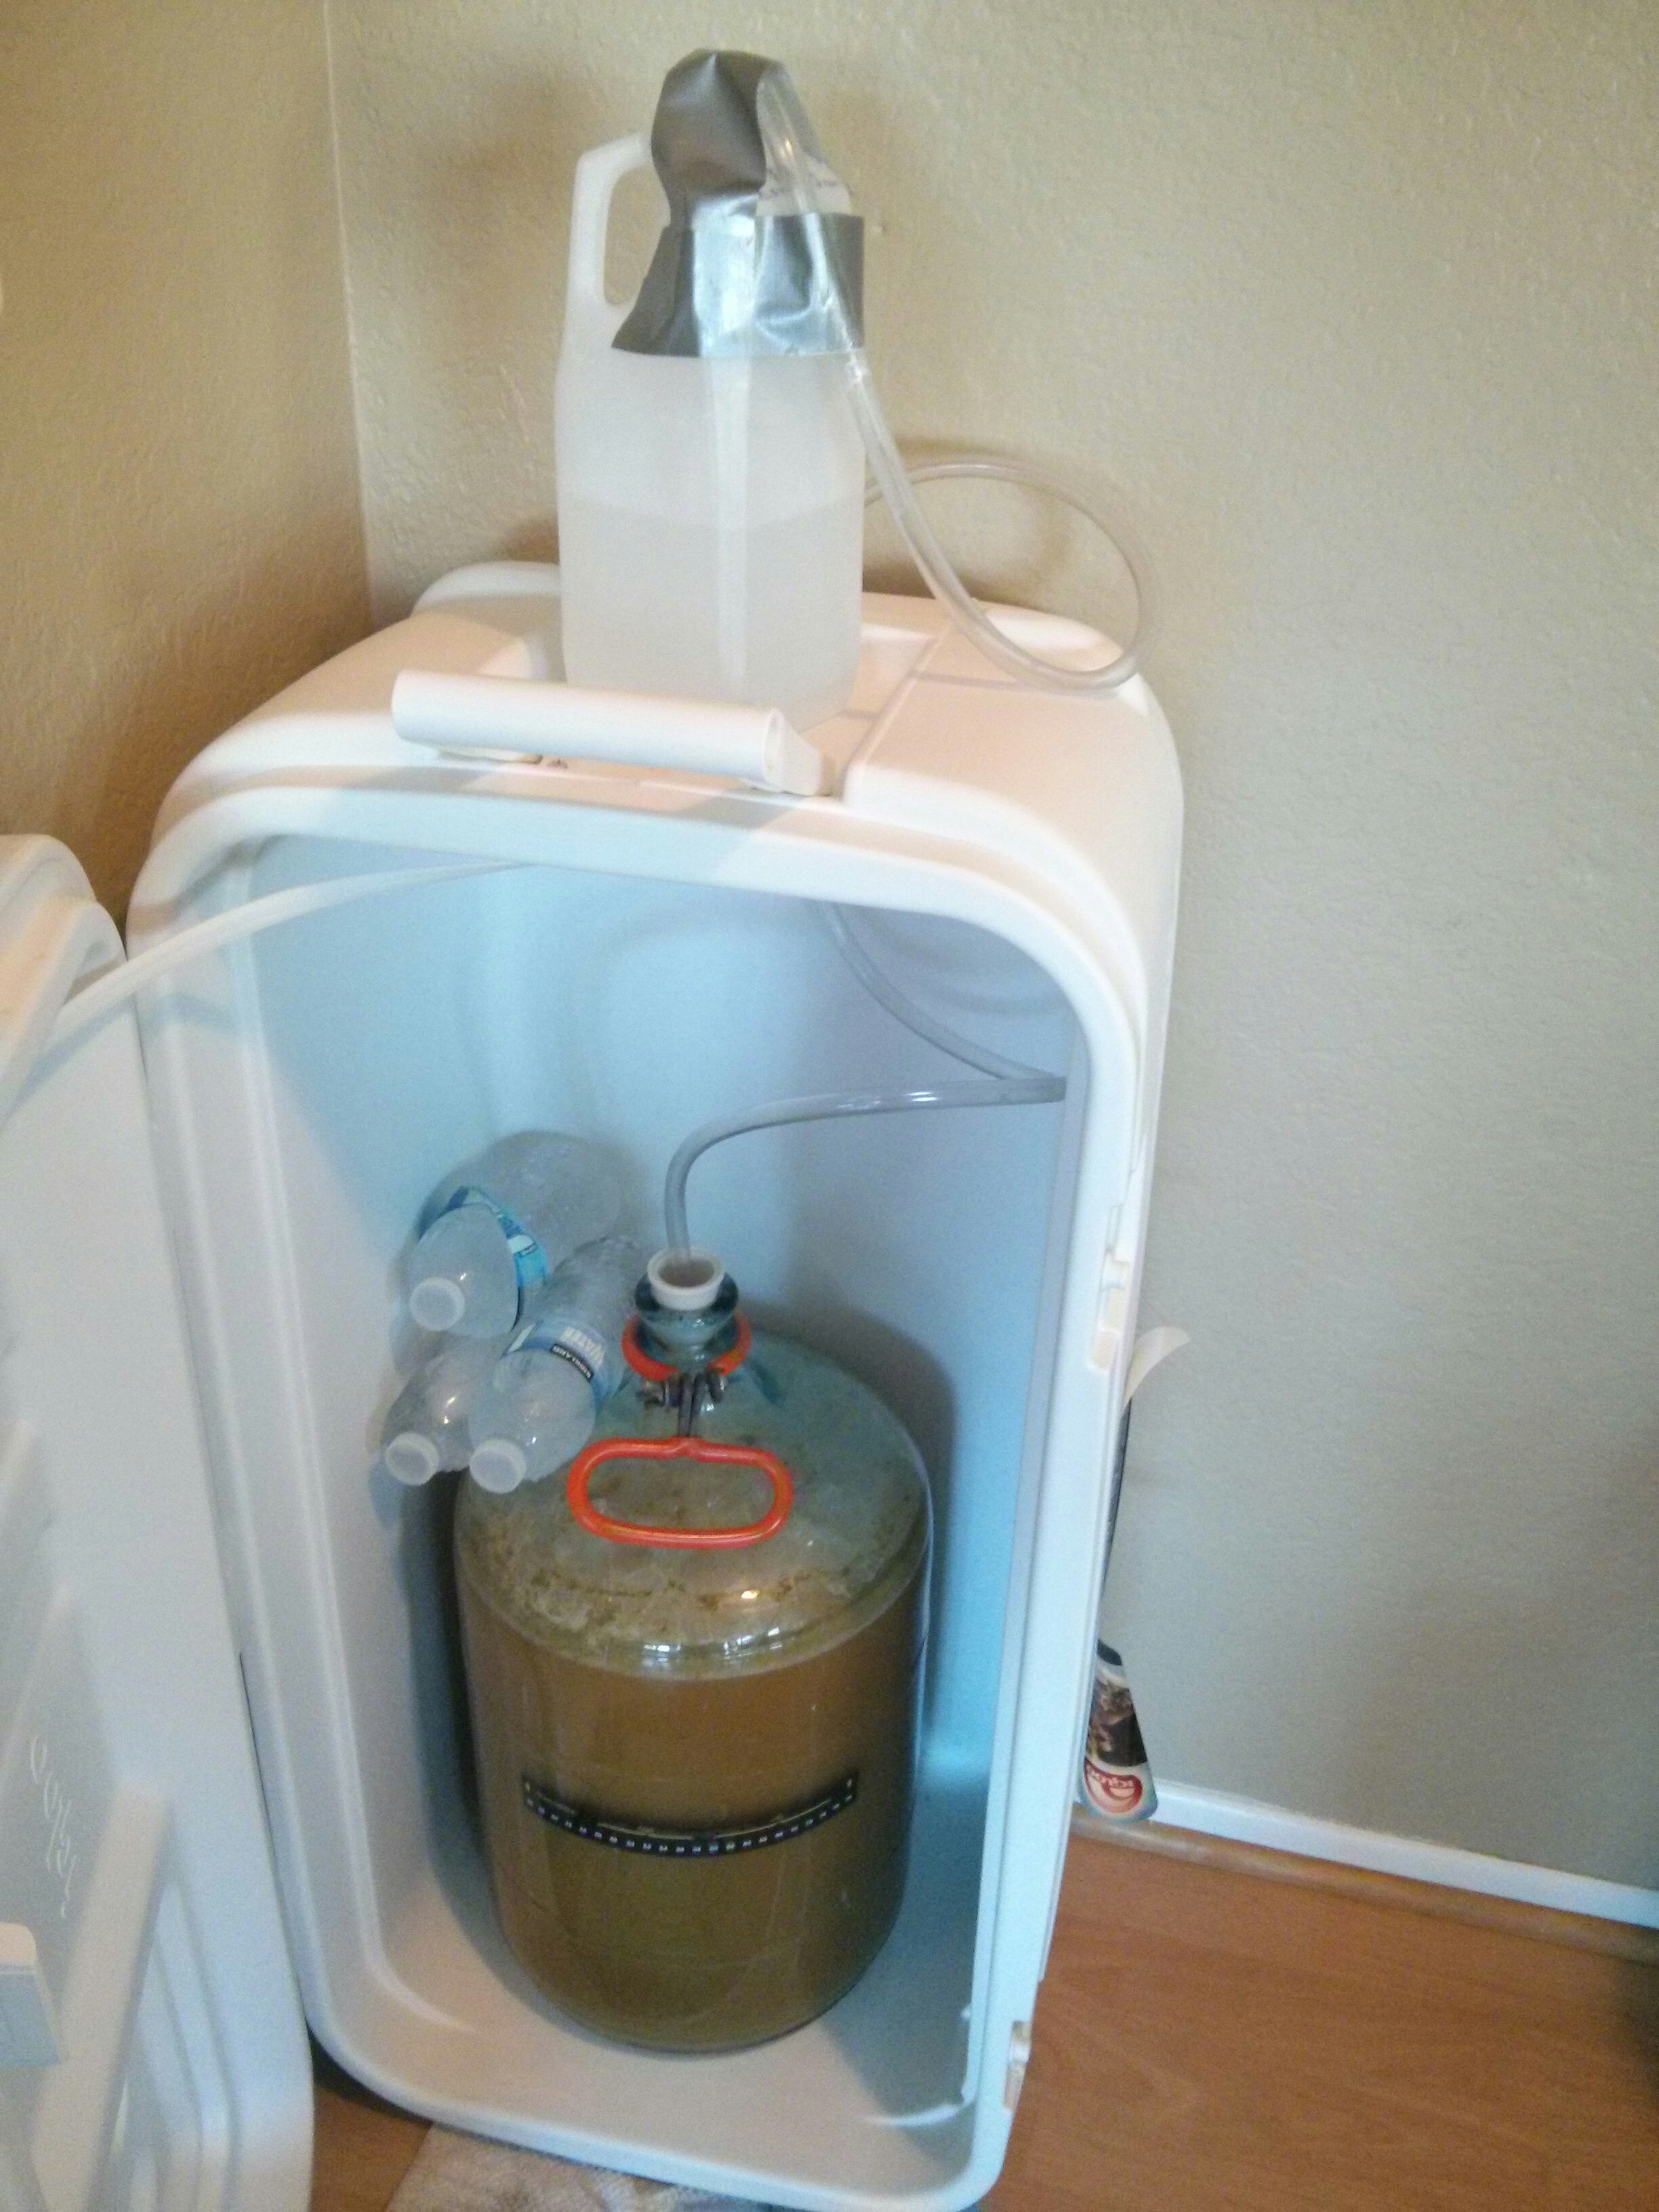
Primary fermentation
We will rack the brew in 3-4 days into a different carboy for secondary fermentation. This helps with the clarity of the beer (we forgot to add a whirl floc in the beer at the end of boiling this time around) and we will dry hop the last 2 ounces of the cascade hops for a nice aromatic finish.
Update on the brew on 2/2/2016

Sierra Nevada and our home brew replica
With most of the beer already consumed, this is a very belated update on how the batch turned out. Since this was a Sierra Nevada clone, we compared the famous brew side by side with the our beer. Overall, there were a lot of similarities with these two beers, especially with the finishing crisp taste of the beer. I thought the Sierra Nevada came out as the better tasting beer because our brew lacked the aromatic smell of the cascade hops.
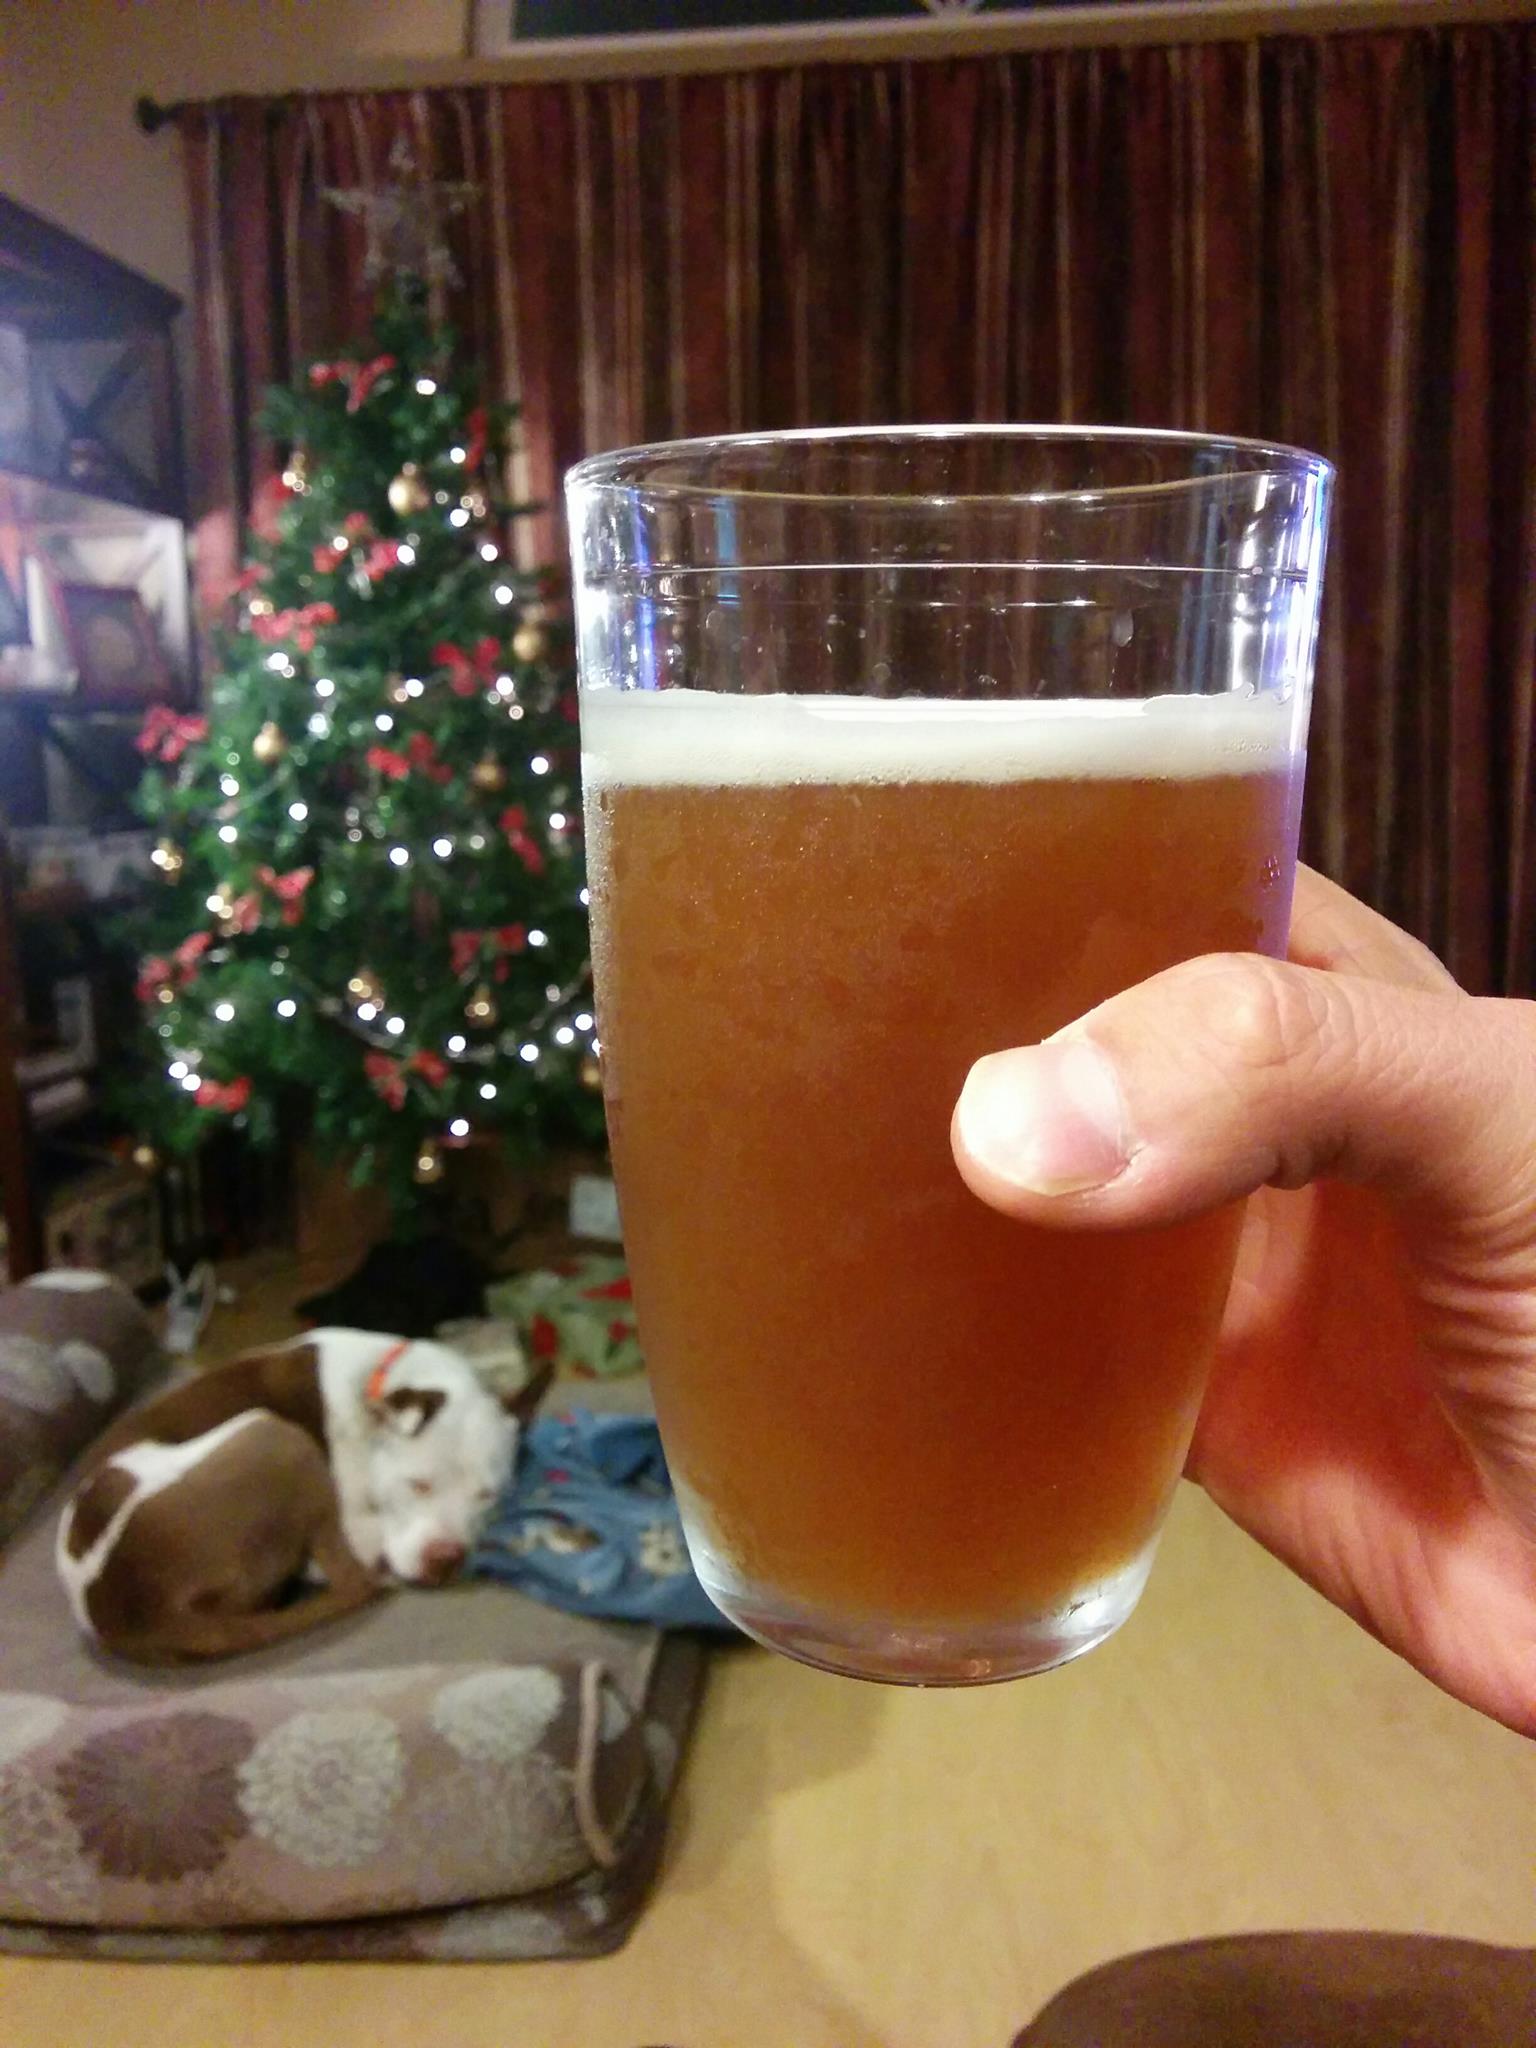
“Unfiltered” (aka forgot the whirfloc/irish moss) IPA, 5.3% abv.
