Manzana School House/Creek Trail, Los Padres National Forest, California

The Quick and Dirty:
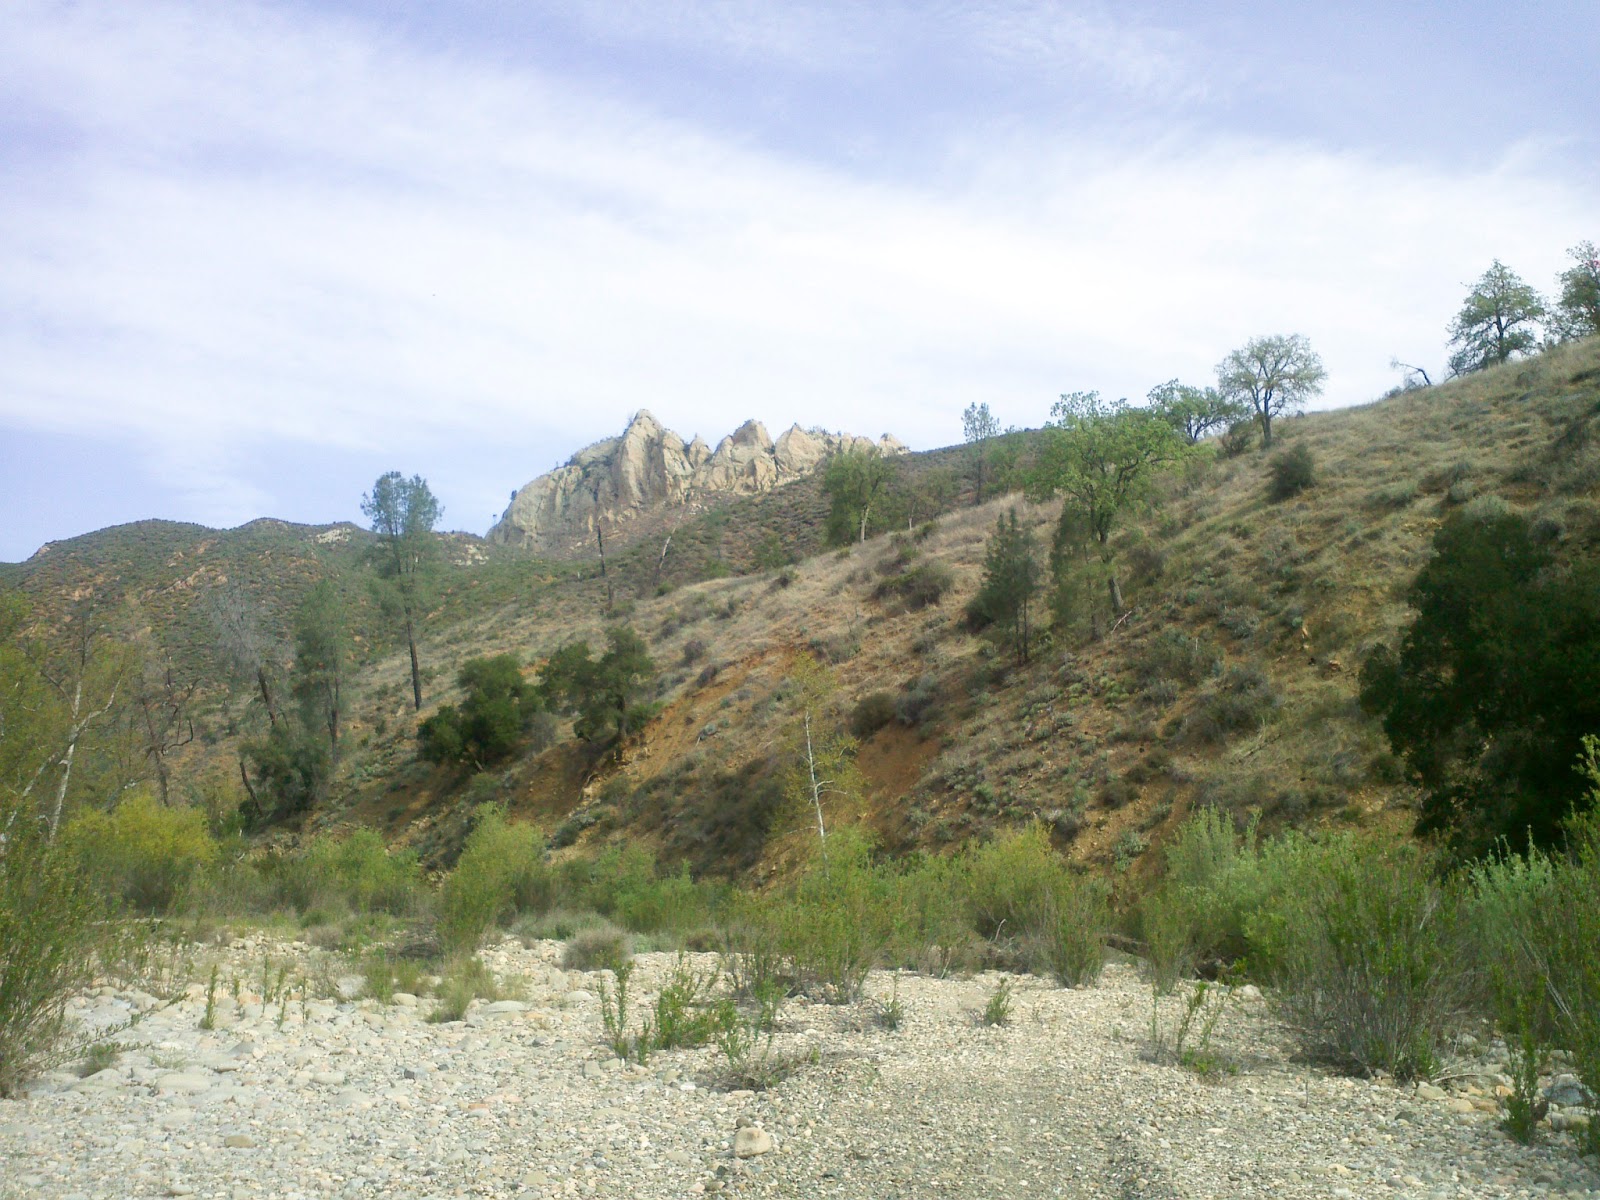
Location – Los Padres National Forest
Distance – 8.5 miles one way, 17 miles round trip
Terrain Type – Flat terrain, Canyons, Meadows.
Difficulty – Beginner to Strenuous (varies by season)
Best Time – Fall through Spring
Special Conditions – 25+ Water crossings, hunters, private land, cattle grazing, off-road vehicles
 
If you haven’t checked out the Santa Barbara Hikes Webpage, I suggest you do so.  Santa Barbara has great coastal hikes and backpacking trails.  Varying ecosystems and moderate terrain make Santa Barbara a good beginner backpacking area.  However, I have learned (the hard way), that this area also has mixed weather conditions that can be unforgiving.  I suggest visiting the area between September through May.  The summer months are hot, dry, and become active hunting grounds.


Manzana School House was built in the late 1800’s for the residents presiding in the
area.  The trail leads pass old structures, grave yards, farm land, and private properties.  The trail is flat, but rated strenuous due to the water crossings (approx. 25 – 35, we stopped counting after seven).  During the later months in March through May,
the water level is low enough to ford.
 
Manzana Trail starts at the San Rafael Wilderness tucked away in the Los Padres
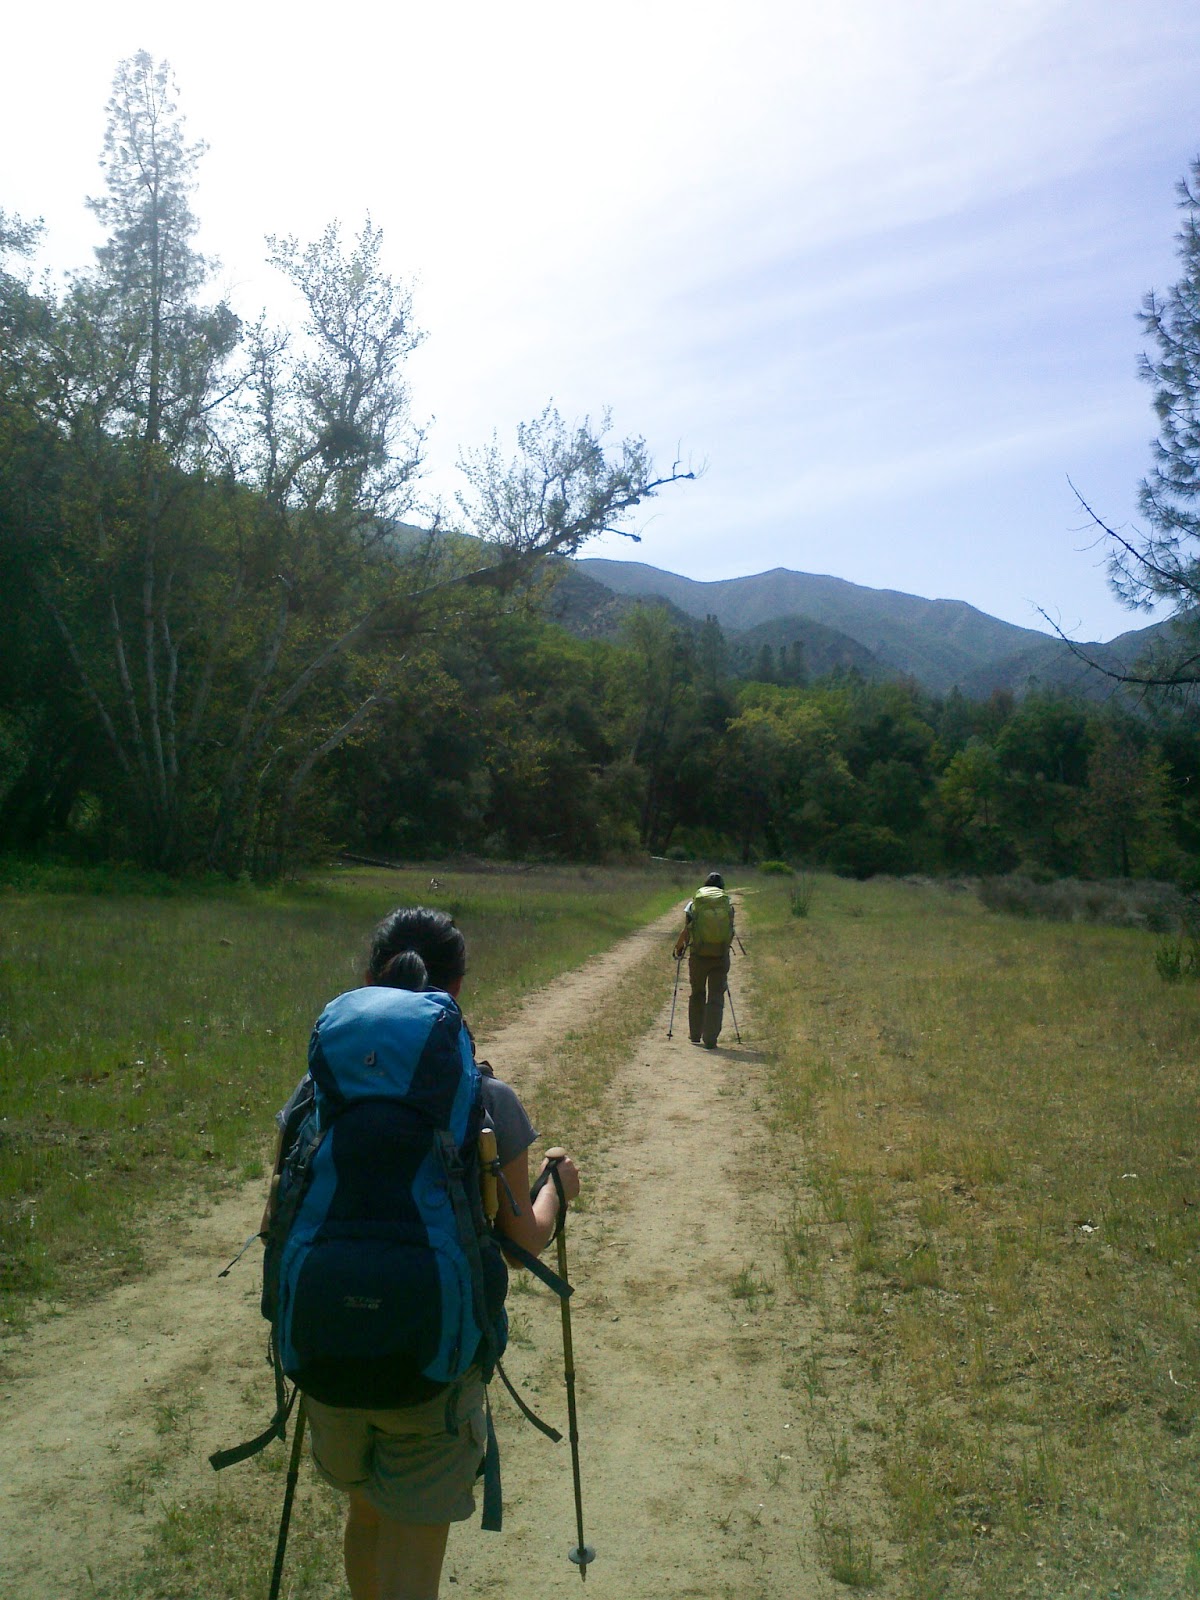
National Forest.  From Santa Barbara, it takes an hour of driving through private and poorly maintained side roads to get to the trail head.  The 
trail is well maintained with short climbs, primitive campsites along the trail, and runs long the Manzana Creek.


Lisa, Aimee, Edwin and I took a out-and-back overnighter in early April to get away from
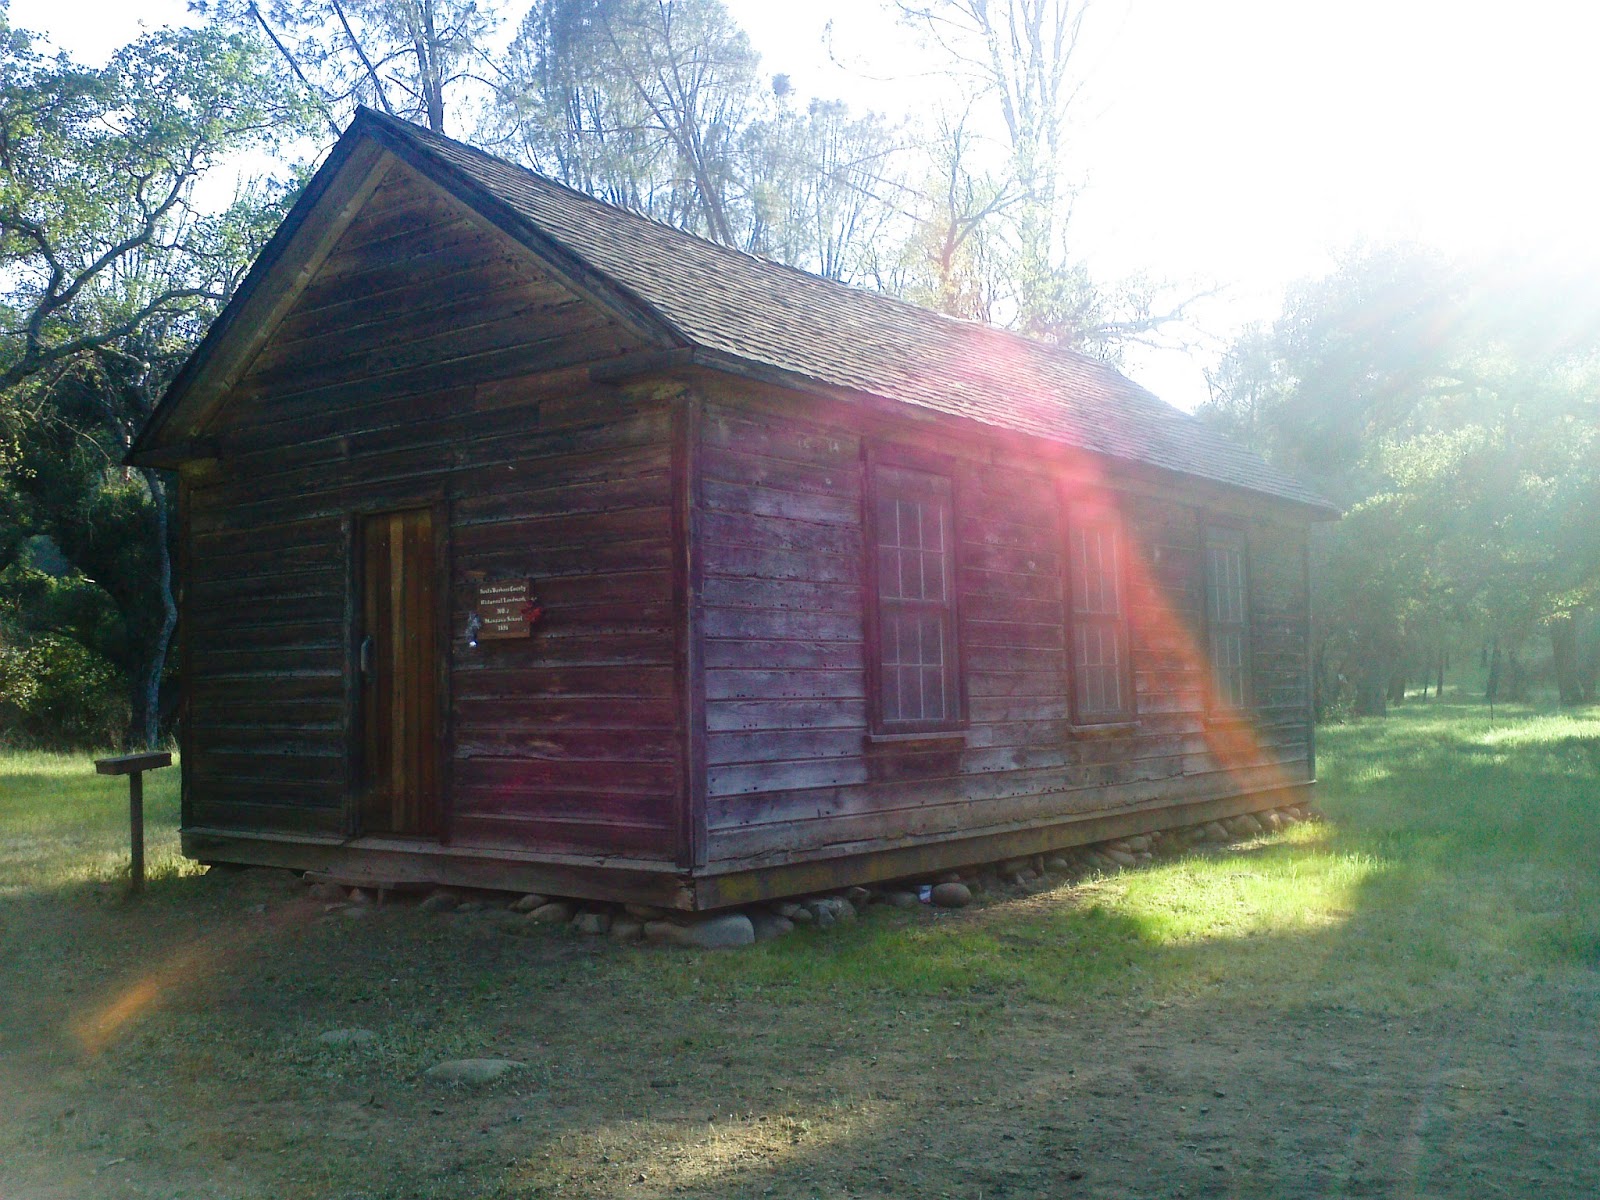
the City.  We attempted to do this trip last year in August but due to heat and the lack of water, we were forced to turn around.  This time around, the weather conditions were favorable, with ample shade and plenty of water. The schoolhouse is 10 miles from the trail head.  We started 1:30 PM on Saturday and were able to get to the school house (our base camp for the night) by 5:30 PM.

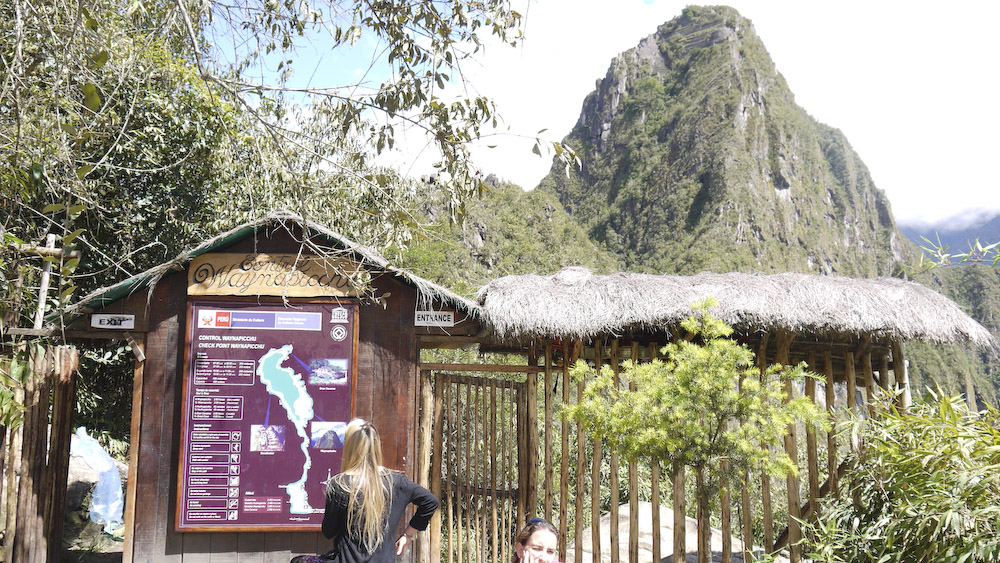
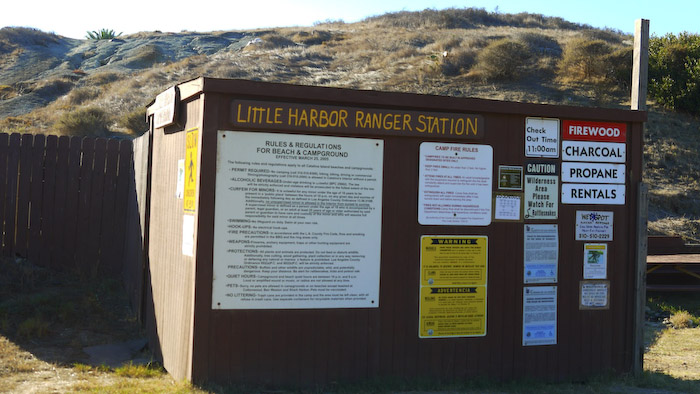
There is a log of all the hikers and backpackers that have entered and exited the area recently.  Make sure you log your information and read what others have written.  One vital  thing you should look for in these logs is WATER.

 
Aimee rocking Sam’s Deuter ACT Lite 60 + 10 SL Pack.  Part of the trail becomes a Jeep trail.  You will occasionally see off road vehicles pass through on their way through the forest.  The Jeep trail is the only way for many of the private land holders in to access their land. 


The trail was busy in the beginning, after mile five – we were the only group heading towards the school house.  The water was ankle deep, making fording easy.


An interesting thing about this trail is the amount of old farm equipment that was
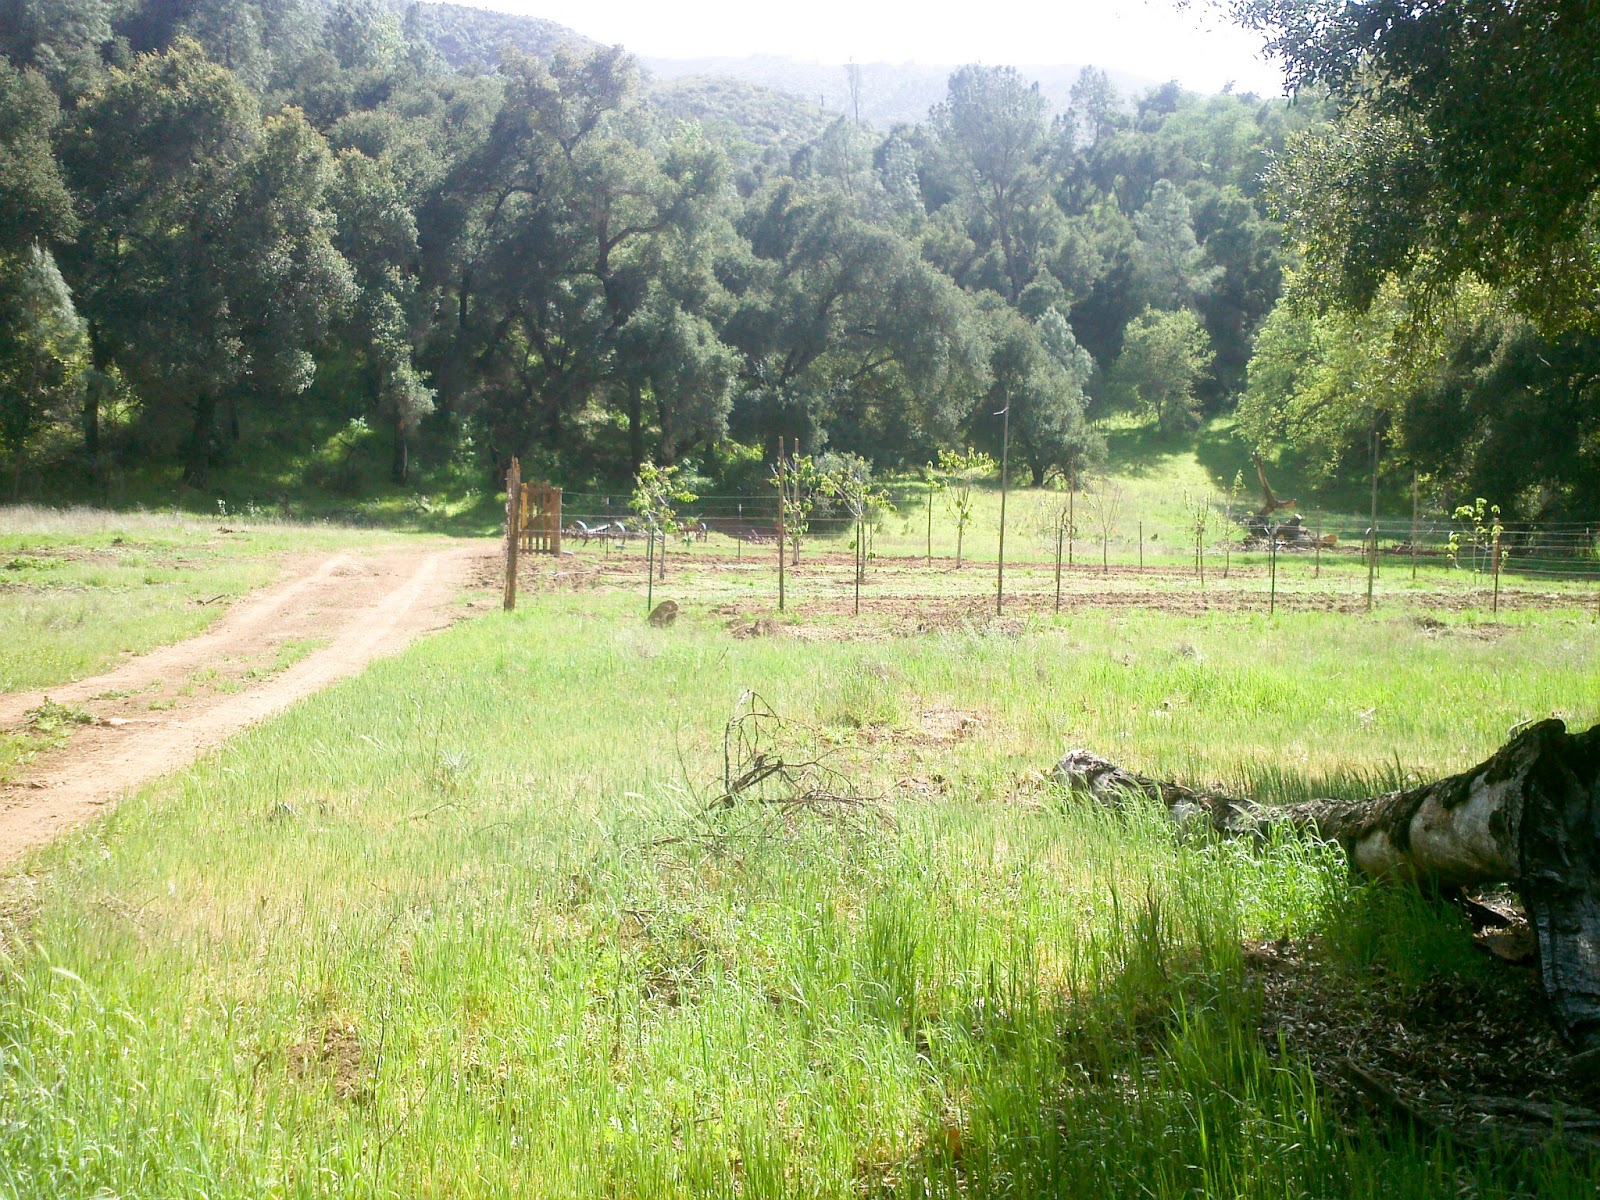
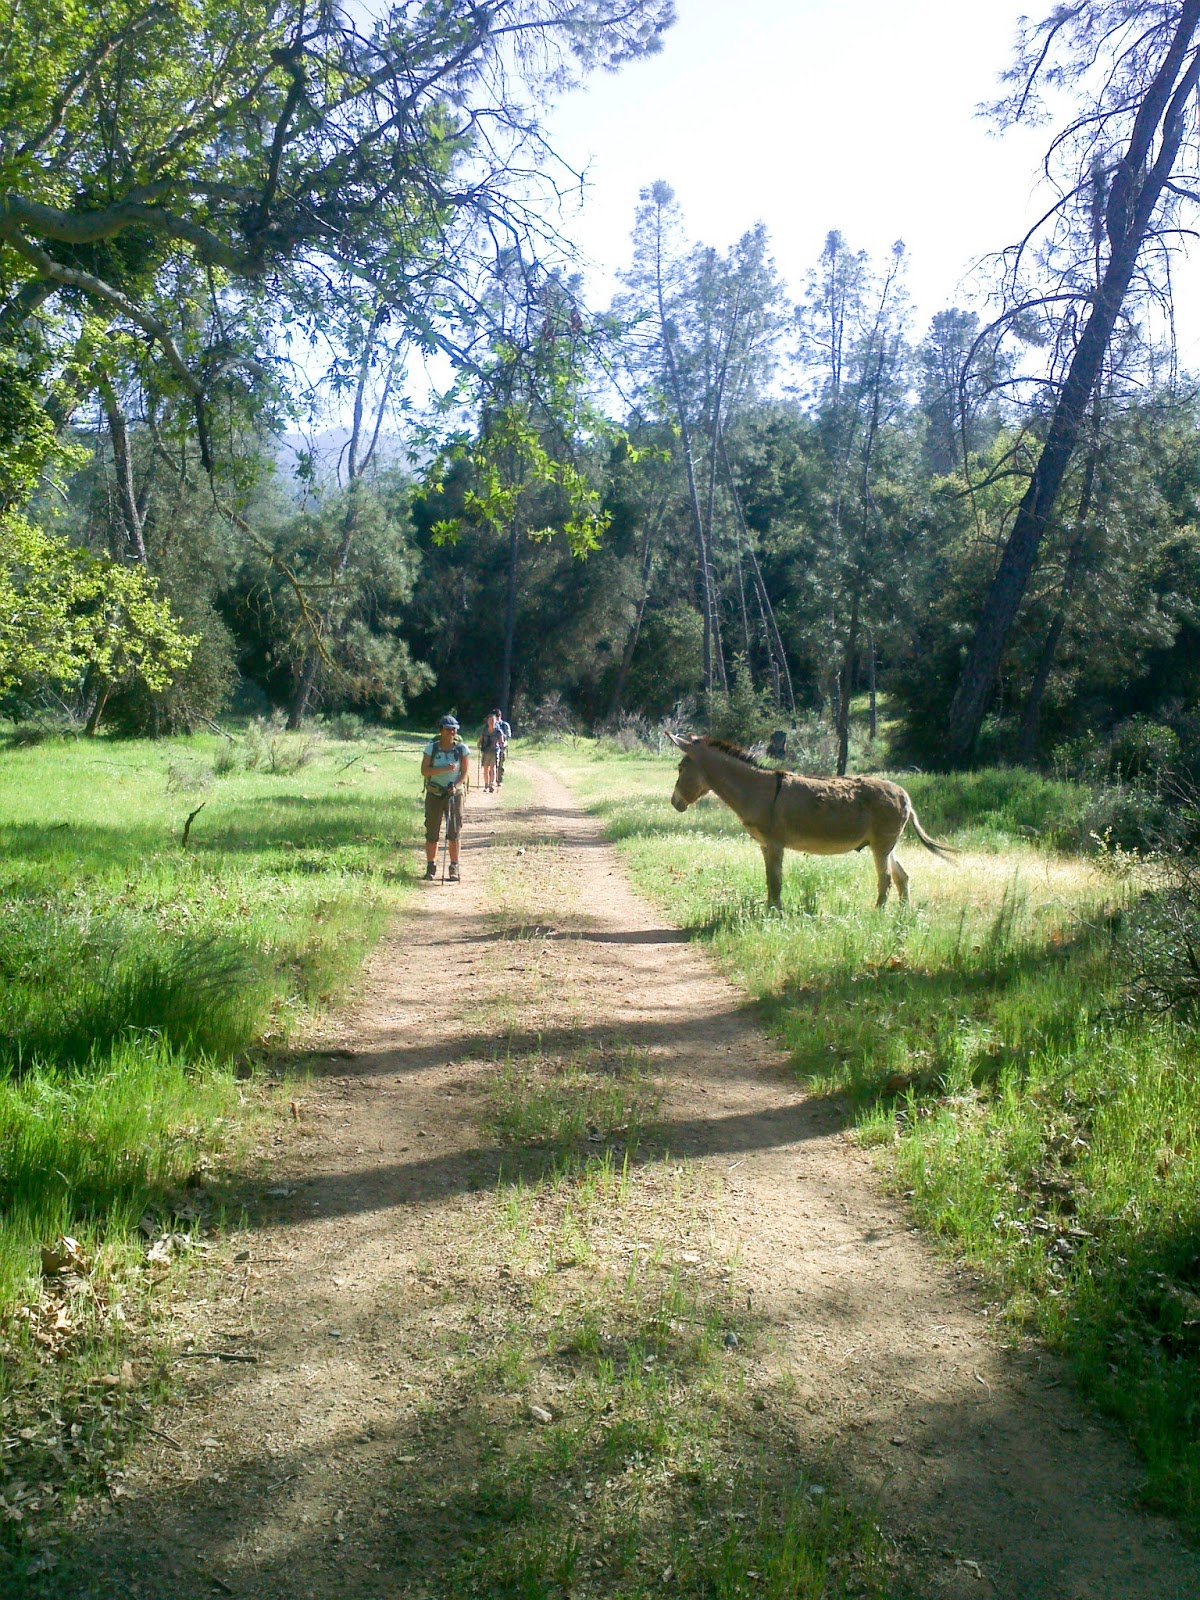
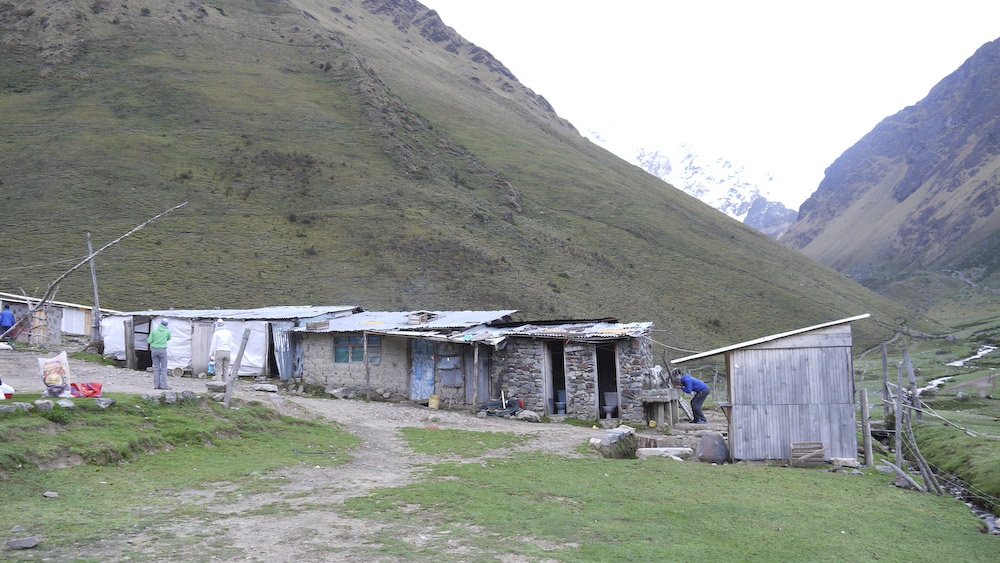
left behind by the original settlers. There are still small farming operations in the woods today.


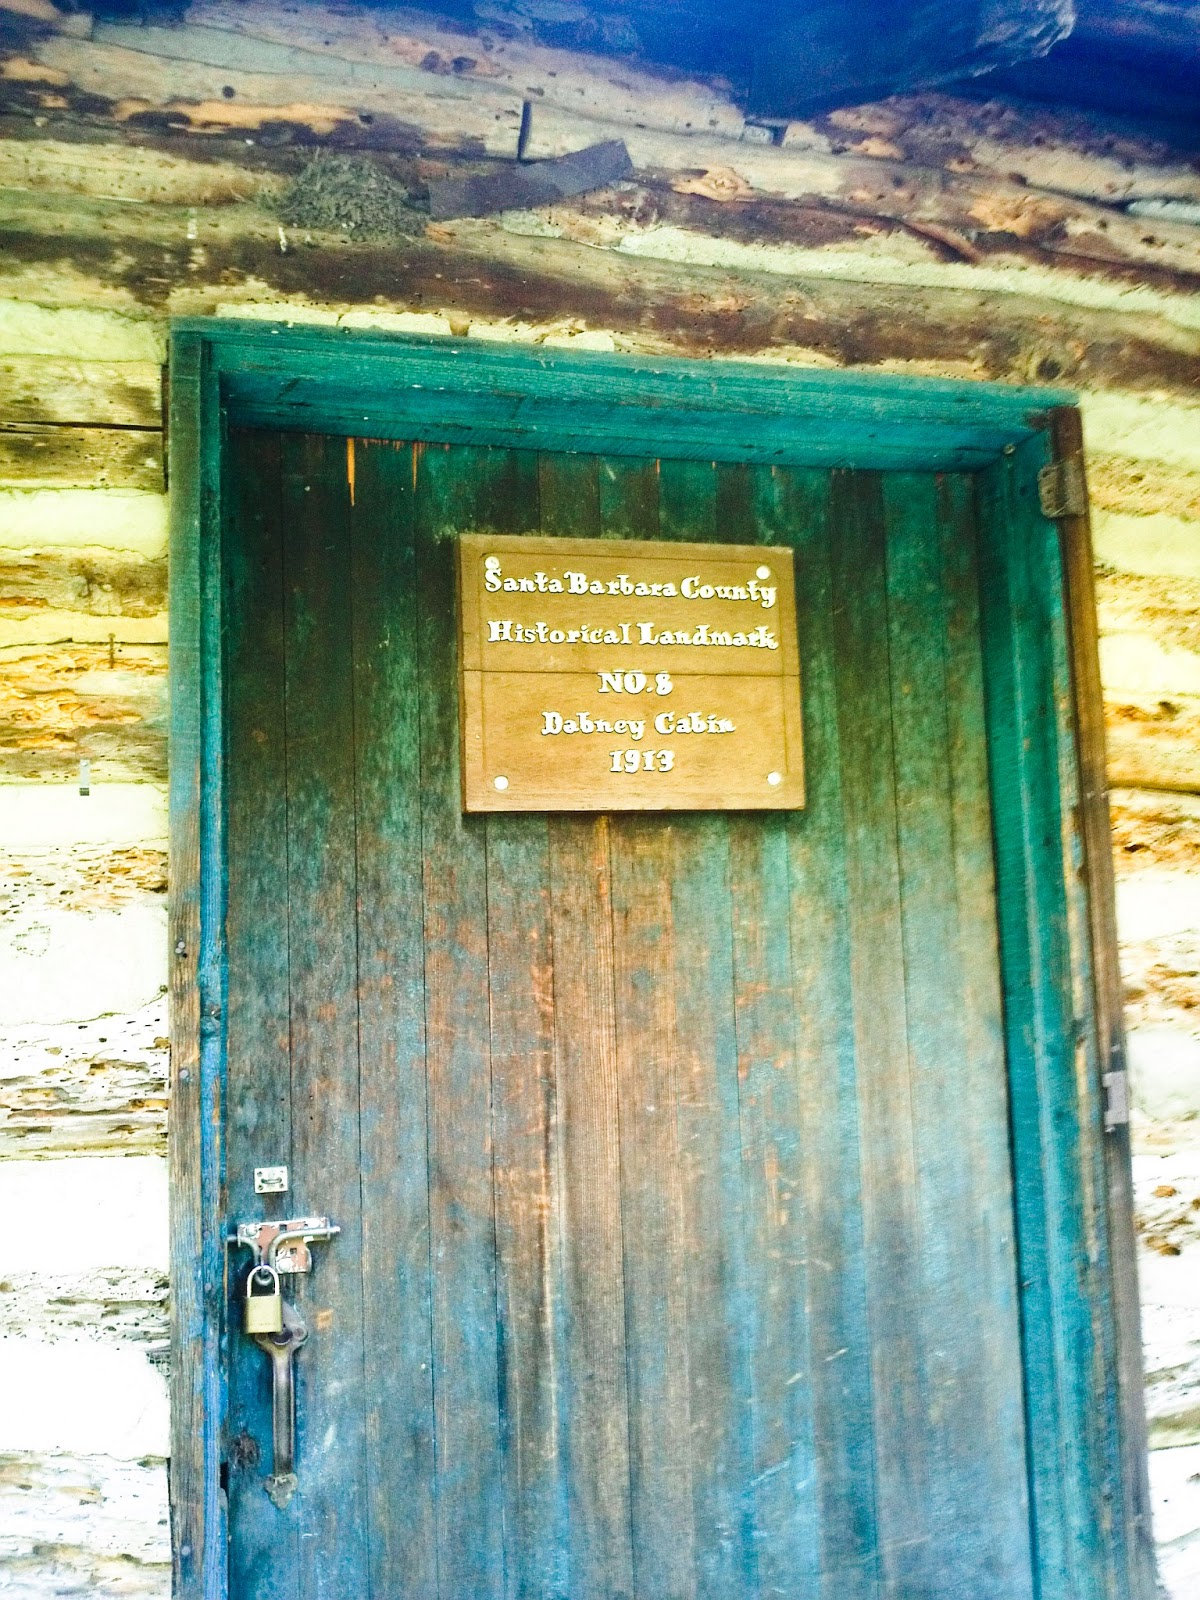
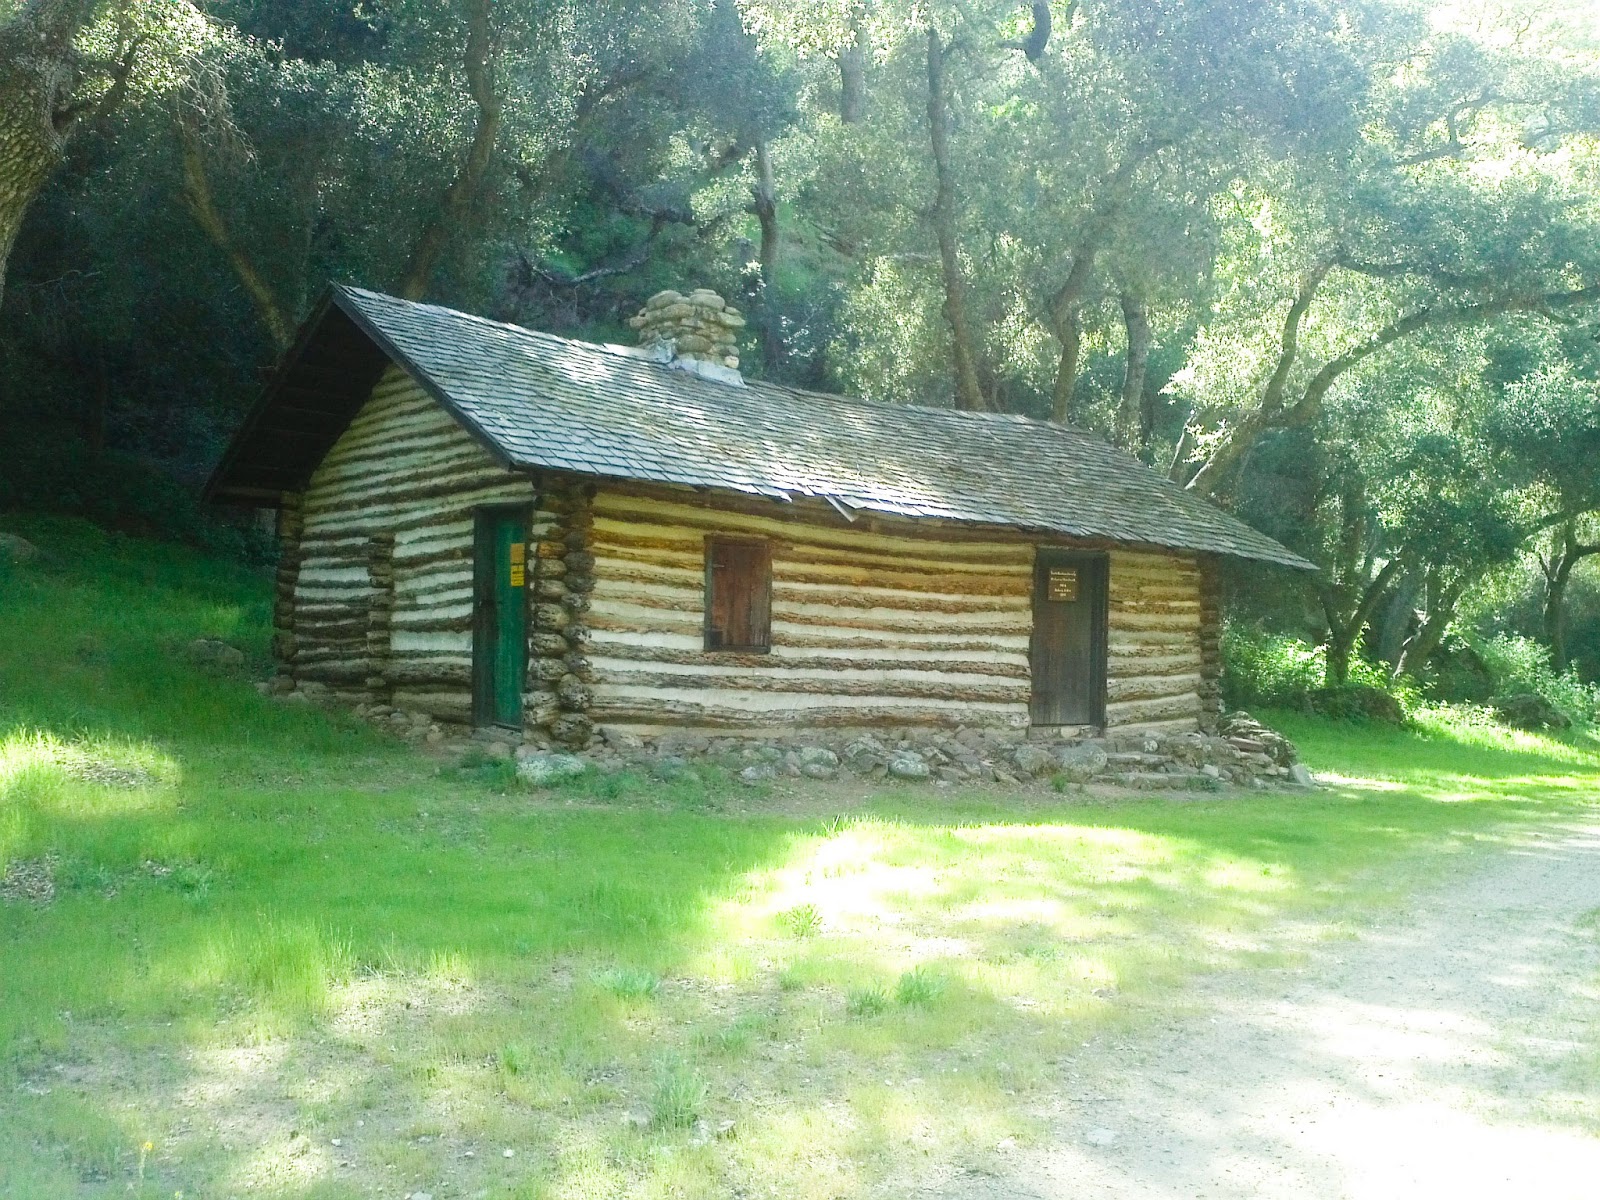
Seven miles into the trail you will find Dabney Cabin.  The cabin as a old hunting lodge and currently is a Santa Barbara historic landmark. There is a primitive toilet here with good access to water.  Make sure you sign the book!

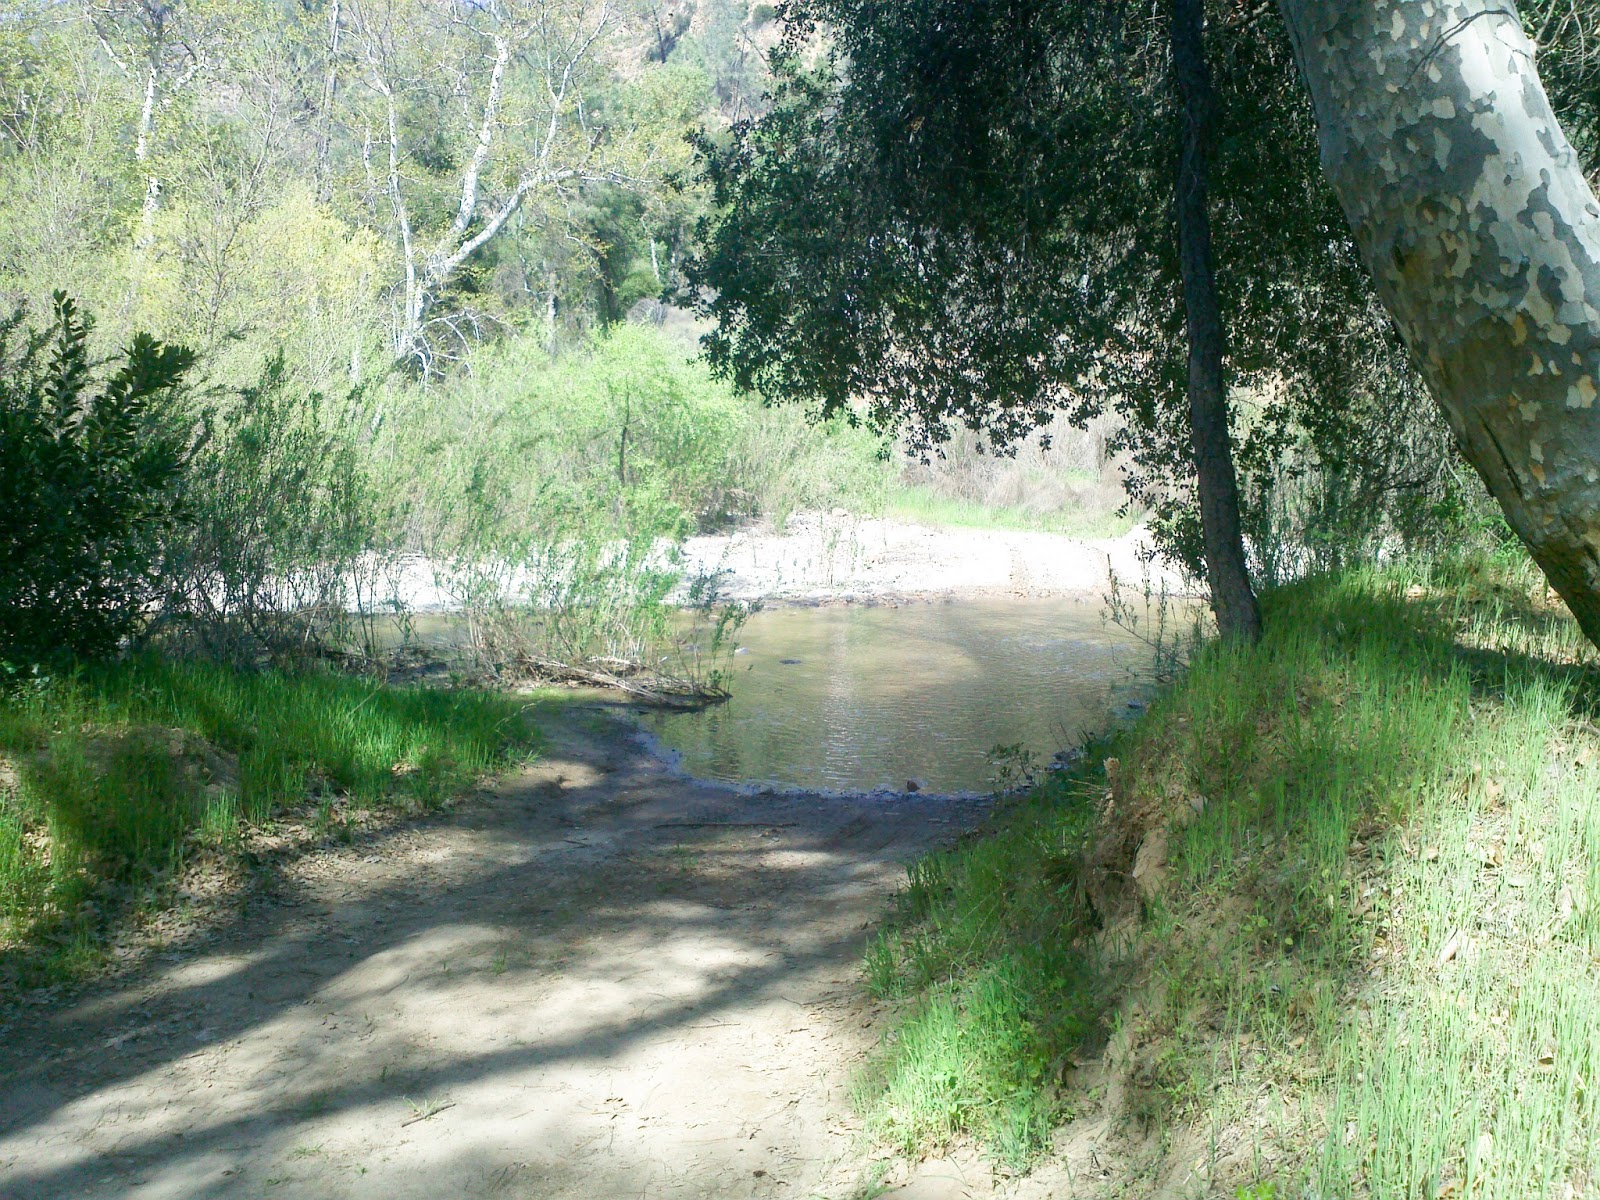
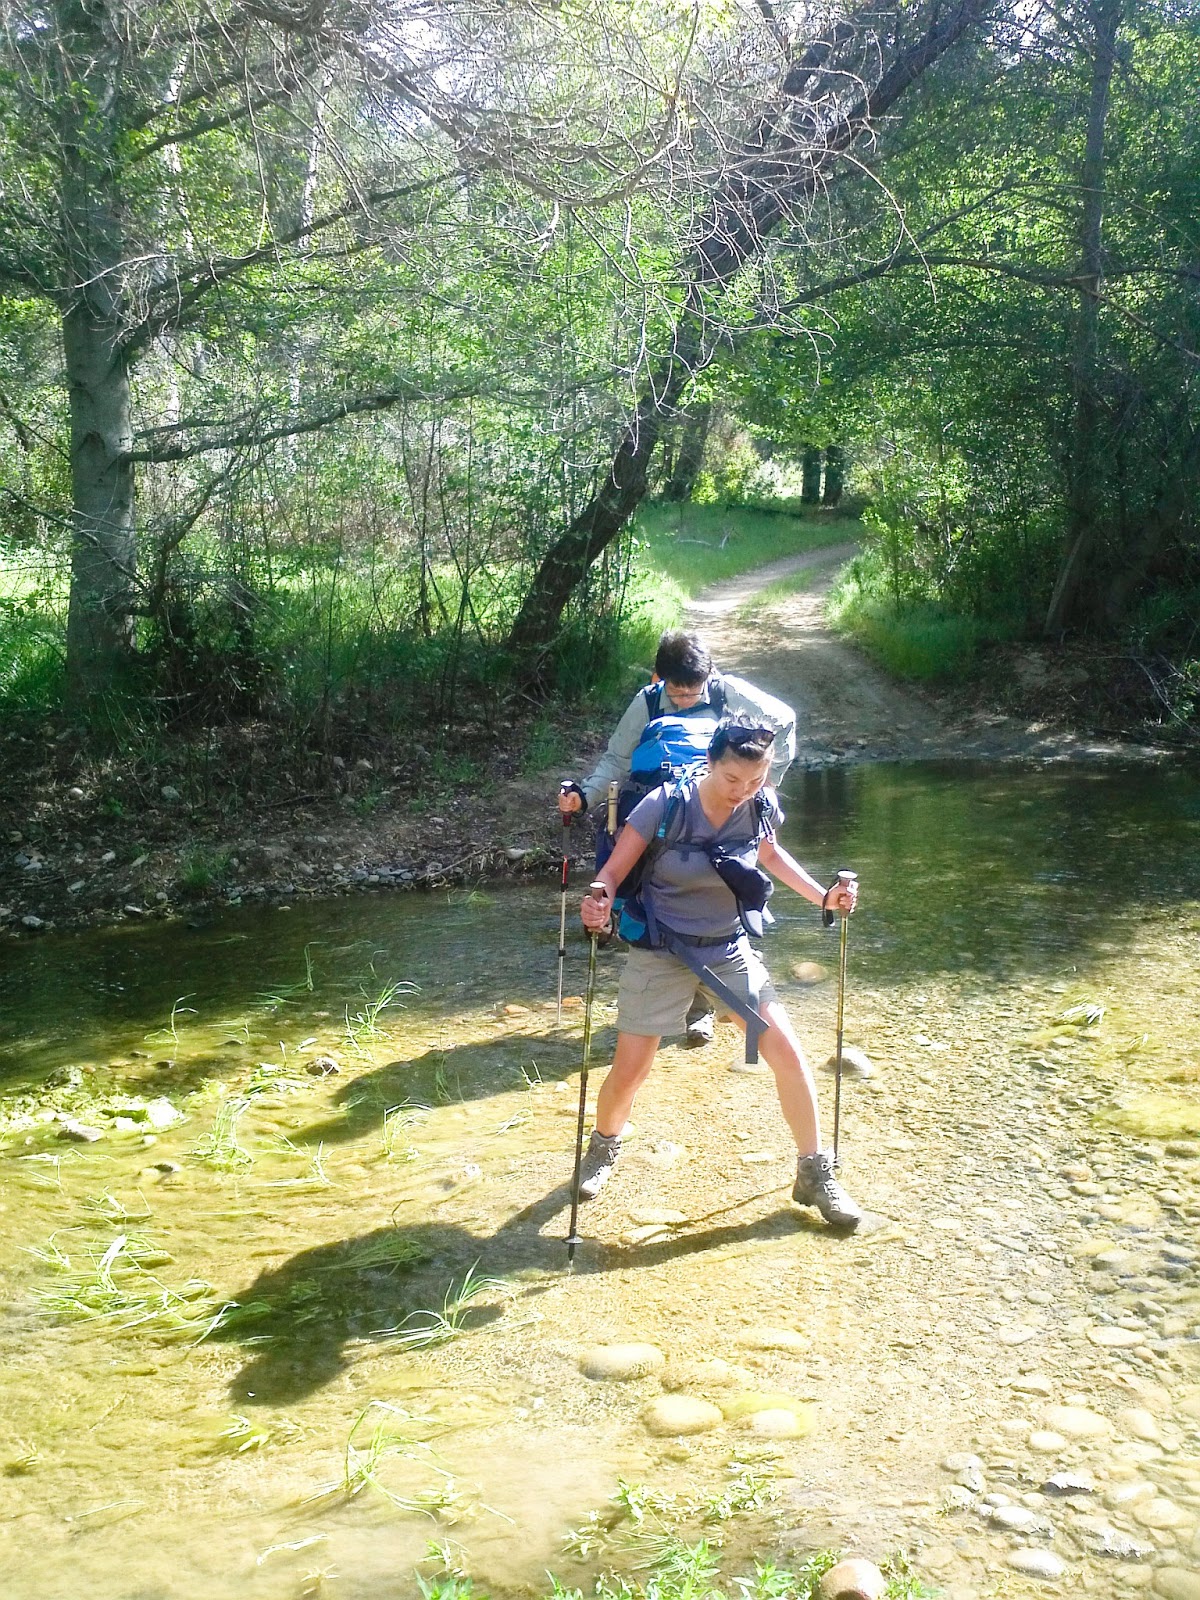
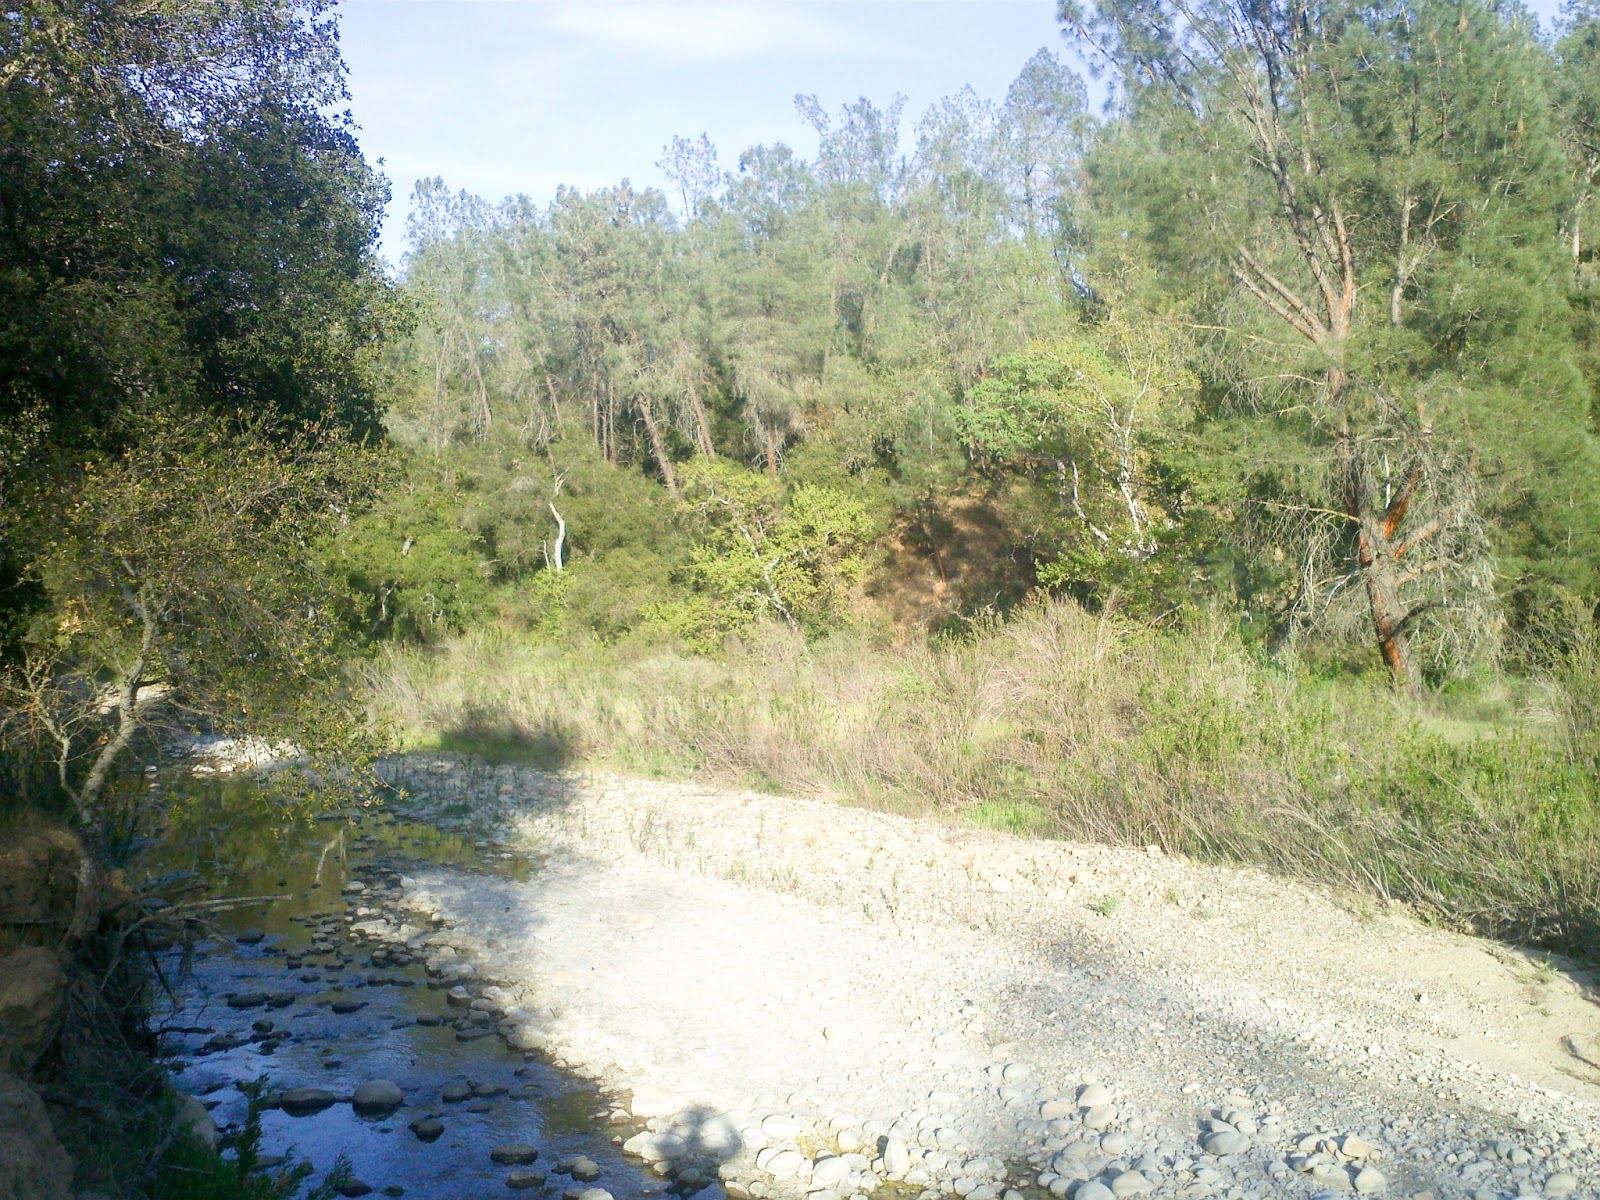
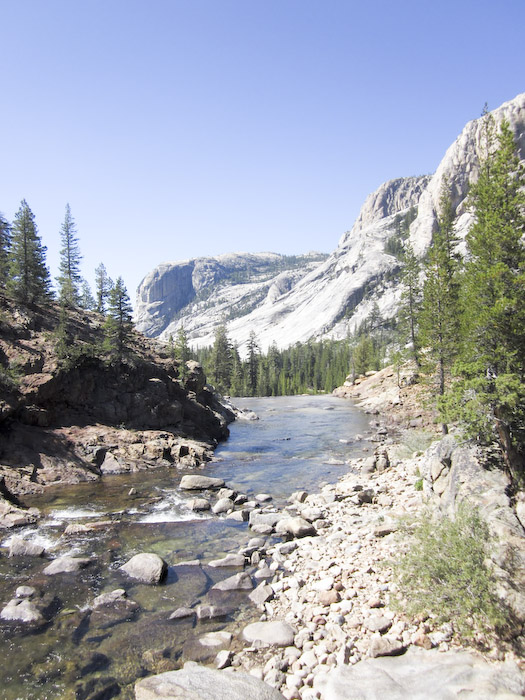
The water is hip deep during the rainy season.  At some of the larger crossings, you will find rope that will help guide you across the river.  In our case, the water only got above ankle deep.  If you want to stay dry, make sure you keep and eye out for alternative routes.  There are many easy-to-spot crossings. 


The trail will cut through several private land holdings.  Forest Service has clearly marked these points.  You must stay on trail.  Please also remember to close the gates as you pass through the trail.   Respect the private properties, close the cattle gates and leave the livestock alone.  You are given the privilege to travel through their land.


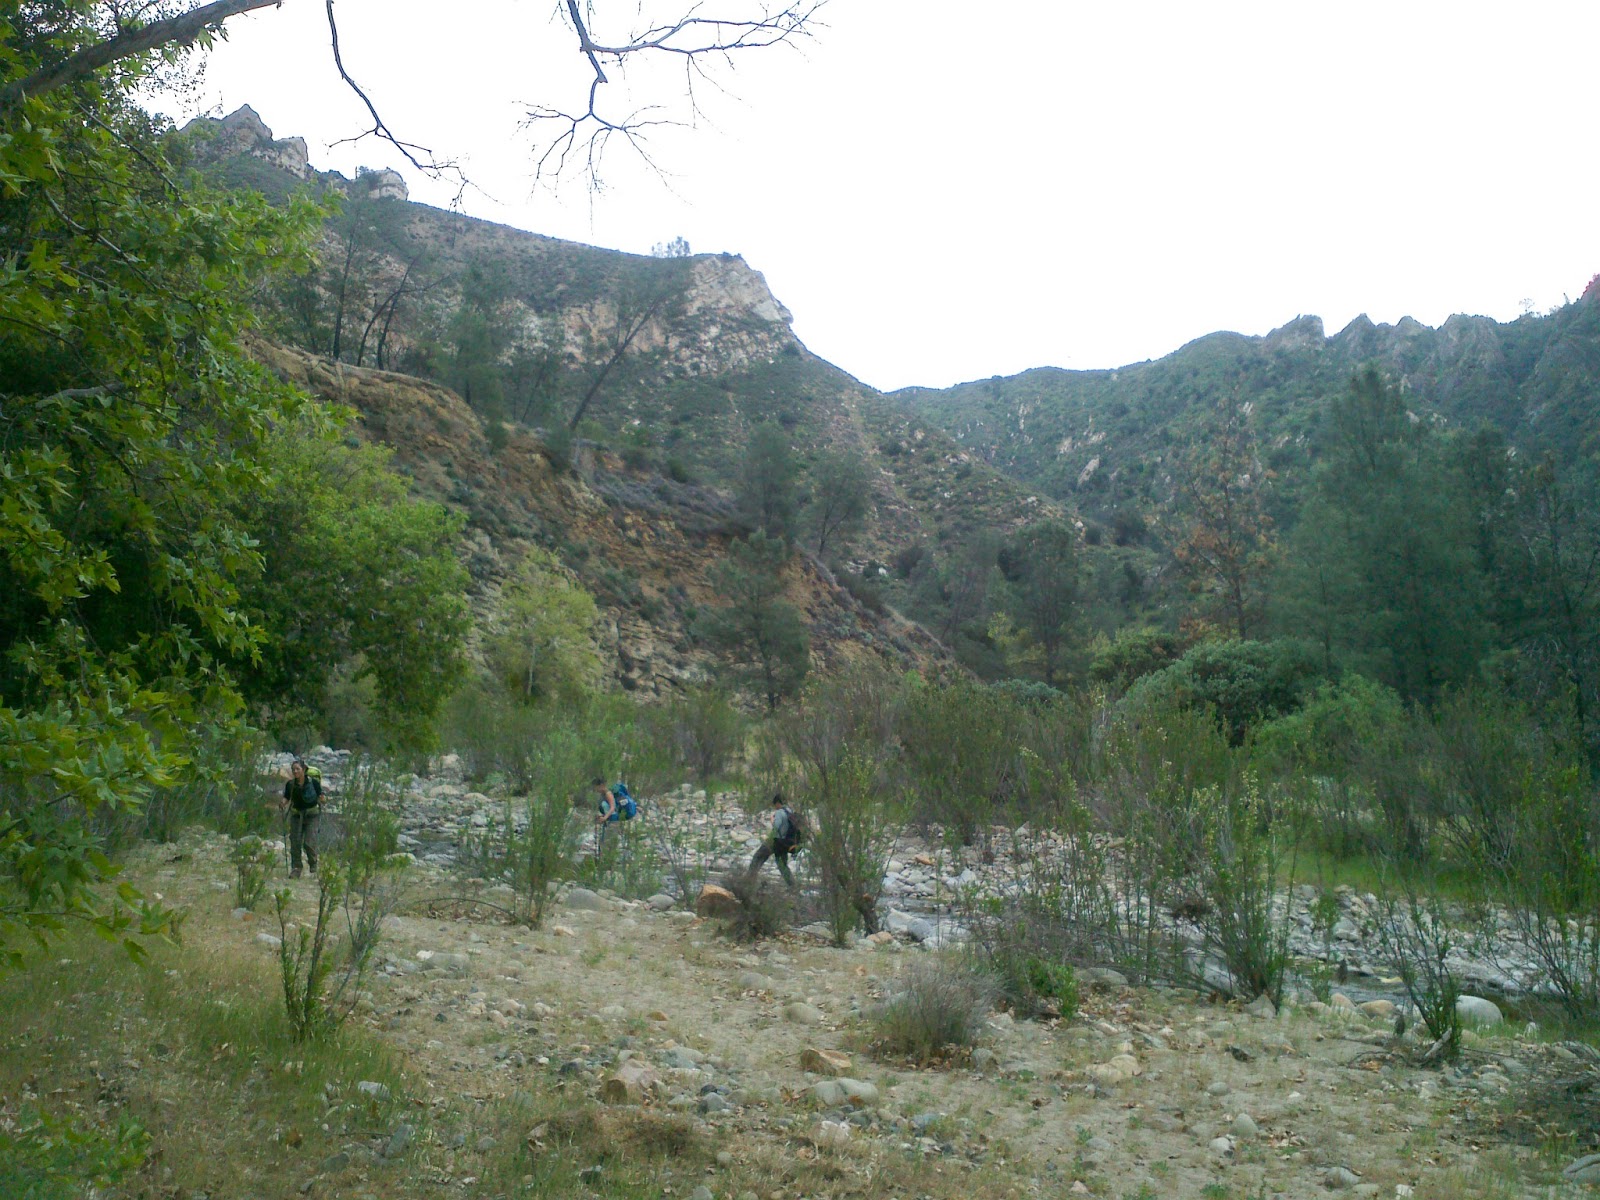
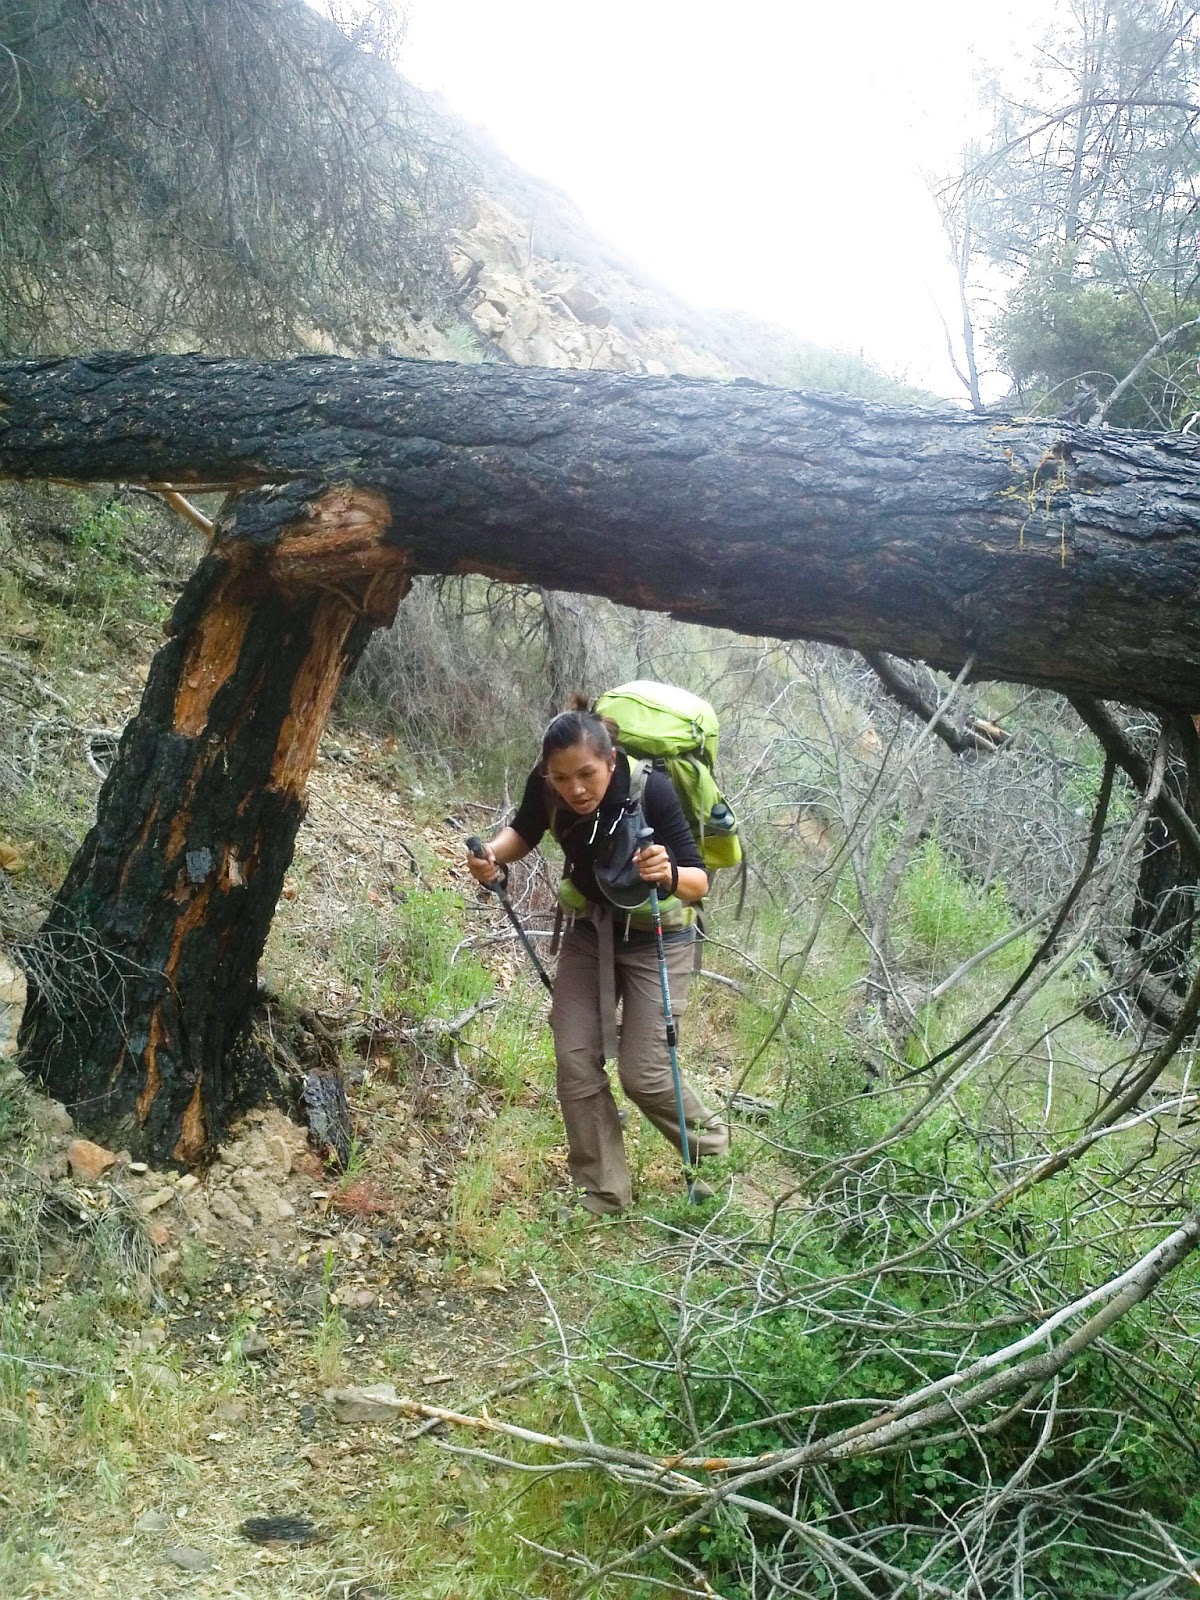
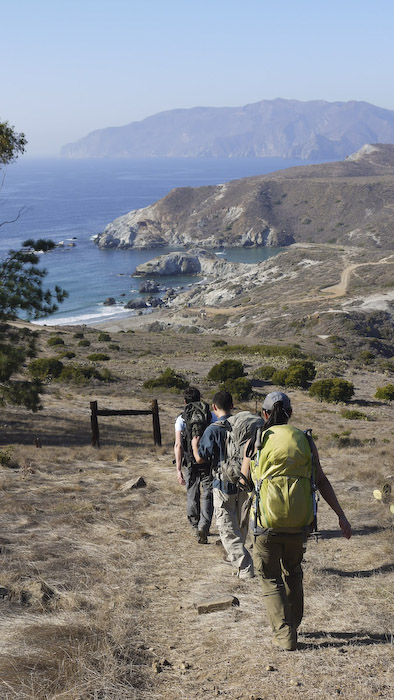
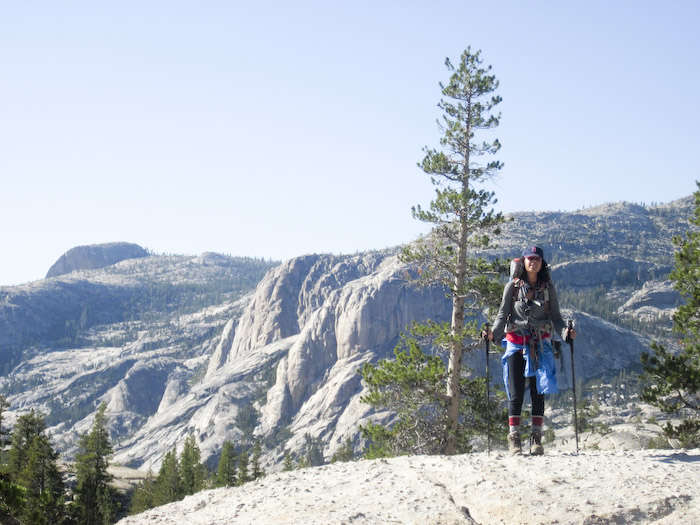
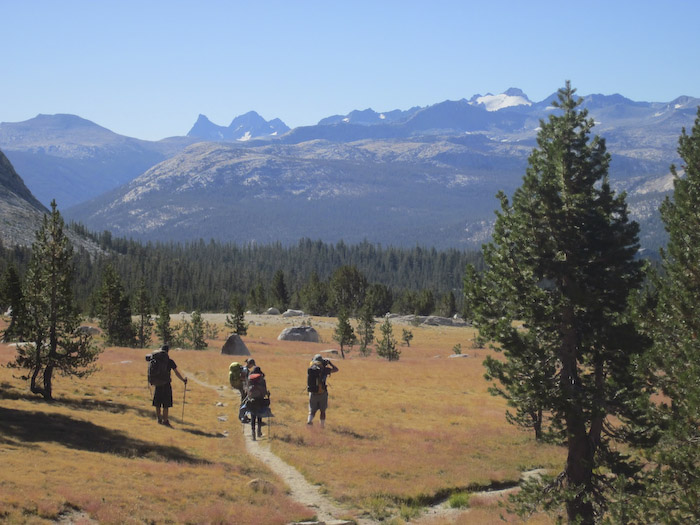
There will be a few downed trees that will make navigating through the area fairly difficult.  Some make shift trails criss-cross through the area.  Just remember that the school house follows the creek. (Note:  In the last two photos, we are hiking back towards the trailhead.  I didn’t snap a photo on the way to the school house).

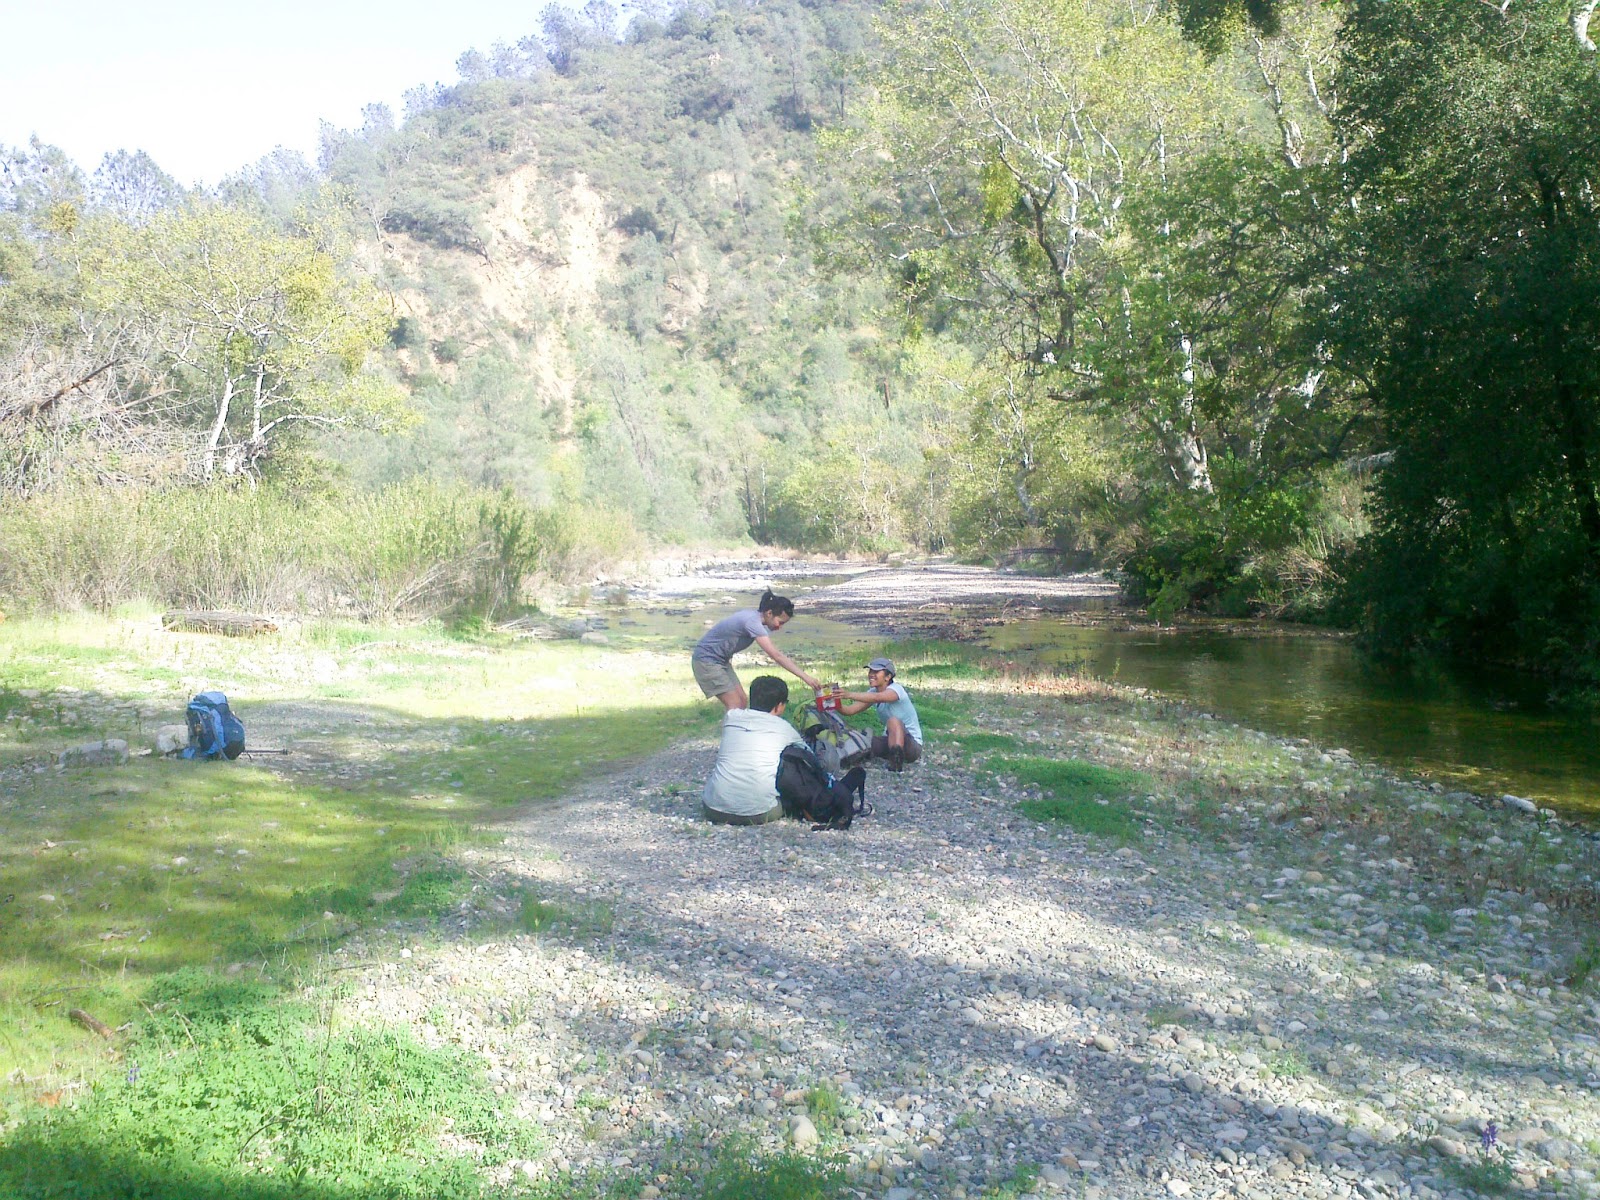
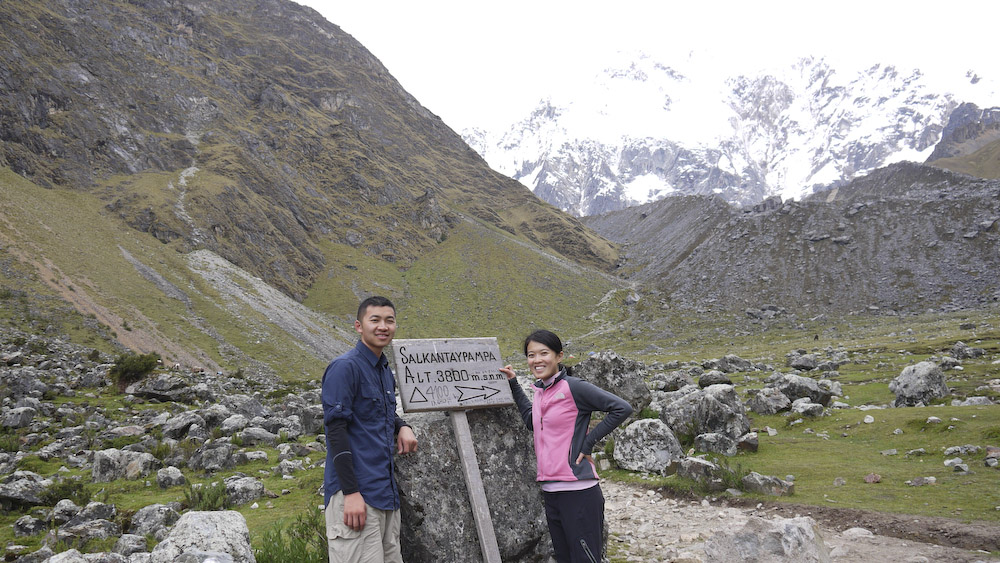
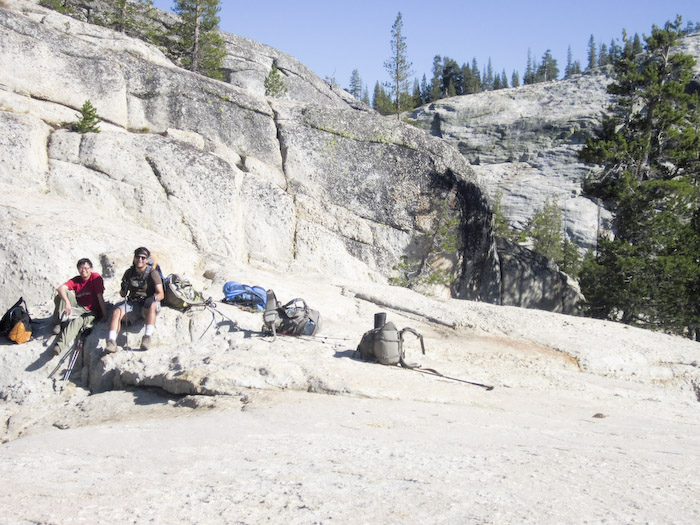
We took a break at the final crossing before hitting the camp site.  This is one of the wider crossings.  The exposed the river bed makes a nice spot to take a break.

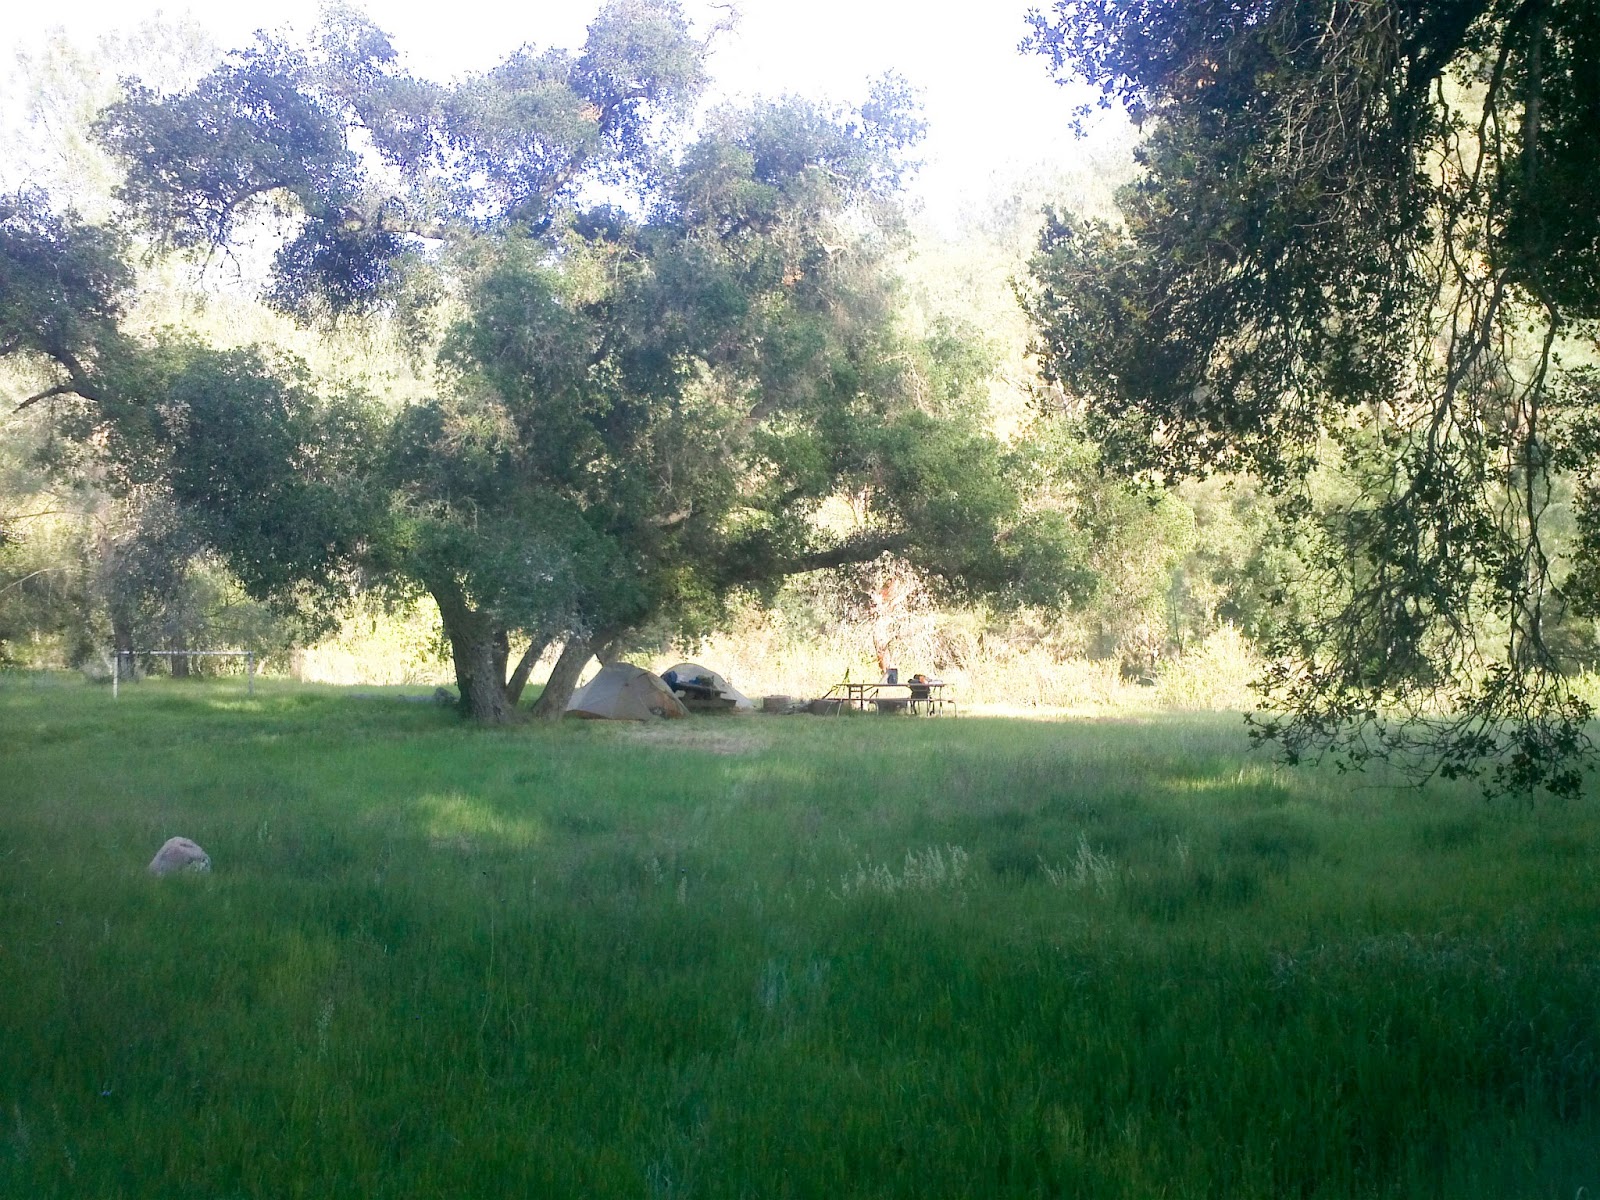
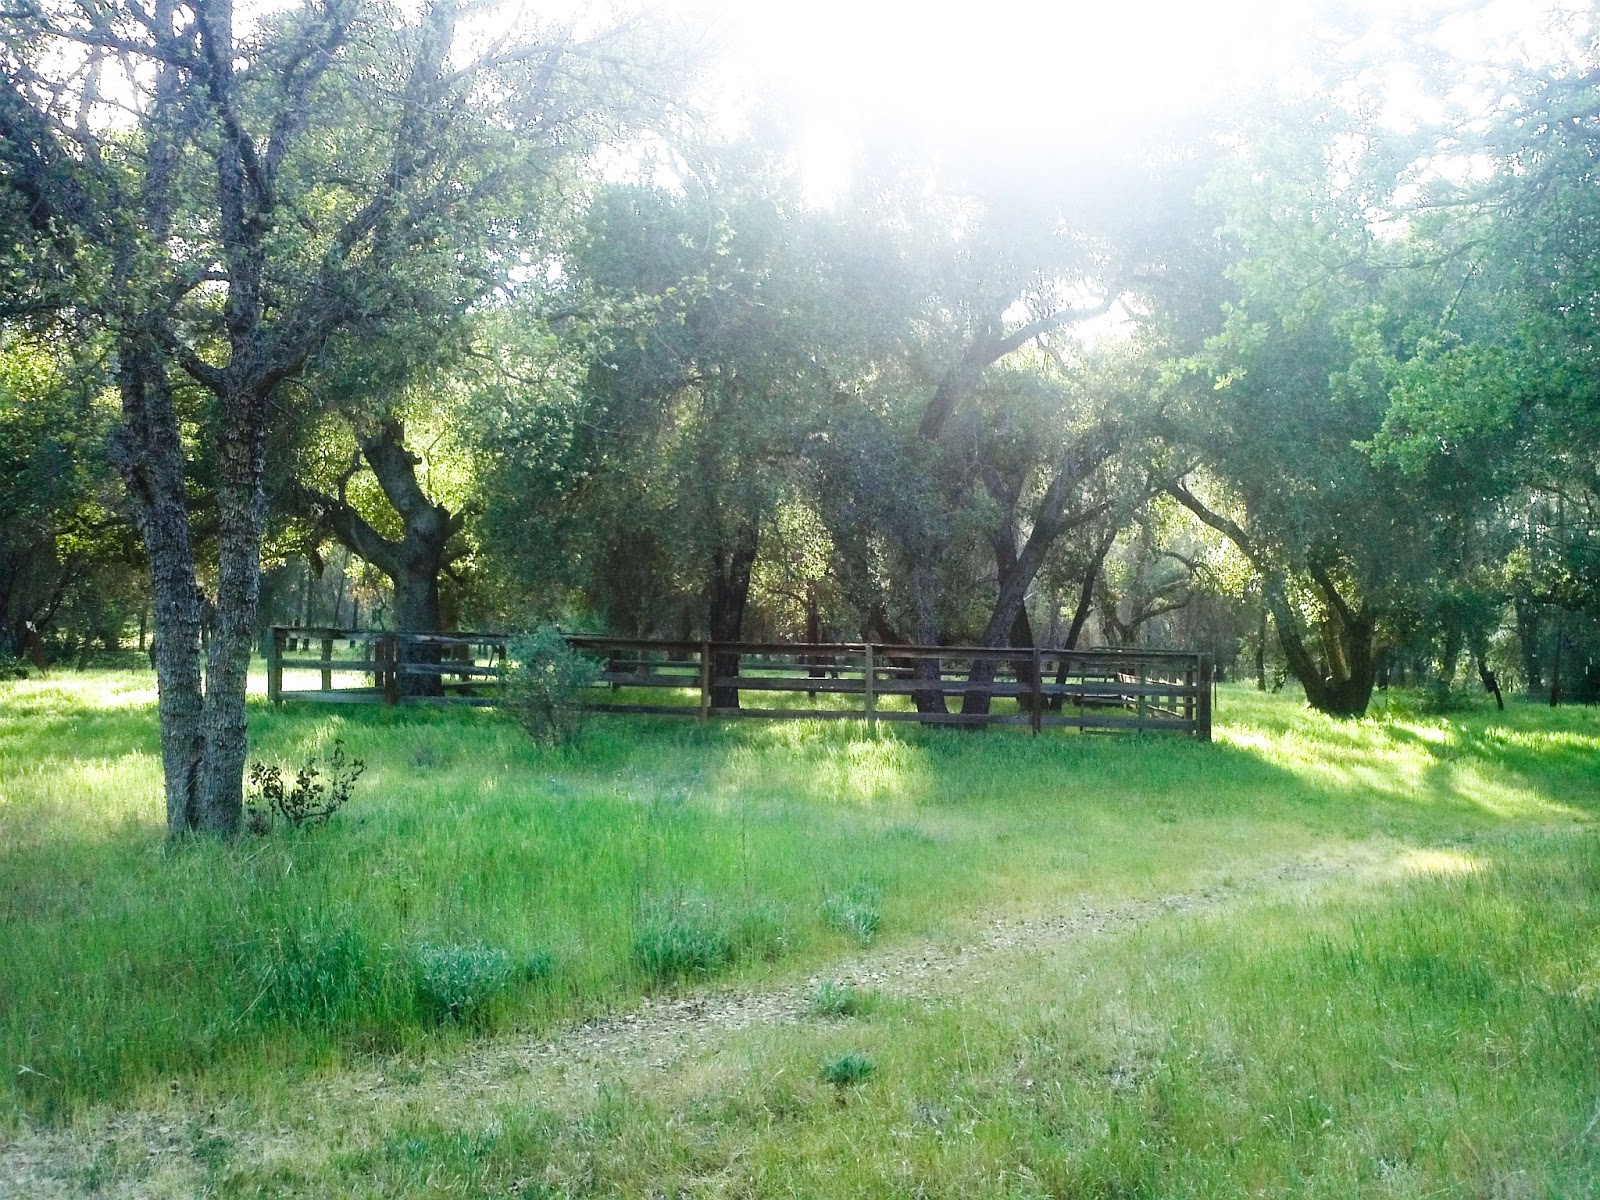
Once we passed the bend, we finally hit the camp site.  To find the school house, you will continue down the trail.  It will be on the plateau to the left of the trail.

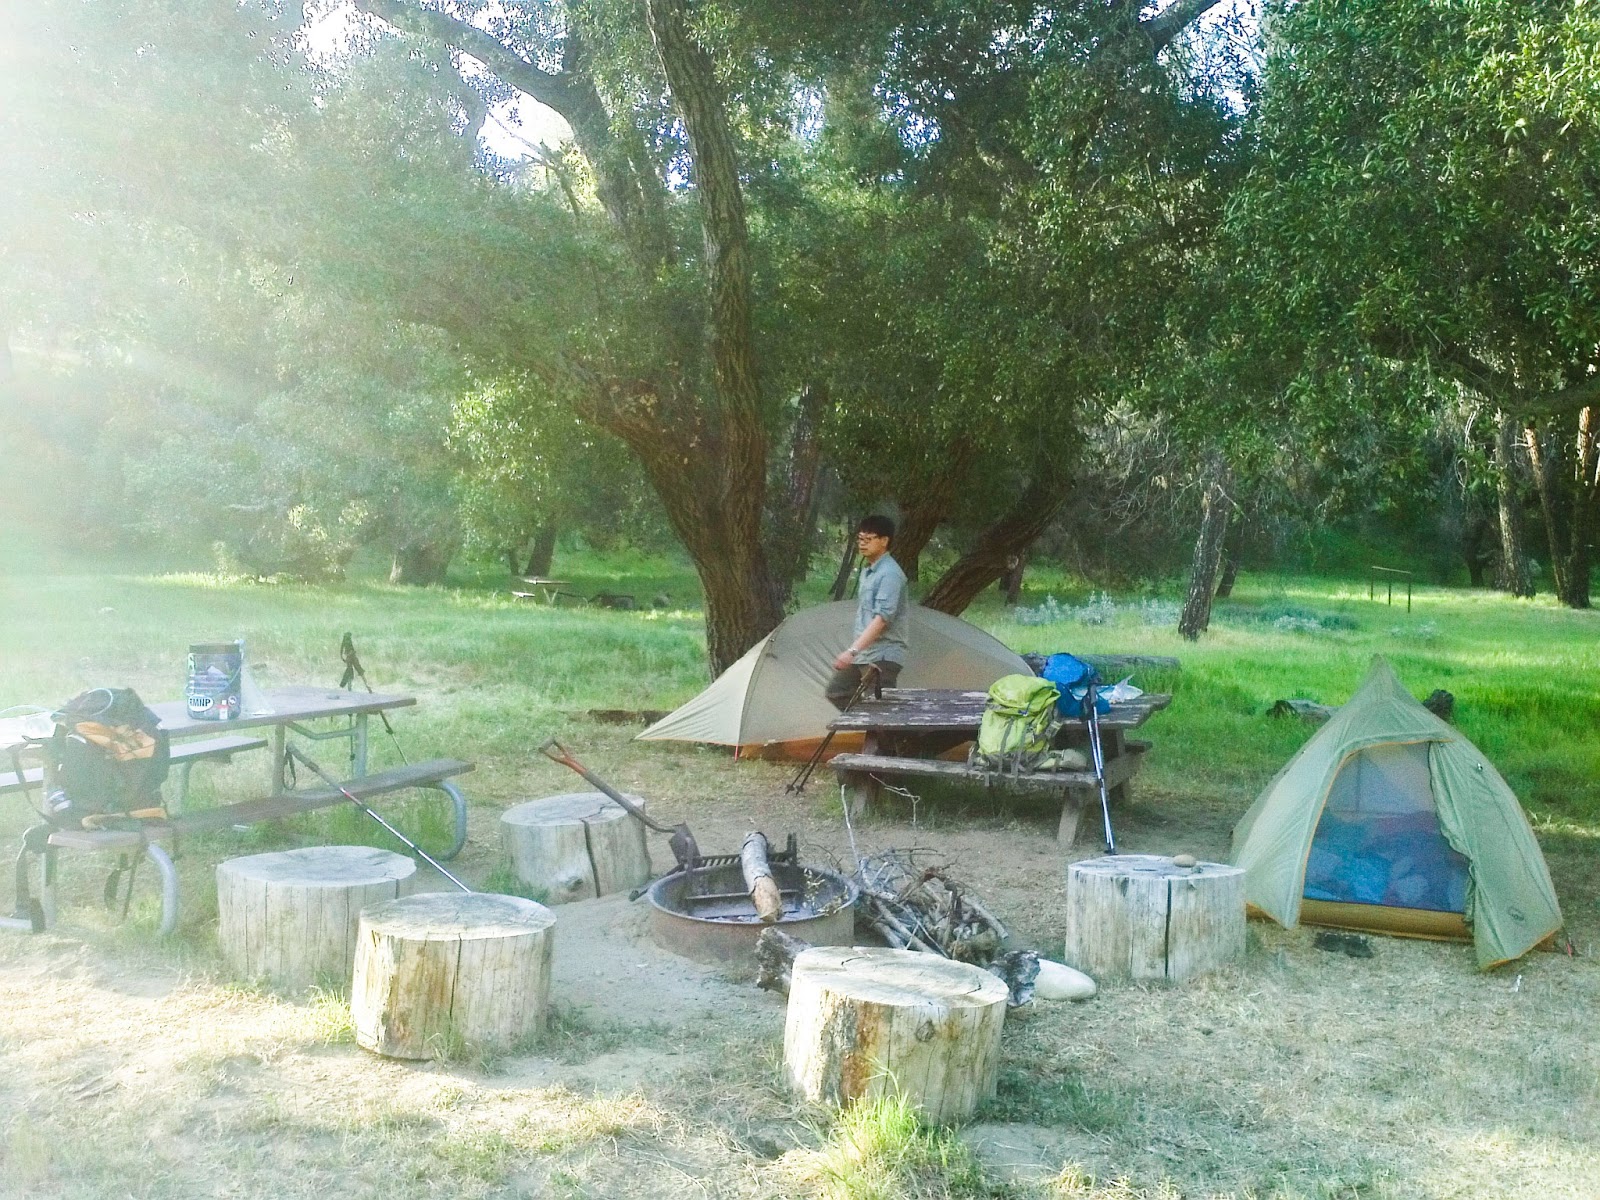
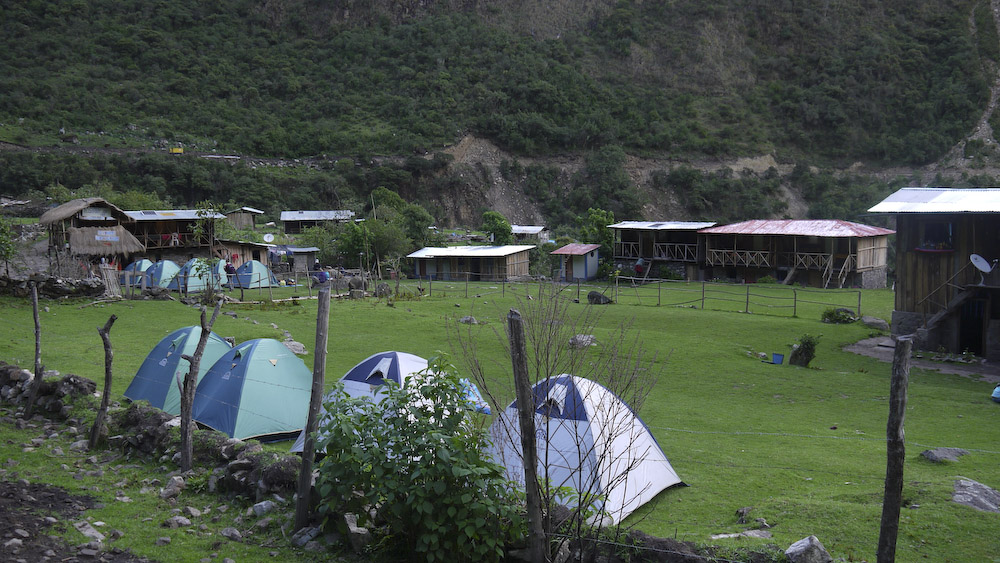
The camp sites are well established.  Each site has two picnic benches, a fire pit/grill, and a shovel.  A primitive toilet is available with the nice view of the canyon (as you do your #2). We set up our Big Agnes Fly Creek UL 2 and Big Agnes Fly Creek UL3 Tents
at the first available camp site.  


Water access is easy as the Mazana Creek runs through the camp sites.


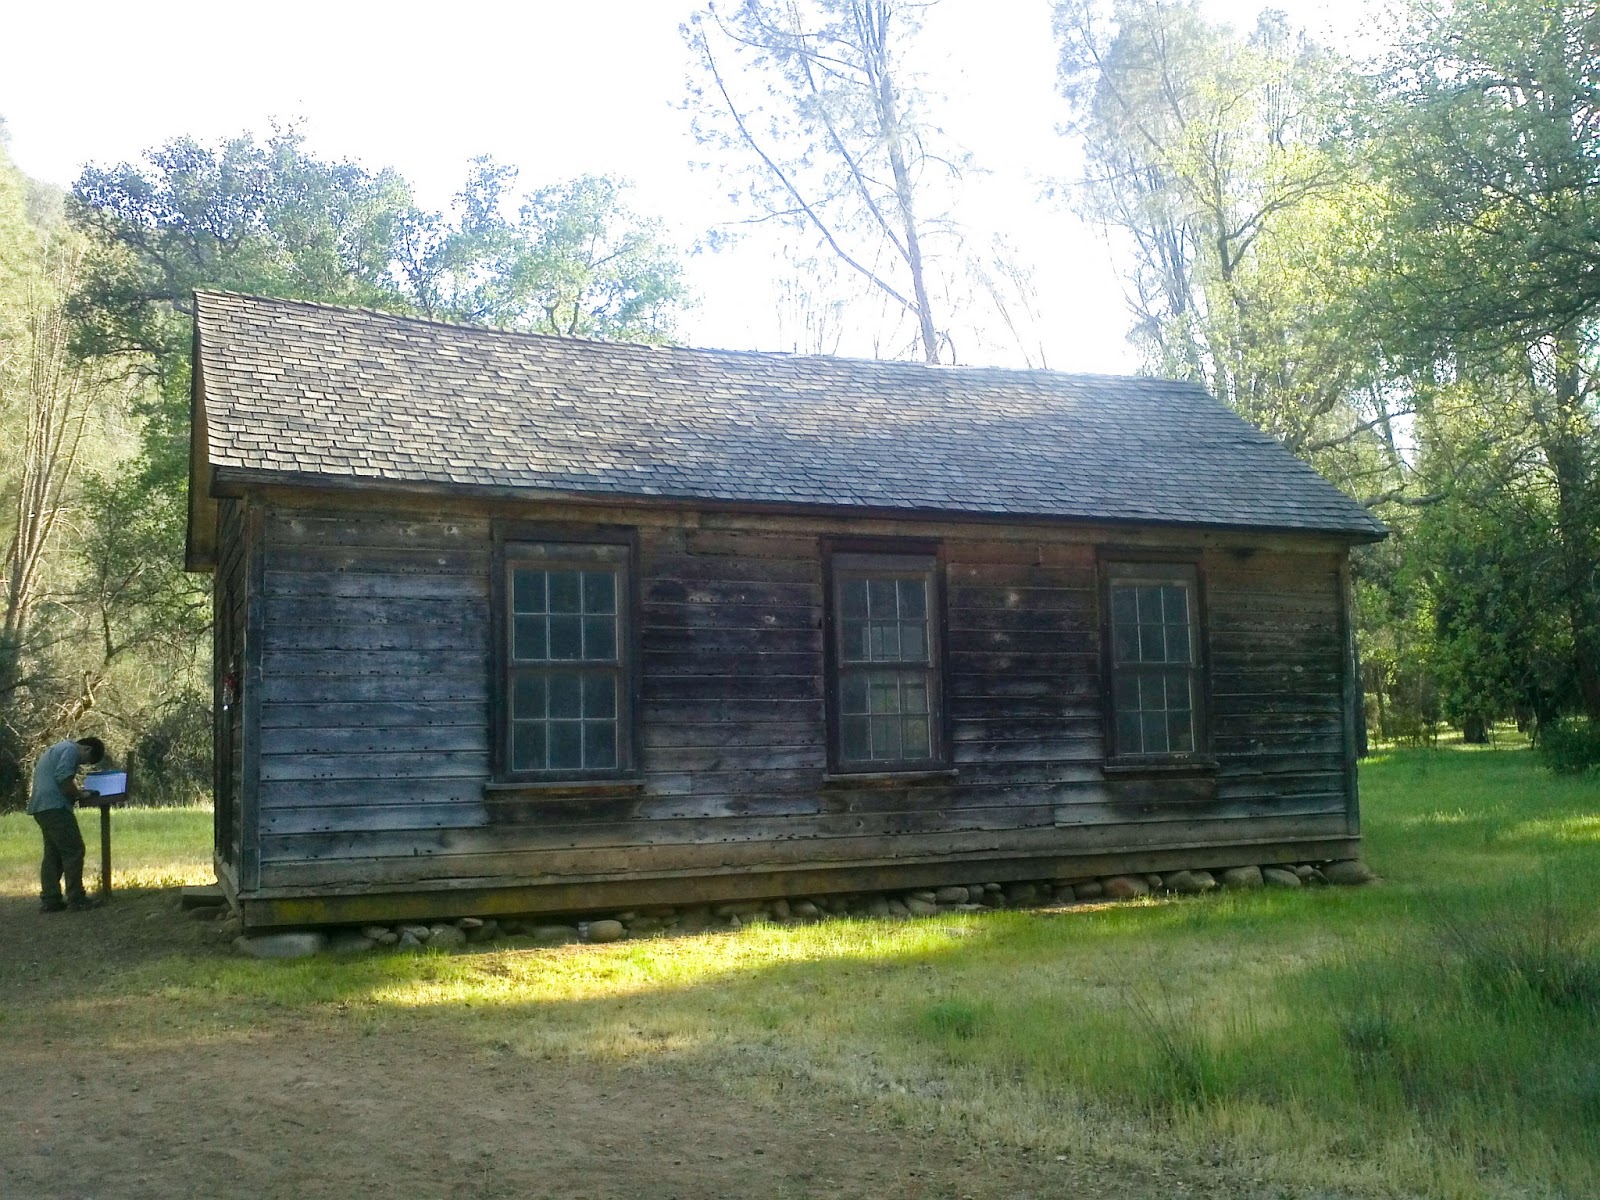
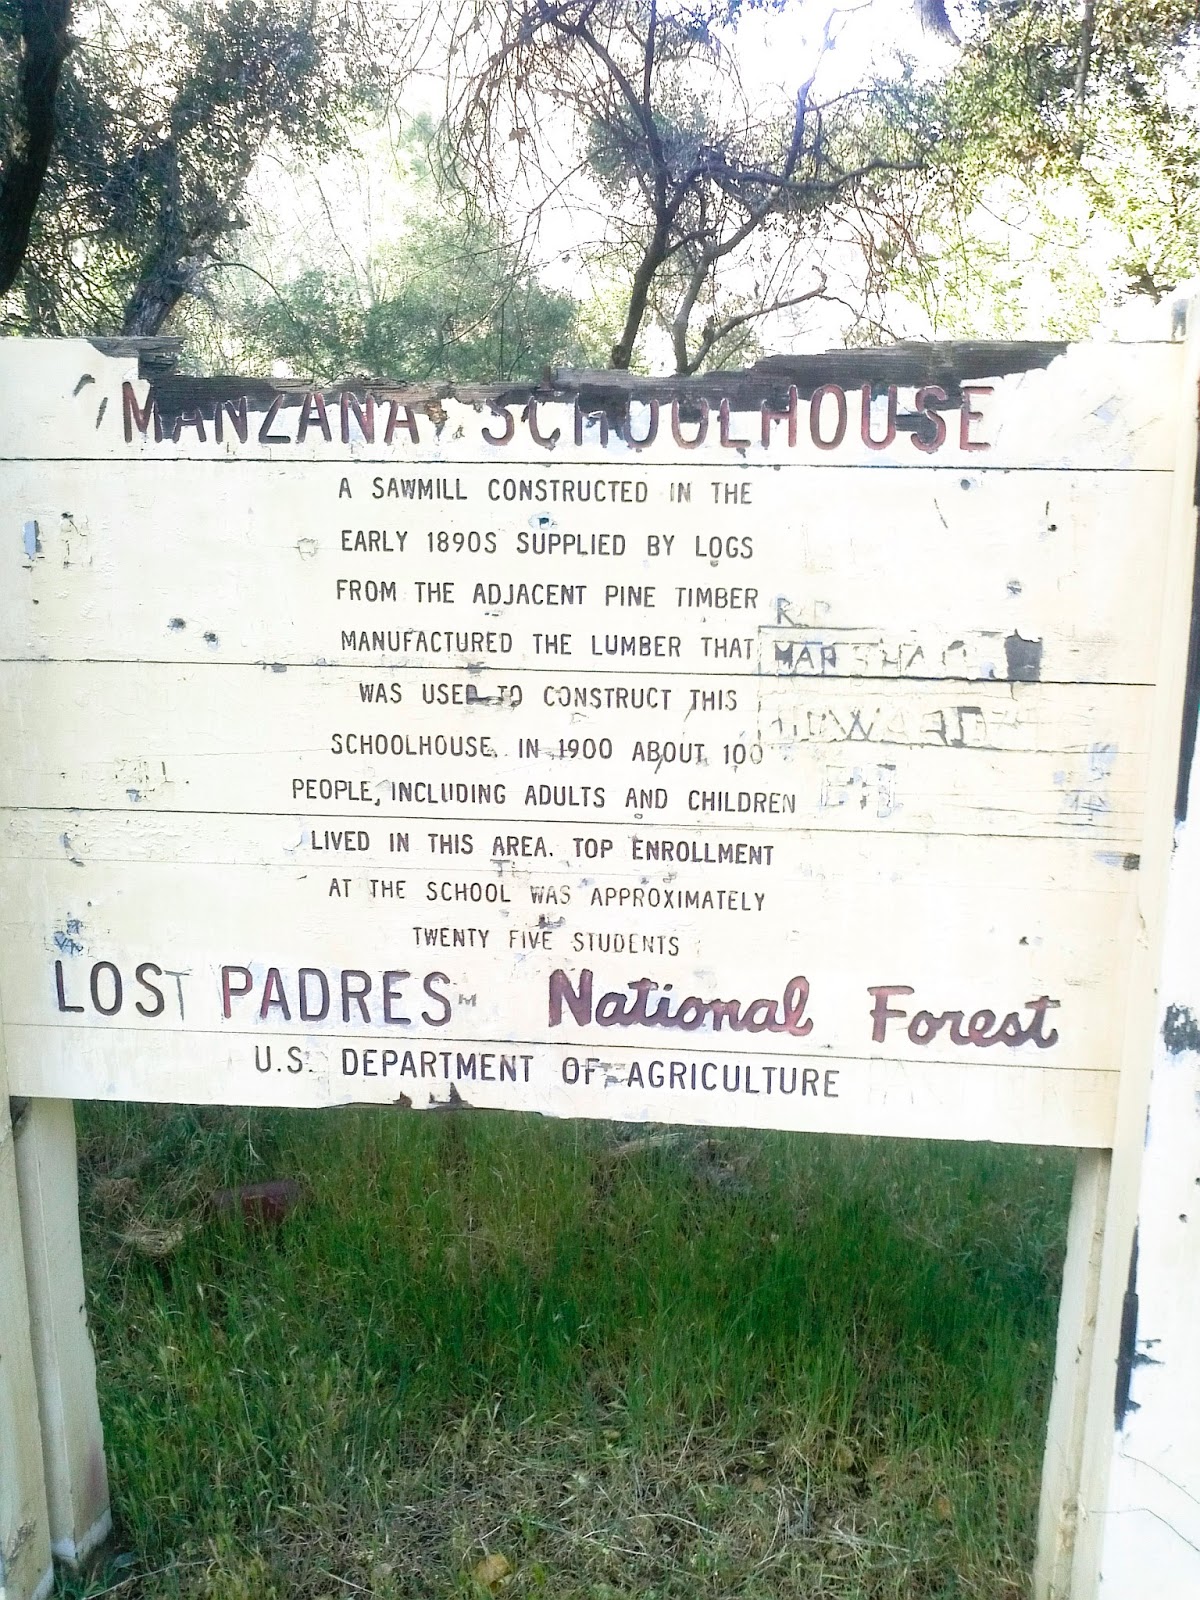
The school house is to the left of the trail.  If you follow the trail and fork left up the hill, you will be able to access the school house (Note:  There is a geocache in the area!).  Alternatively, you can also climb the hill side directly across the camp site.

Edwin helping me unpack all our goodies from the day.  For a quick a simple meal, we usually opt for Mountain House Spaghetti With Meat Sauce.


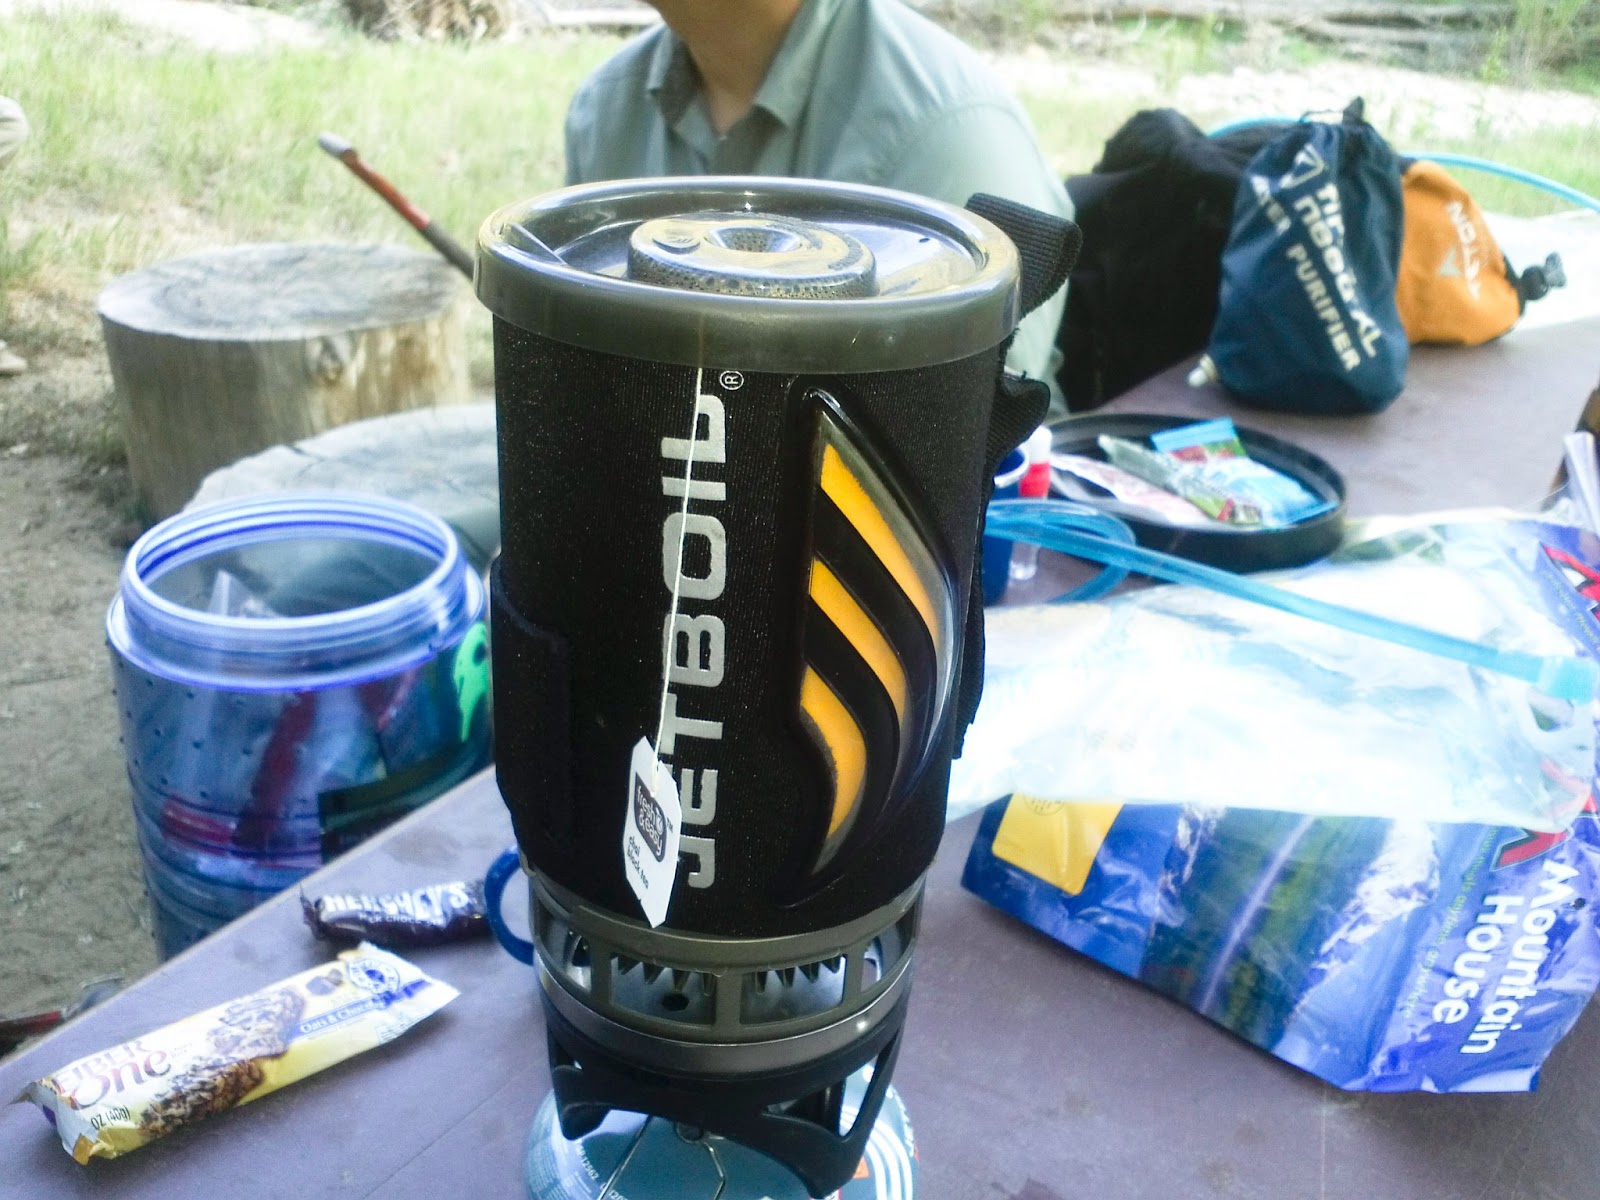
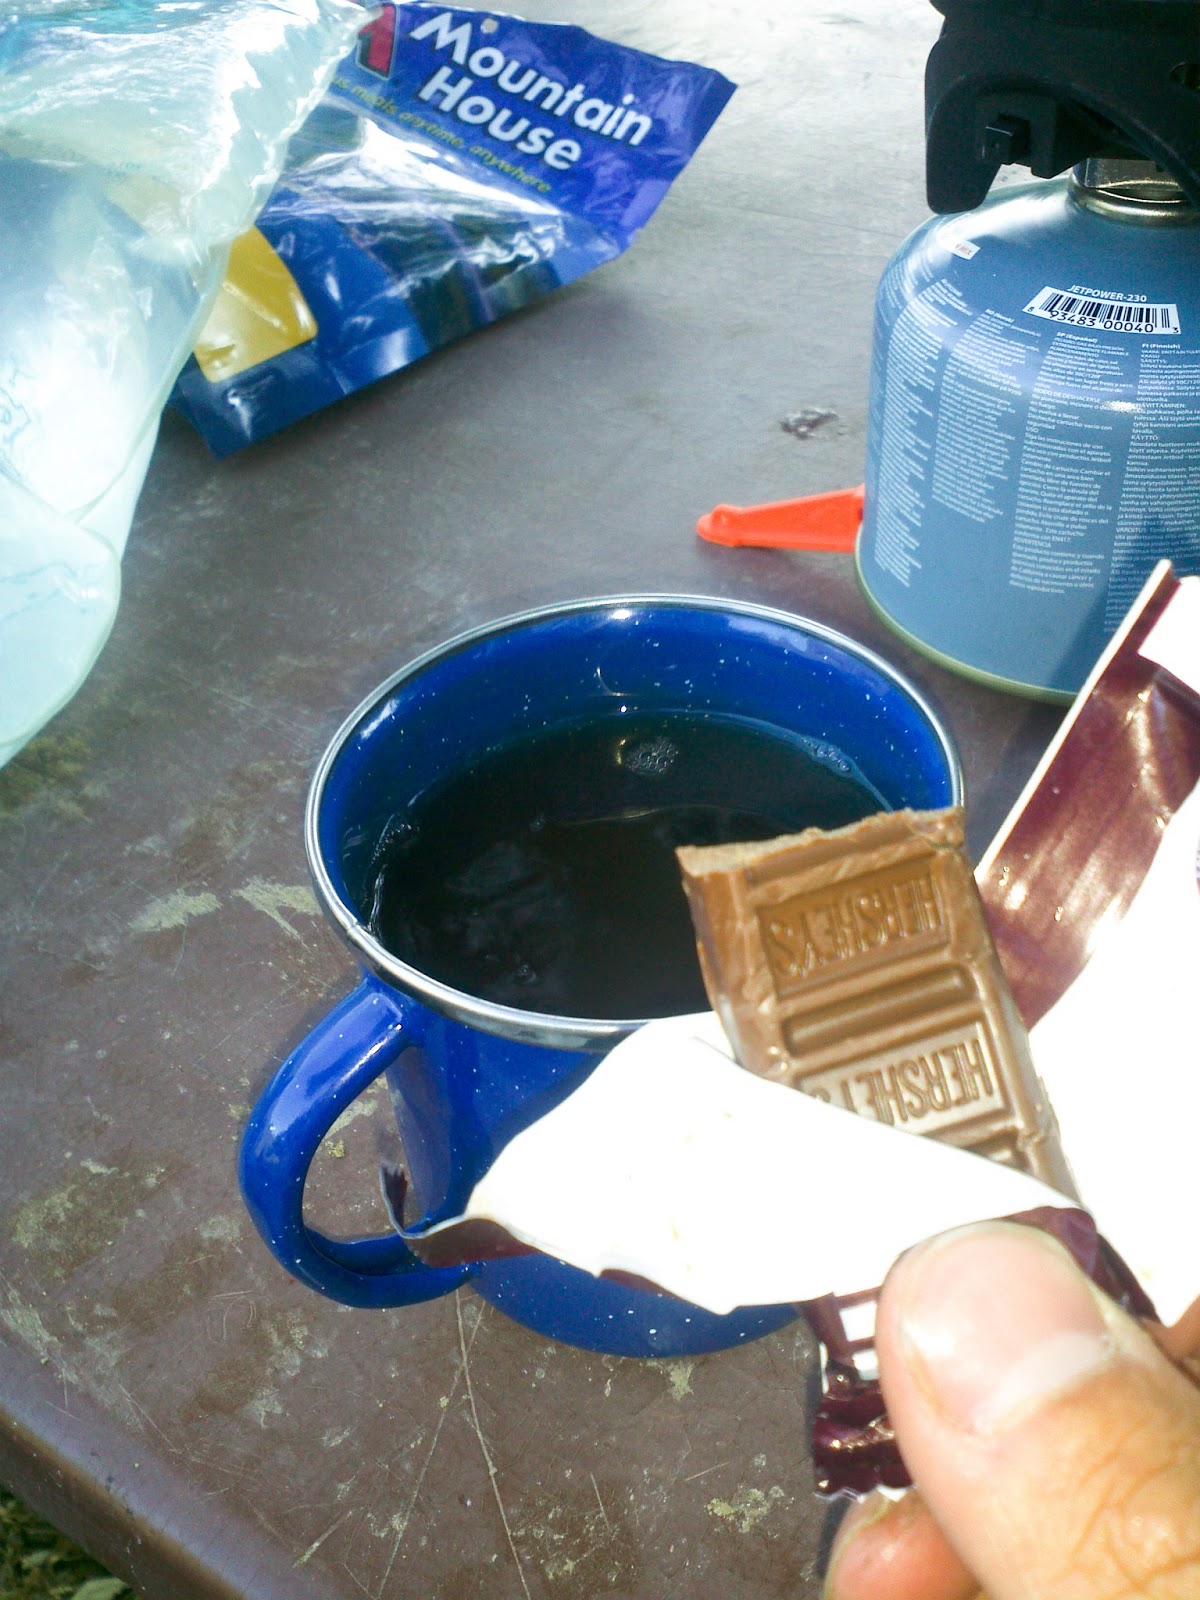
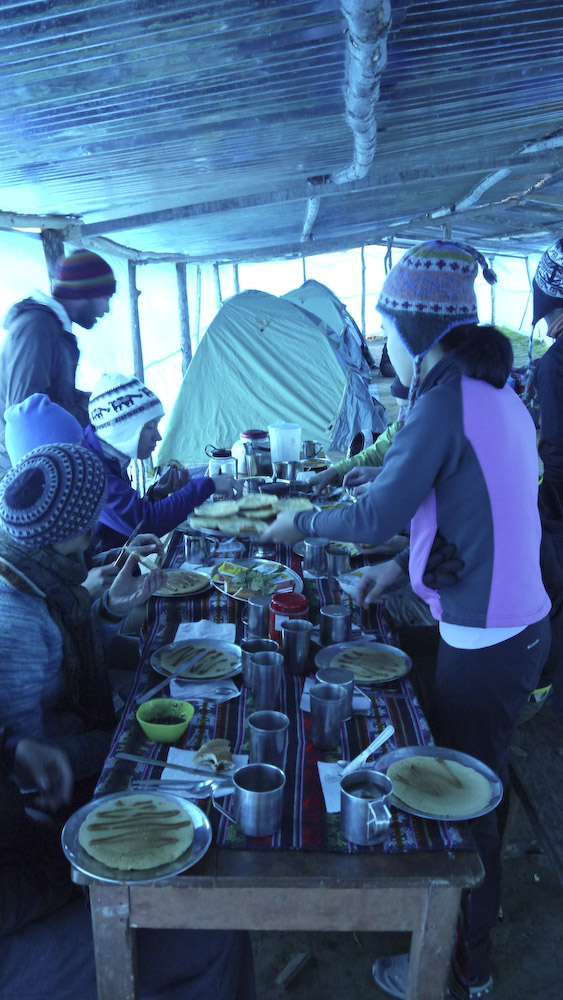
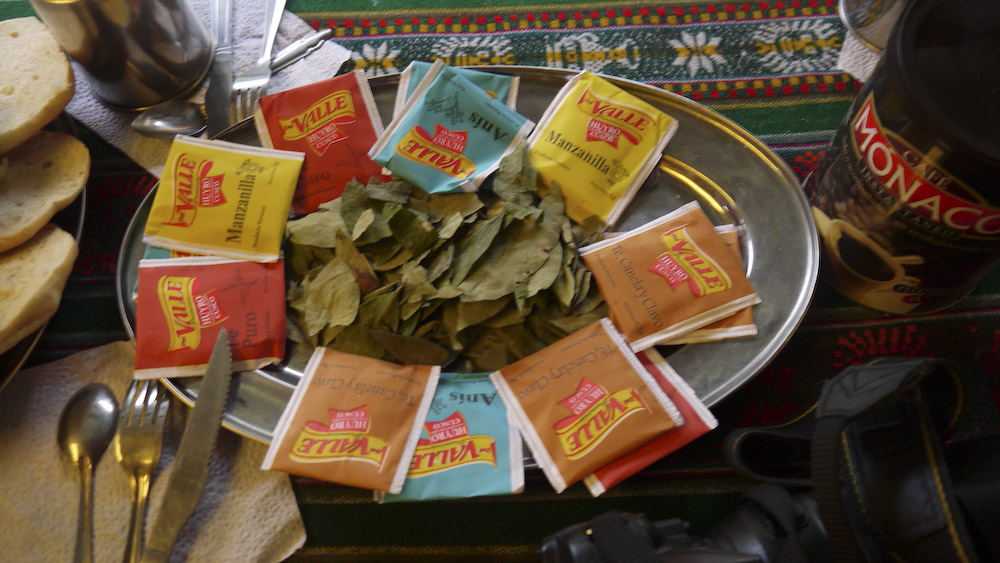
A much needed snack towards the end of the day as we wind down.  We always fire up our Jetboil Flash and have some tea and a small Hersheys chocolate.

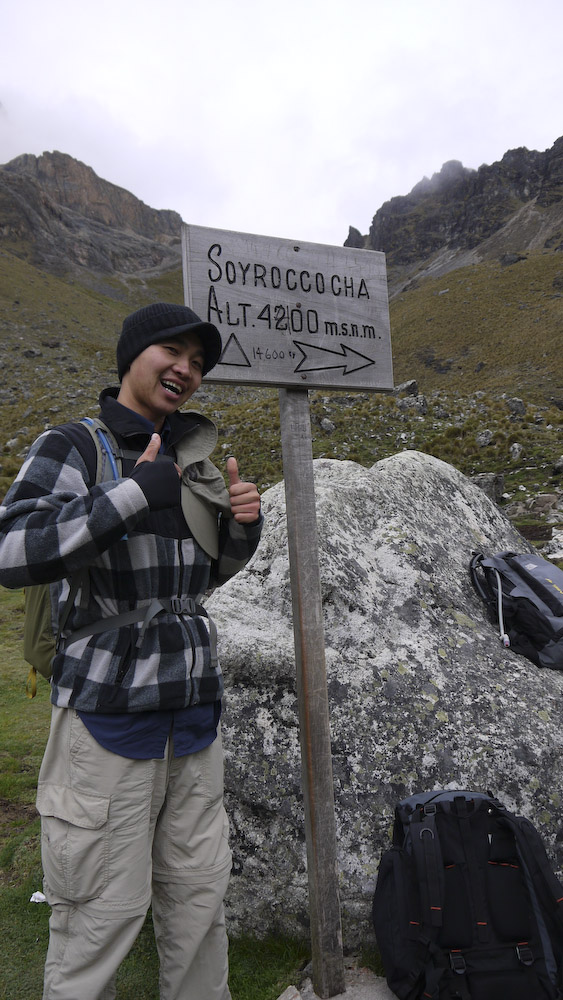
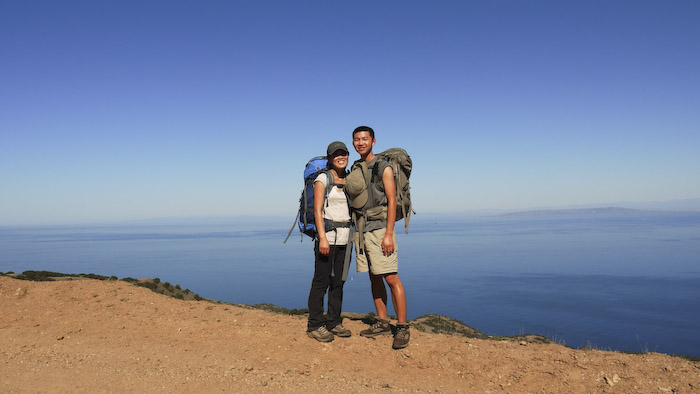
One final photo on the way out.

Over all, I recommend this hike if you just need to get away.  The trail continues and can easily be made into a four to five night trip.  With the short amount of time we had, we opted to get to our destination and hike out.

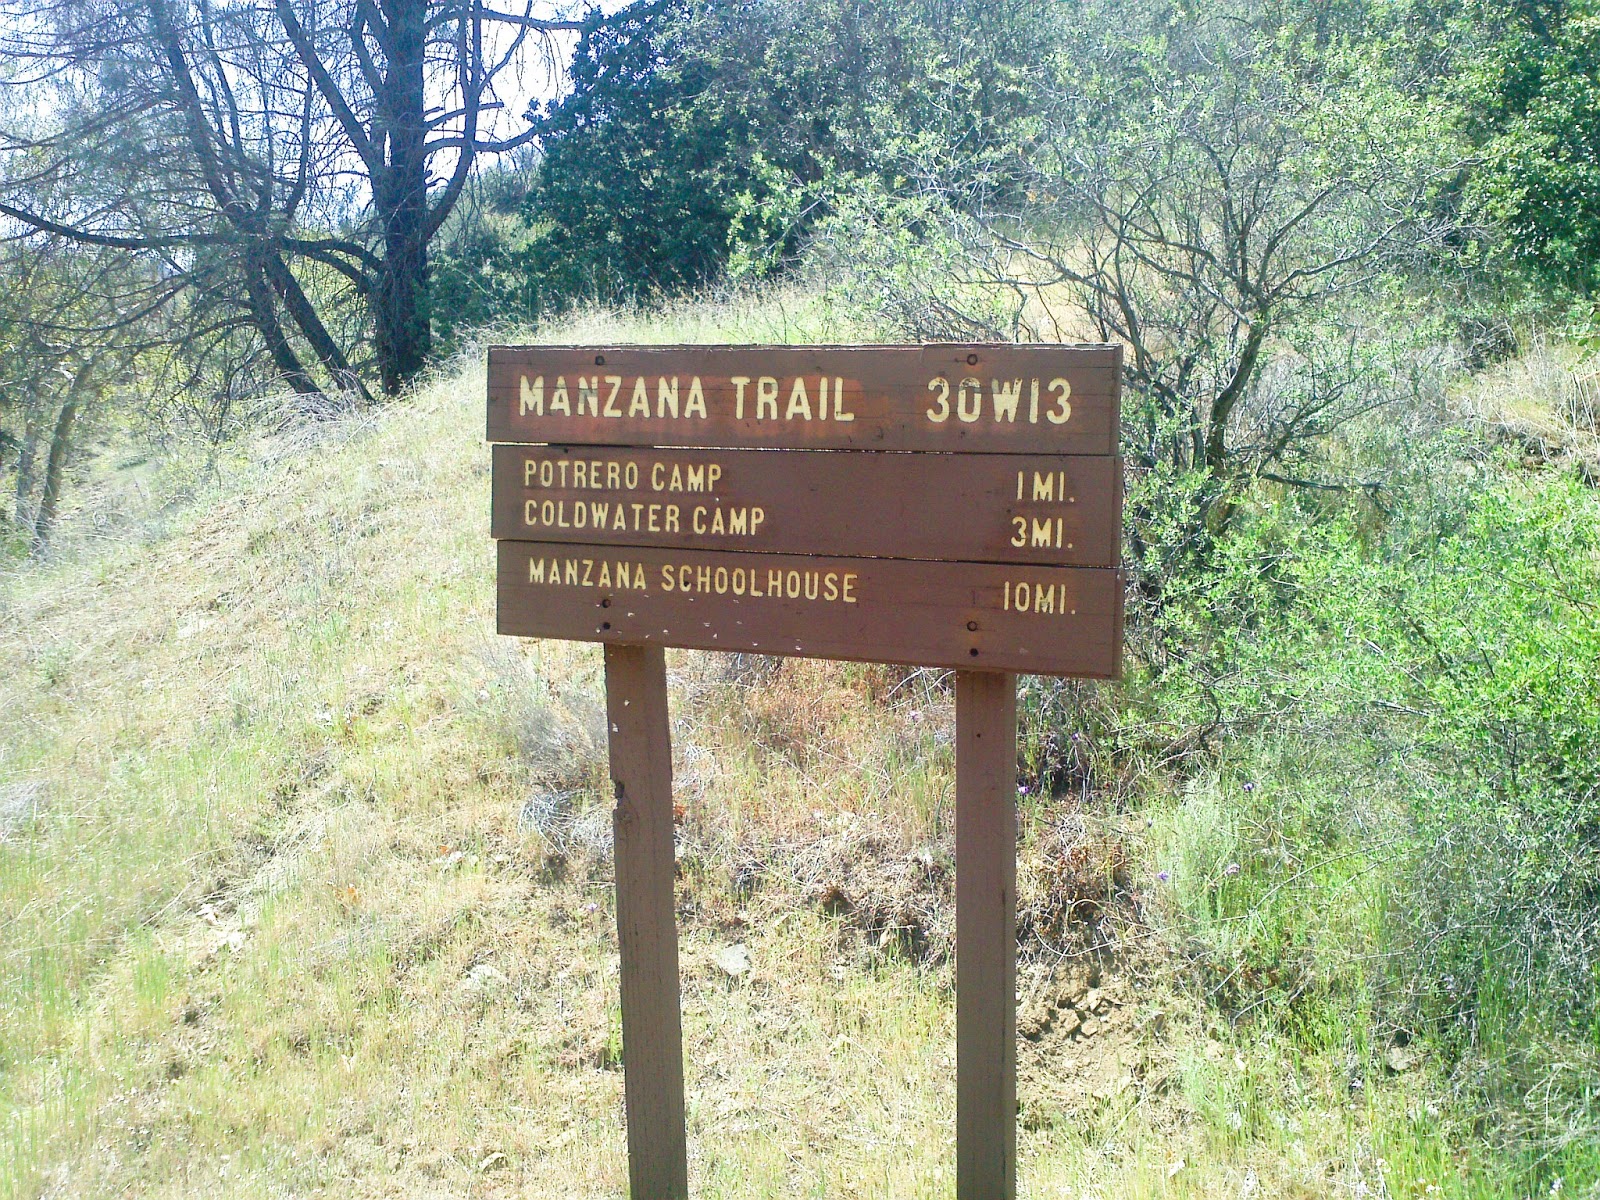
Final Notes:  Do not trust the mileage on the signs, they are useless.  Also, remember there are hunters and private land holders out here.  It is very important that you stay on trail, close the cattle gates as you pass through, and leave the livestock alone.

First Look: GoLite Imogene UL3

We started our Youtube channel!  As part of our channel, we will focus on gear and trail videos. You can check us out @ Youtube – Hikenoworklater

For our first video, we take a quick and dirty look at the GoLite Imogene Ultralight 3-Person Tent.  We will be doing an extended review of the tent over the next couple months as we hit the trails.

Thanks and enjoy!

GoLite Imogene UL3

Find it here on YouTube

Check it out on Amazon

Peru – Salkantay Trail through the Andes to Machu-Picchu

The Quick and Dirty:
Location – Lima, Cuzco, Aguas Caliente, Andes Mountains, Mount. Salkantay, Peru
Travel Duration: 8 days
Visa needed for US Citizens?: No
Vaccination needed for Americans: Routine vaccination and antibiotics for well traveled areas such as Cuzco, Lima and Aguas Caliente 
Spanish necessary for traveling: No
Type of trip: Backpacking, hiking, site seeing
Total Cost of the trip including airfare: ~$1,000 per person

I found these incredibly cheap plane tickets from LAX to Lima, Peru shortly after my southeast Asia trip earlier this year. Along with the rest of LA who took advantage of the deal, Louis and I set out to conquer the Salkantay trek along with Macchu Picchu with three of our friends during the Thanksgiving break. We arrived well after dinner in Lima the first day, stayed at a hostel called Mami Pancheta in the San Miguel district and took the cab to the airport the first thing the following day to Cusco. As the old capital of ancient Peru, the city was filled with pre and post Spanish history, this would also be the meeting place for our tour group to star the Salkantay trek the following day.
Thankfully, we did not experience any of the delays notoriously known for Star Peru and arrived at Cuzco at midmorning. The hostel we stayed at the first night was Piccola Locanda, tucked away in one of the many side streets of Cuzco, the hostel was quaint and clean. Because Cuzco is approximately 11,000 feet above sea level, we were immediately offered Cocoa tea to help acclimate with the altitude.

Alpana and Edwin enjoying their Cocoa tea at Hostel Piccola Locanda.

 Plaza del Armas, Cuzco

We were warned over and over again not to stuff ourselves silly on our first day in Cuzco because of the high altitude. We were overcome with curiosity of the local cuisine and soon forgot all about the warnings. Lunch on the first day consist of alpaca on a skewer, potatoes, trout ceviche and roasted guinea pig, notice the awesome presentation of the guinea pig.

 Inside former temple of the sun, after the sack of the Spaniards, with the structure’s old foundation, convent of Santo Domingo was built on top of the former temple.

 First day of the Salkantay trail, 19kms of hiking total on the first day.

Edwin and Louis with mount Salkantay as the backdrop.

Our mules carrying our packs! Bag weights are limited to 5kg per person, if you want extra weight an extra 80 soles can buy you another mule to share with others.
The campground at the end of our first day. The elevation here was around 13,000 feet above sea level. This is the place where many people begin to feel the altitude sickness. Thankfully, no one in our group was sick, we’ve all been taking Diamox (altitude sickness medication) for a few days.
Outhouse with toilets without seat covers.
Eating with the group on the first night, temperature dropped 10 degrees below zero on the first night, and this is summer temperature!
Day 2, Louis and I feeling good at 14,000ft.
Finally got to the top! 15,225 feet!
 Our international team of awesomeness!
Alpaca grazing in the rain
Louis finally feeling the altitude after descending from our highest point.
 Daily tea time after the hike, my favorite.
Campground at night 2.
 Lunch at day 3, ceviche vegetables.
 End of the hike at day 2
how many people can you fit in a 8 person van in Cuzco?
 Day 4, after ascending 1,600 steps Machu Picchu!
 One of the countless number of llamas on top of Machu Picch
 Amar’s classy Peruian pink pants 😉
 Posing with the llamas
 At the entrance of Huayna Picchu (new peak), yes, we are getting ready to climb that peak in the background.

Amar and Andrew taking a break climbing Huayna Picchu. Unfortunately, those red pants never made it back to the bottom of the mountain in one piece…

 We made it to the top of Huayna Picchu, break time.
 Beautiful day, we were so thankful for the lack of rain and tourist. Sitting in front of the best views in the world enjoying the afternoon sun at Machu Picchu.
Last day in Lima

Lima, outside of Monastery of San Francisco right before the tour. Underneath the monastery, there’s 6 miles of catacombs, unfortunately, no photos were allowed during the tour of the catacombs. I highly recommend this when in Lima!

Last meal in Lima at Cordona, one of Lima’s oldest restaurant. This is the ceviche that left our stomachs aching the next day.

Trans-Catalina Trail

The Quick and Dirty:
Location – Catalina Island, Little Harbor
Distance – 5 miles one way
Terrain Type – Flat with gentle climbs, coastal
Difficulty – Beginner
Best Time – Fall through Spring
Special Conditions –  Private land, bison grazing, off-road vehicles
Duration– 2 days
We bought a Groupon for RT ferry tickets to Catalina Island via the Catalina Flyer earlier this year. Louis and I have been wanting to go back to Catalina since our backpacking trip there last year.  The Trans Catalina trail from Avalon to Two Harbors is approximately 20+ miles and we were only able to finish the stretch from Avalon to Black Jack campground near the airport. Since we only had a weekend this time around, we decided to skip the portion we hiked last year and took a bus from Avalon to the airport via the Catalina Airport shuttle. Traveling around Catalina was not cheap, the round trip tickets from Avalon to the airport was $26 per person.
P1020580
The airport shuttle runs every two hours starting from 9AM. We caught the 1PM shuttle on Saturday and was dropped off at the airport at around 1:30. Eyeing the Buffalo burger inside the airport restaurant, we all made a mental note to come back the next day for lunch before we left the island.
P1020591
 The hike to the Little Harbor campground was pretty fast, downhill for the majority of the 5 miles. I’m not sure what is it about the Catalina trails that gives everyone terrible blisters. By the time we got to our campground, I was limping, wishing I had brought my sandles for the weekend. Seeing the buffalo on the trail just made me more hungry for that burger…
P1020593
We found a shortcut going into Little Harbor.
P1020607
Our four star campground. Camping fees here was $16 per night per person. We were shocked at how expensive it was until we got to the campsite. This savvy campground has well established fire pits, walking distance to the beach, palm trees, picnic tables and porta potties. The rangers even deliver wood to your campground for $9 a bundle!! The best part was, because it was “winter”  the campground was almost empty, we literally had the entire beach to ourselves.
20121103_151338
Beautiful Little Harbor, courtesy of Edwin’s panoramic app on his phone.
P1020650Little Harbor ranger station, closed for the winter.
P1020669
20121104_103333
P1020682
 Back in Avalon, view of the boats and the old Casino

Young Lakes, Yosemite National Park, California

The Quick and Dirty:
Location – Yosemite National Park, Young Lakes
Distance – 24 miles one way
Terrain Type – flat to gentle slopes, northern Sierra Nevada region
Difficulty – Moderate Strenuous
Best Time – Summer and Fall
Special Conditions –  US national park, entrance fee required upon arrival, backpacking permit also required.

Duration– 4 days

Louis and I spent labor day weekend backpacking at Young Lakes at Yosemite National Park with a few friends. We left Friday morning and drove up to Yosemite National Park’s Eastern entrance off the Tioga Road into the Tuolumne Meadows. It took approximately 6 hours to drive up to the national park from Southern California. Lodging is $5 a night for backpackers at Tuolumne Meadows backpackers campsite. We planned to meet the rest of our camping party at the campsite on the first day but never found the campground. Instead, we drove all 20 miles east on Tioga Road to Porcupine campground and setup camp there for the night. We did manage to find our friends some time later at the backpacker’s campsite and convinced them to move over to the Porcupine campground since it was close to our starting point the next day:) Porcupine was fine for a car camping campground. We were stuck next to some very loud neighbors and did not sleep very well that night, which reminded us why we enjoy backpacking so much more.
This was our plan for the weekend. We were not able to obtain a backpacking permit from Dog Lake so we opted for the longer hike starting at Murphy Creek and ending at Dog Lake on Monday.
IMG_1311
First day, at our lunch spot. The weather was about 75, still too cold to swim in the water.
IMGP1614
I brought up the topic of us always wearing the same clothes during backpacking trips to Louis. We are considering wearing something different on our next backpacking trip.
IMGP1739
We found a campsite 1.5 miles away from the Glen Aulin junction and stay here for the first night.

IMG_1312

Really beautiful waterfall next to the High Sierras Glen Aulin campground on our hike the second day. It was a minor detour on our way to Young Lakes

IMG_1315
IMG_1319

Day two at one of our peaks.

IMG_1321

Even the beautiful view could not cheer Edwin up. Ammar is giving Edwin a pep talk about backpacking.

IMG_1330
We arrived at Young Lakes and camped at the lower lake. After everyone went into the lake for a dip, we napped and ventured up to the upper lakes. Next time, I think I’d prefer to camp at the upper lakes.

IMGP1825

Alpana, Lisa and I discussing where we are going to eat once we leave the next day. Dinner plans at Tasty Garden in Alhambra for the next day was decided shortly after the photo was taken.

IMG_1333
Sun setting, kind of reminded me of Columbine Lake at Mineral Kings.
IMG_1337
Enjoying dinner by the lake
IMG_1340
IMG_1342
 Day 3, hiking back to Dog Lake’s parking lot.
IMGP1861
Last photo of the group (with Ammar as the photographer) before saying goodbye to Yosemite.